Program a Melodic House Drum Groove by Using RitMix
Last Edited: Nov 30, 2023
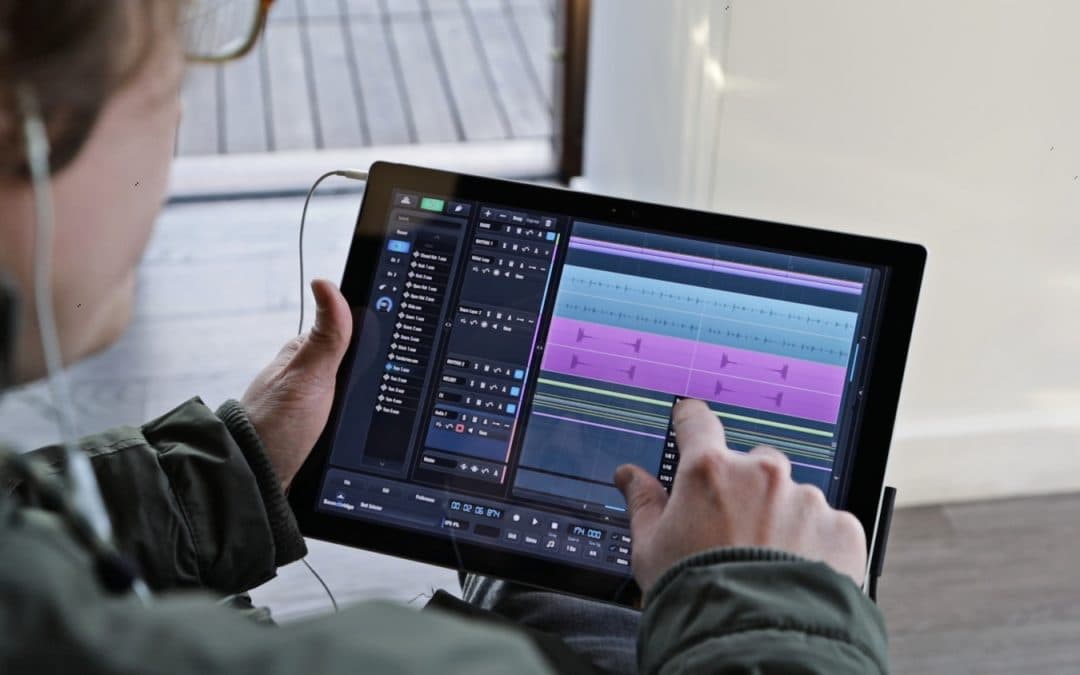
The following tutorial will show how to lay down and program the drums for a melodic house drum groove using RitMix.
First, let's open an instance of the drum machine on a MIDI channel in SoundBridge: DAW. Then, we should click the Menu icon and select Initialize Kit. This will give us a fresh start with clear drum pads where we place chosen samples.

Importing eight different samples, ranging from kick to snare drum, hi-hat, and so on, should suffice for a standard melodic house drum groove. However, since RitMix offers sixteen pads and four banks, you don't have to limit yourself.
We will start with a four-to-the-floor kick drum and another soft, off-beat kick that will accentuate the groove.

Then, we will add a snare drum and click percussion for the backbeat. The snare drum hits every second kick, as shown in the screenshot below, while the click percussion has a slightly more complicated rhythm.

After we've laid the foundation for the low and mid components of the groove, let's move on to the high end. First, let's bring in an off-beat- ride, followed by an off-beat closed hi-hat.

~Kick, Snare Drum, Percussion, Ride & Closed Hi-Hat (Solo)
To complete our drum groove, let's add a tambourine and another hi-hat to accentuate the overall groove.

Individual Processing of the House Drum Groove's' Elements
The groove is complete but still sounds raw, so we can use other functions within Ritmix to get a better mix. The mixer and effects windows of the interface are shown below. You may have noticed that I previously set the gain of the individual samples using the velocity in the MIDI editor. However, more than just volume, within Ritmix, we can further control the pan, gain, and amount of reverb and delay send effects for each sample. The second image shows our chosen parameters for the effects.


Because the tambourine appears too prominent, we will try to fit it better in the overall mix with the built-in EQ, even after adjusting the volume.
Aside from this, numerous other tools can be used to alter the tone of individual sounds. We could use the humanizer to randomize the panning of the tambourine or add a beat crusher effect. Let's hear how the tambourine sounds before and after processing.

After following these steps for most selected sounds, let's top it up by gluing them with the built-in compressor.
Now, let's hear the final sound of our melodic house drum groove.
If you liked this article on drum design and processing, here is more on the same subject:
- 3 Simple Steps to an Effective Drums and Percussion Tuning Strategy
- How To Create Drums Using Foley
- A Quick Guide to Designing Dubstep Drums
- Get Vivid Drums by Using Harmonic Saturation
MASTER MUSIC PRODUCTION
Expert-led courses designed to take you from fundamentals to finished tracks.


