Use These Positioning Techniques to Improve Your Mix
Last Edited: Nov 30, 2023
Panning and other positioning tools allow you to place instruments from left to right across the stereo image, effectively determining where your mix's left and right boundaries are and how close each instrument is to them. Not sculpting the stereo soundscape or properly panning your sounds can cause the song not to reach its full potential and sound dull or unappealing. The following tutorial will show you how to position the instruments in a mix properly.
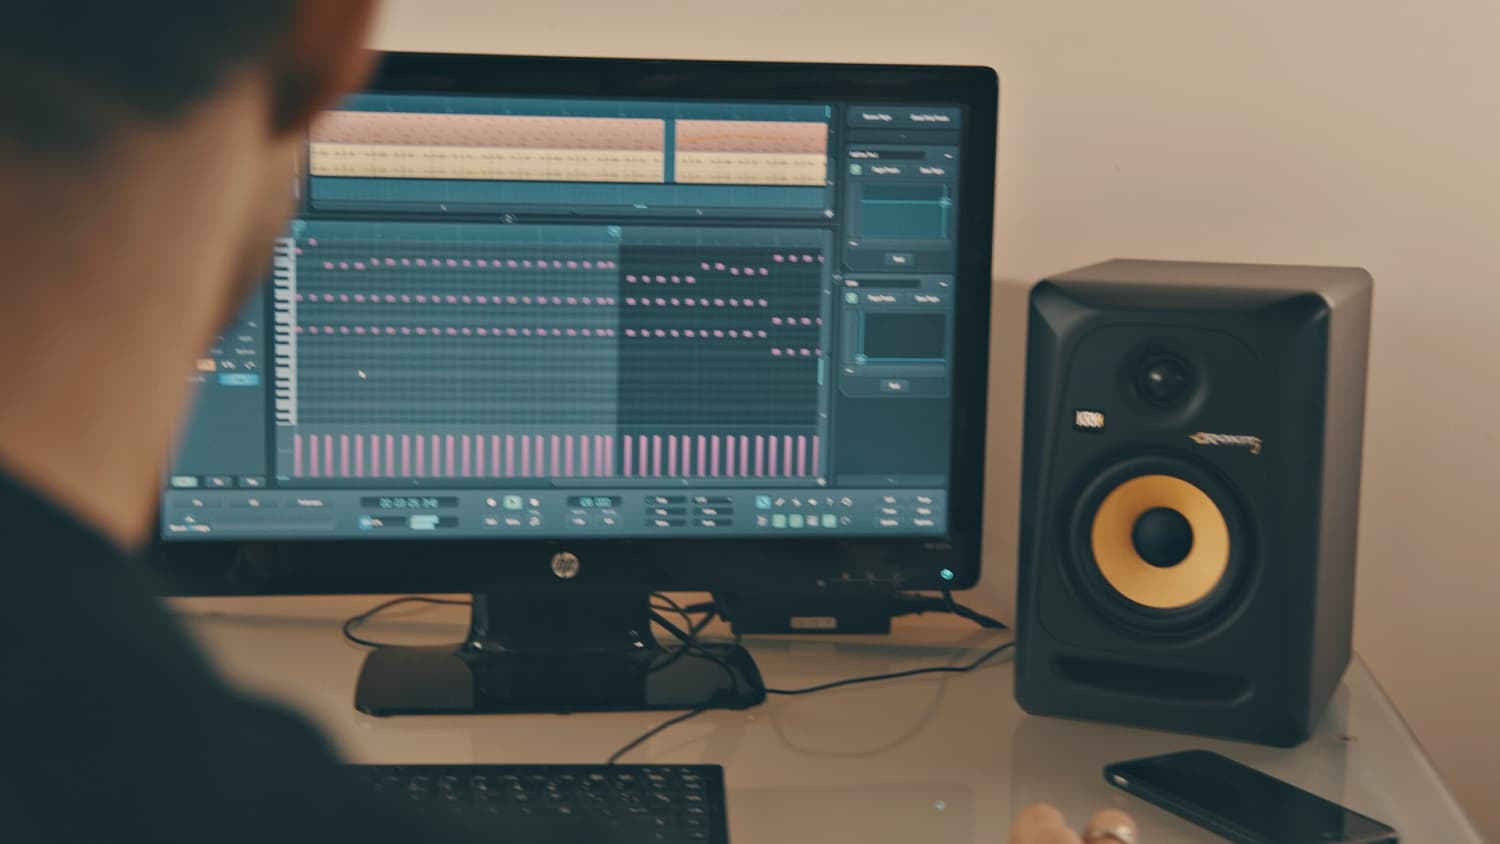
As usual, we prepared a short sequence in our SoundBridge: DAW. It includes most elements of a full mix, with no instrument positioning applied.

Positioning Basics
The sequence sounds fine. However, with Panning, we will try to achieve a more extensive, wider, and more dynamic sound. More specifically, we want to highlight lead instruments and vocals in the mix. To do so, we'll need to relocate some instruments and move them away from them.
A general rule of thumb for mixing is to keep low-frequency content, such as kick drum and bass, snare drum and leads in the center of the stereo image, and pan or spread everything else. This track's vocal would be the lead. There are a lot of other instruments in conflict with that lead, and we can improve the track's sound by getting them out of the way.

Panning and Spreading for Added Interest
This synth arp sequence will be the first instrument we will work on. Since it's also in the center, its frequency spectrum covers that of the vocal lead. We will use a free plugin called Quick Haas and apply some simple stereo spread to correct this. We discussed the Haas effect in previous tutorials. Still, let's briefly mention that it's a psychoacoustic effect in which listeners perceive the spatial position of an audio signal based on minimal delays between the left and right channels. Let's hear the difference before and after processing.

Now we're going to work on the drums. We've already stated that the kick drum, bassline, and snare drum will remain central in our mix, so we'll move on to the other elements. Our clap, drum loop, hi-hat, and shaker channels are below. To position these channels, we will use the panning knob. The clap and hi-hat, for instance, will be shifted to the left, while the drum loop and shaker will be moved to the right. Let's hear how these instruments sound before and after panning.

In this sequence, a vocal FX positioned in the center sounds boring. We will process it with a free plugin called MAutopan by MeldaProductions to make it a bit more interesting. Since it's a much longer sound than our drums and synths, it would be good to set the long sinewave-based panning curve. This will make the sound start on the left and end on the right speaker. Such a move will give us more sense of space and movement in the overall stereo image. Let's listen to it before and after processing.

Finally, let's hear the whole mix with panning and spreading applied.
If you liked this article about mixing, here is more on the same subject
MASTER MUSIC PRODUCTION
Expert-led courses designed to take you from fundamentals to finished tracks.

HOUSEFrom bouncy bass and solid kicks, this course teaches you the most modern House music production techniques needed to succeed and stand out.

TRAPQuit sounding like generic Trap and produce something World with hints of the Far East. Create ethnic soundscapes to put your Trap ahead of the curve.

AMBIENTProduce relaxing, sophisticated psy-influenced ambient. Psychedelic and relaxing to listen to, create meditative soundscapes to put your listeners in Zen.