How to Create Epic Vocals With Pitch Correction
Last Edited: Nov 30, 2023
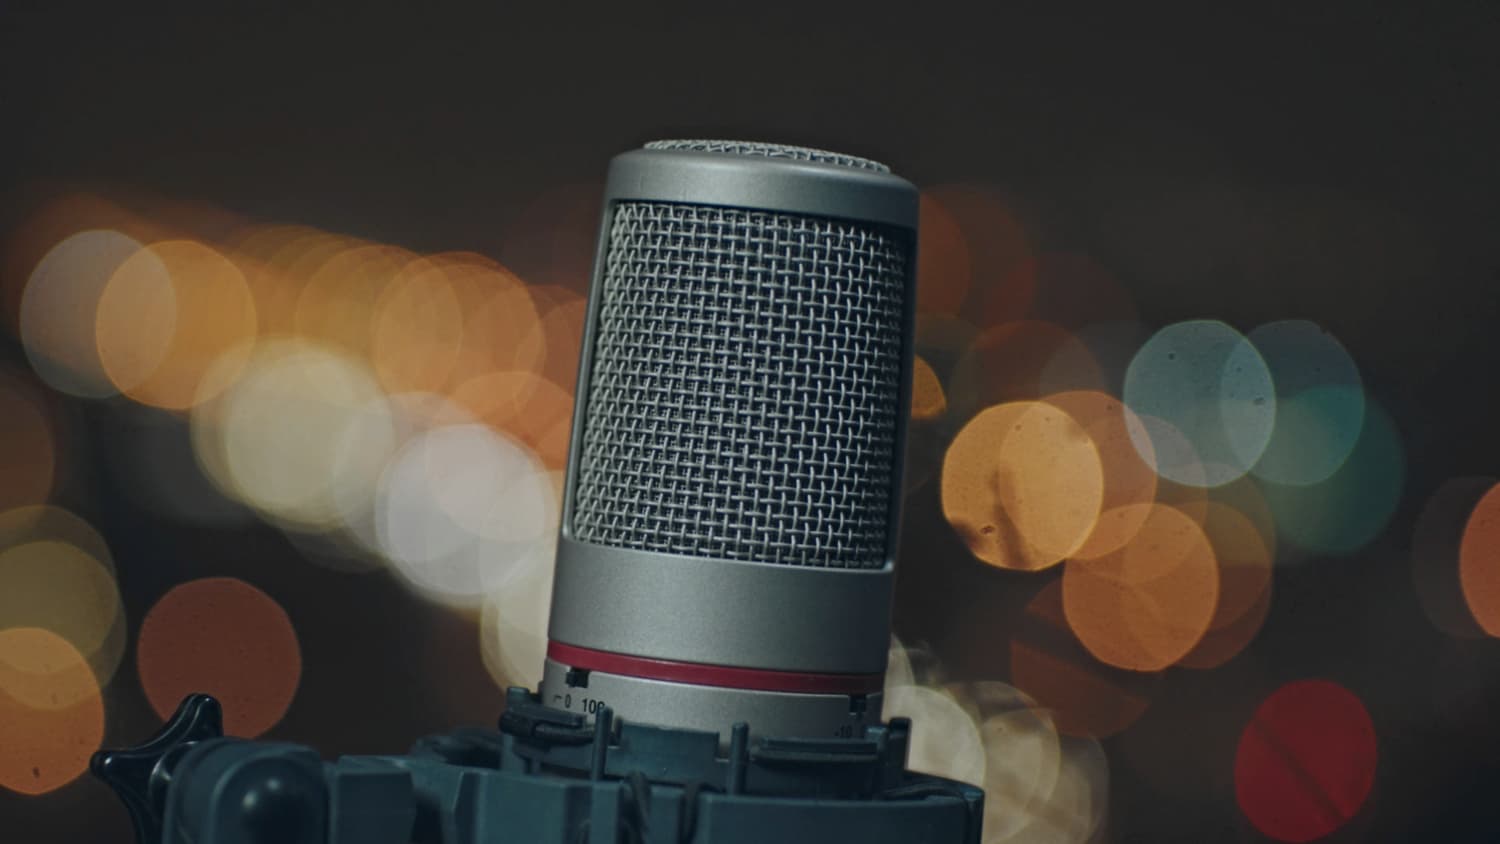
Tune It Up
In addition to traditional audio processing effects such as equalizers, compressors, reverbs, etc., several digital effects alter the sound more obviously. Love it or hate it, pitch correction (auto-tune) is one of these effects. You are probably aware that recording vocals can be a very time-consuming process. In the past, music producers would spend countless hours re-recording vocalists until they captured an ideal intonation. Today, this process has been expedited due to the emergence of pitch correction. Generally speaking, pitch correction is commonly used on vocals to smooth out intonation problems from note to note. However, like all insert effects, it can be fed any input source on the fly.
How Does Pitch Correction Work?
Pitch correction does not audibly affect speed, level, or contour. Specifically, the unit detects the actual pitch of a digital signal (using a "live pitch" detection algorithm), calculates the necessary change, and modifies the audio signal accordingly. Today, many pitch correction plugins and insert effect units are available. However, regardless of the instance you use, the pitch correction process is virtually the same (except for parameter ranges, modulation features, and the processing algorithm itself).
Main Parameters
In today's lesson, I will demonstrate the "auto-tune" effect using a freeware VST called MAutoPitch made by Melda Production. Furthermore, I'll walk you through the significant features of this unit and provide tips on how to reach desirable effects.

The top-left portion of MAutoPitch contains the following parameters:
Depth:
Depth determines the amount of pitch correction that is applied to the signal as a percentage. When you set this knob to 100%, you are affecting the entire signal. At this setting, the output should sound "machine-like" - ideally in tune. At lower "depth" settings, it processes just a fraction of the signal. This leaves more deviation - and more mistakes.
Speed:
Speed defines how quickly the plugin reacts to the incoming signal from note to note. The higher the rate, the more immediate the pitch correction is.
Detune:
Detune defines global pitch change in cents (100 cents = 1 semitone = 1 half-step). This parameter gives you control over how accurate the correction is. The top-right portion contains these parameters:
Dry/Wet:
Dry/Wet determines the ratio of the original to the processed signal. 100% wet means you hear only the processed signal, and 100% dry (0% wet) means you only hear the original signal.
Width :
The width determines the pitch processing differences between the left and right stereo channels. You can use it to achieve a stereo expansion effect.
Keep Formants :
Keep Formants preserves the input's spectral characteristics and timbre (natural sound). Turning this parameter down is an excellent effect but can result in inconsistent timbre/articulation, which may make some lyrics unintelligible.
Formant Shift :
Formant Shift lets you manually alter formant information. This, generally, does not transpose the fundamental pitch. Instead, it changes the apparent size of the sound source. The bottom section contains a scale panel and tuning indicator.
Scale panel:
The Scale Panel allows you to select the scale to which the input will be tuned. The note buttons (C, C#, D, D#, E, F, F#, G, G#, A, A#, B) allow you to choose the tonal center of the scale. You may select chromatic, major, minor, or pentatonic formulas. "Chromatic" means the pitch will be corrected to the nearest half-step. "Major" will tune the signal to the nearest scale degree diatonic to major. "Minor" does the same as "major," but to the nearest scale degree diatonic to minor. "Pentatonic" tunes the signal to the nearest note in the pentatonic scale. You may also punch in your custom scales using the piano roll. This way, the signal is tuned to the closest notes you enable.
Tuning indicator:
The Tuning indicator displays the frequency correlation between input and output. In most cases, the green bar (output) will be shorter than the red bar (input) because the length indicates how "in tune" each signal is. The note name to the left of the indicator bars shows the enabled pitch nearest to the pitch of the input.
Practical Use & Audio Examples
In the first place, pitch correction is to conform a performance to the key of your song. Below is a short song where I processed the vocal using pitch correction. I chose this particular vocal phrase because it features a lot of vibrato. Since vibrato periodically affects pitch, it exemplifies the modifications made by "auto-tuning." The first example is a clean vocal with poor intonation, a typical problem. In addition, a properly tuned bass accompanies the vocal sample.
I applied a MAutoPitch plugin to the same vocal in this second audio example. Basically, I set the plugin to the key that the bass is in (G Phrygian). Also, notice that the vocal and the bass are now in harmony.
Lastly, I applied a bit of simple reverb to the vocal to emulate a more significant performance space. In final consideration, let's hear how it suits our song.
MASTER MUSIC PRODUCTION
Expert-led Kurse, die dich von den Basics bis zu fertigen Tracks bringen.

HOUSEVon bouncy Bass und solid Kicks: Dieser Kurs zeigt dir die modernsten House-Production-Techniken, um zu gewinnen und herauszustechen.

TRAPKling nicht nach 08/15-Trap, sondern produziere etwas World mit Far-East-Vibes. Erstelle ethnische Soundscapes, damit dein Trap der Konkurrenz voraus ist.

AMBIENTProduziere entspannte, sofisticierte psy-influenced Ambient. Psychedelisch und relaxed zum Hören – erschaffe meditative Soundscapes für Zen.