Give a Different Feel to Your Grooves With Swing
Last Edited: Nov 6, 2023
The term "swing" can have different meanings to different people. However, its jazz origins provide a helpful starting point for understanding what it means in software and electronic music production. In jazz, swing timing typically refers to a specific rhythm and notation convention. It indicates that each beat is subdivided by two but that those two subdivisions don't have the same duration. The first will be conventionally twice as long as the second. In practice, this is equivalent to subdividing every beat into a triplet and only executing the first and third triplet.
In a broader sense, swinging often describes a rhythm with an off-kilter groove. For instance, drummers swing the beat, introducing a slightly irregular feel to the rhythm and thus playing with a particular groove. In the following tutorial, we will show you how to apply and experiment with this concept inside the SoundBridge: DAW.
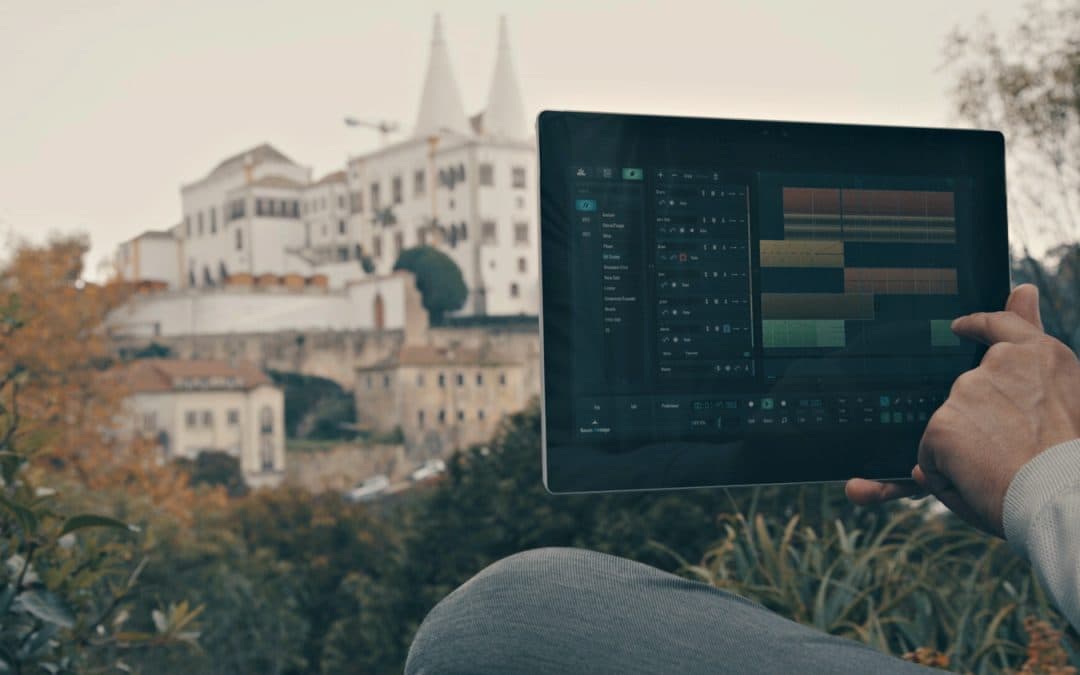
In front of us, we have a simple sequence created in SoundBridge. It contains a kick drum, hi-hat, bassline, and synth chord stabs. Among them, we have a shaker sound written in the MIDI sequencer. This shaker sound will be our main focus for now. Let's first hear the whole sequence.

~Full Mix - Without Swing
As we can hear from the audio example, the sequence sounds decent, but regarding the rhythm, we could add more interest if we introduced swing. We previously mentioned the shaker. Now, let's take a closer look at it by opening the MIDI editor. First, we will listen to it in solo.
~Shaker - Without Swing

The picture above shows us the MIDI editor window of the shaker. It exposes the notes and velocity values of the rhythm pattern we have created. You can see that the grid is set to 1/16, and the start and endpoints of the notes are locked to the grid lines shown in the background. Our goal is to change that. This can be done by clicking on the "Swing" button down on the Transport bar. When we do this, we see a new window - the "Swing" menu, as shown in the picture below.

The Swing Menu
This menu has several parameters to control. On the top left section, we can see three tabs to select if the effect will be applied to the 1/8, 1/16, or 1/32 subdivision of the beat. Below this, there is a dial where we can set the amount of effect expressed in percentage. After this is applied, we can hit the "Add to Snap" button. This automatically adds the settings to the "Snap Presets" window to the right. This is useful to apply a previously tweaked setting quickly. Finally, the "Quantize" button will apply the setting to all selected notes in the MIDI edit window.

In the picture above, we have set the swing amount to 50% on the 1/16 subdivision and saved the preset, which is now available on the right side. For now, we have named this preset "1/16 - 50%". Selecting this snap setting adjusts the overall grid lines of the project. Now that it's applied, you will notice that the start and endpoints of the shaker notes in the MIDI edit window don't lock to the grid anymore. Now, select all shaker notes on the MIDI editor and click the "Quantize" button. After that, as shown in the picture below, the shaker's notes start, and endpoints lock to the grid again.

Let's take a look at our shaker pattern now.
~Shaker - Swing 1/16 - 50%
We can hear that the new shaker pattern has a different rhythm feeling. We will further apply these swing settings to other elements of the mix. Compared to the initial version, it has a diverse and exciting drum groove. Experiment with it!
~Full Mix - Swing 1/16 - 50 %
MASTER MUSIC PRODUCTION
Expert-led Kurse, die dich von den Basics bis zu fertigen Tracks bringen.

HOUSEVon bouncy Bass und solid Kicks: Dieser Kurs zeigt dir die modernsten House-Production-Techniken, um zu gewinnen und herauszustechen.

TRAPKling nicht nach 08/15-Trap, sondern produziere etwas World mit Far-East-Vibes. Erstelle ethnische Soundscapes, damit dein Trap der Konkurrenz voraus ist.

AMBIENTProduziere entspannte, sofisticierte psy-influenced Ambient. Psychedelisch und relaxed zum Hören – erschaffe meditative Soundscapes für Zen.