Design Your Own Transition Effects
Last Edited: Dec 4, 2023
Transition effects are one of the most common sounds in electronic music genres nowadays. They include swells, buildups, sweeps, and other effects, which help build a sense of expectation for a specific part of your songs, like the drop or breakdown. The usual approach to making these kinds of sounds is to use previously made samples from sample libraries or to make your own from different synthesizers. Also, some unique VST instruments have recently emerged, created to help reduce the effort of making FX transitions, allowing you to customize them and fit them better in your tracks. The following tutorial will present one of these instruments and review its possibilities. We will start by opening an existing project in our SoundBridge: DAW. This project contains all elements of a full mix but lacks proper uplifter and sweep FX transitions.

For the purpose of this tutorial, we have decided to use a VST instrument called The Riser, which AIR Music Tech designed. However, you can choose between a few other similar instruments out on the market.

Let's first hear the actual track from our project without any sounds from The Riser.
~Full Mix - Without The Riser FX
The Parameters
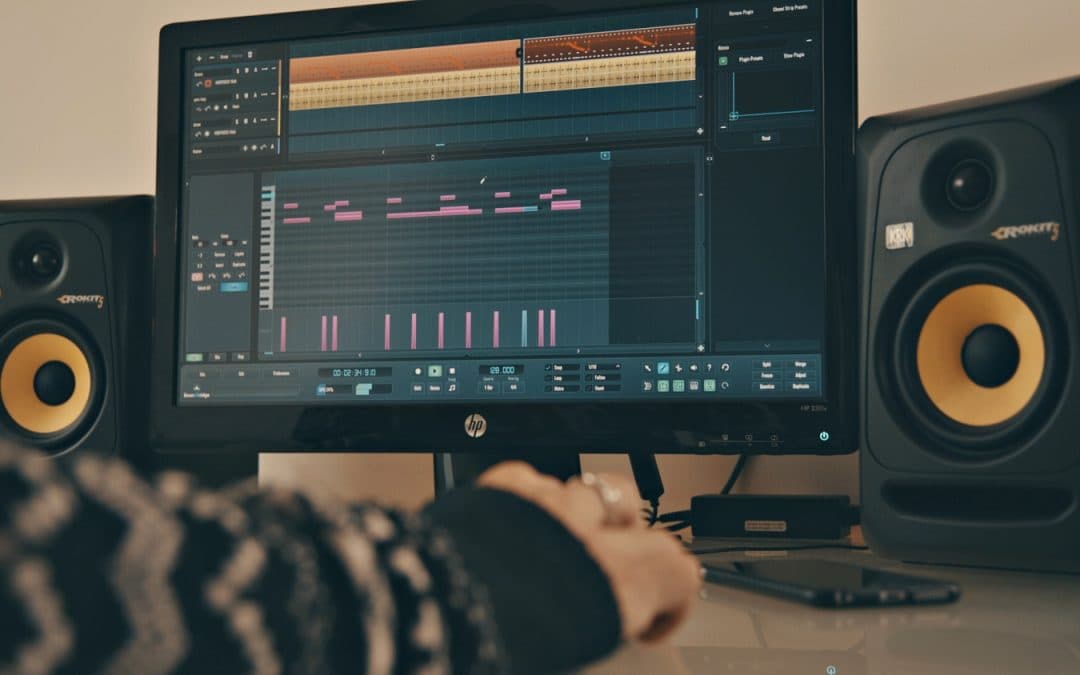
As you can see from the picture above, the Riser interface doesn't look simple, but it's not too complicated when you start working with it. The central part of the engine consists of three separate oscillators: Sweep, Noise, and Chord. You can see them lined up on the upper left part of the interface. The sweep oscillator has three parameter curves you can adjust by moving up or down (Volume, frequency, and shape). B low the curve window, there is a little slider that controls the amount of the LFO A or LFO B. The Oscillator mode selector underneath enables several oscillation modes. The noise generator has controls similar to the sweep generator above, but instead of frequency, it uses a pitch curve. e Chord generator offers more parameters to control. B low its section, you can choose the OSC mode, Octave, Chord type,e, and Pitch mode. The top right part of the interface is reserved for controlling the master filter and main amp. On the far right, there are sections for Delay and Reverb. Style, the bottom-left part of the interface, controls the two LFOs, overall Decay, and to the right, the Master volume. T at would be the basic overview of the Riser's parameters and functions. Now, it's time to build a transition with it! We will add uplifter, sweep, and downlifter sounds throughout our track. I guarantee you will hear the empty spaces being filled the right way.
Transition Sounds
~The Riser - 1
~The Riser - 2
~The Riser - 3
~Full Mix - With The Riser FX
The great thing worth mentioning about The Riser is that you can increase or decrease the sweep duration by going up or down octaves on the keyboard. Also, you can tune the sweeps, fades, and modulated risers to the root key of your track. This is a great time saver for building your transitions!
MASTER MUSIC PRODUCTION
Expert-led courses designed to take you from fundamentals to finished tracks.

HOUSEFrom bouncy bass and solid kicks, this course teaches you the most modern House music production techniques needed to succeed and stand out.

TRAPQuit sounding like generic Trap and produce something World with hints of the Far East. Create ethnic soundscapes to put your Trap ahead of the curve.

AMBIENTProduce relaxing, sophisticated psy-influenced ambient. Psychedelic and relaxing to listen to, create meditative soundscapes to put your listeners in Zen.