

Fix Clock Drift and DAW Mapping: Aggregate Device Setup for Producers
Last Edited: Sep 26, 2026
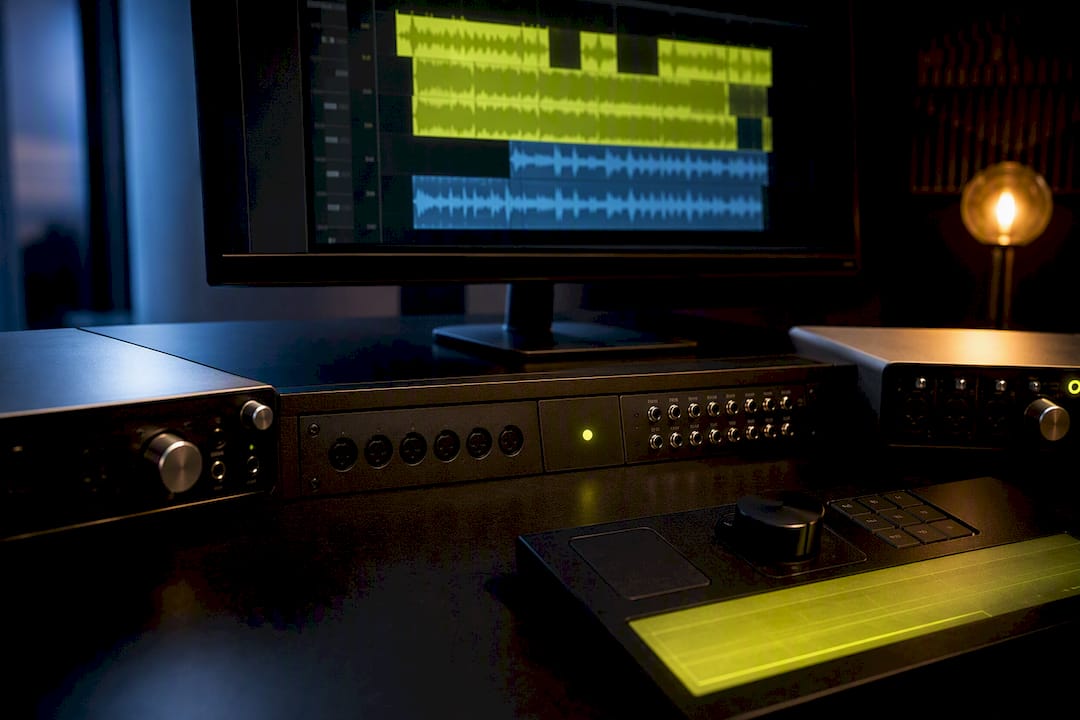
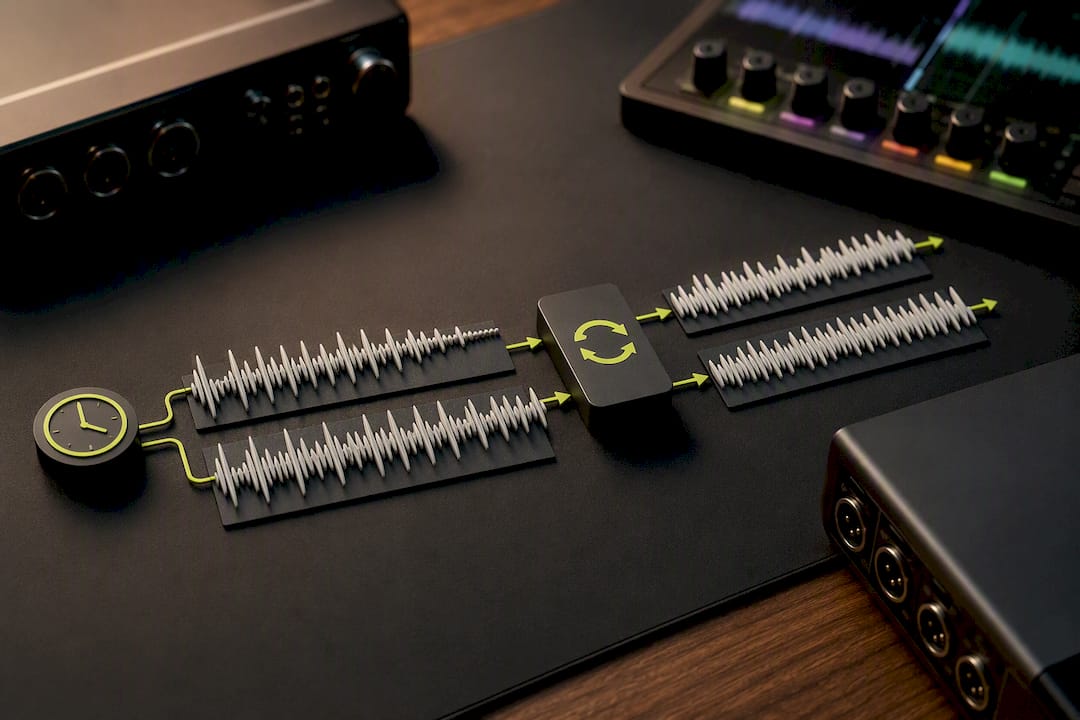
An Aggregate Device combines the inputs and outputs of multiple audio interfaces into one virtual device your DAW can address as a single unit. Once you build one in Audio MIDI Setup, you can track through a USB mic, an ADAT expander, and your main interface simultaneously. The catch: you need a stable clock source and Drift Correction dialed in, or you’ll fight dropouts and sync drift instead of making music.
TL;DR:
- Ensuring all interfaces share the same sample rate and the master clock is correctly set prevents sync issues and dropouts during sessions.
- Avoiding USB hubs and choosing the highest-quality interface as the clock source reduces timing drift and improves stability.
- Proper channel mapping within your DAW, cross-referenced with Audio MIDI Setup, is crucial to avoid confusion and routing errors.
- Testing aggregate configurations with a short recording before a session helps identify drift or dropouts early, saving time later.
- Regularly updating drivers and firmware on all connected interfaces enhances reliability, especially in remote collaboration setups.
Aggregate Device Setup: Building One in Audio MIDI Setup
Every Aggregate Device starts in the same place, and the process takes about two minutes once you know the order of operations. Here’s the full sequence for a clean, reliable build.
- Open Audio MIDI Setup. Go to Applications > Utilities > Audio MIDI Setup and look at the Audio Devices list on the left. This is where macOS shows every interface currently connected.
- Create the Aggregate Device. Click the + button at the bottom left and select “Create Aggregate Device.” A new entry appears in the sidebar, ready to configure.
- Select your interfaces. Check the box next to each device you want folded into the aggregate. Only devices that are powered on and connected will show up here, so plug everything in before you open the app.
- Pick your master clock. In the “Use” column, drag your chosen master device to the top of the list, or click it directly depending on your macOS version. Apple’s official guide covers this step in detail for Logic Pro, GarageBand, and MainStage sessions.
- Rename the device. Double-click the default “Aggregate Device” label and give it something specific, like “Studio Rig: MOTU + Focusrite.”
- Match sample rates. Set every included interface to the same sample rate (44.1kHz, 48kHz, or whatever your session needs) before moving on.
- Enable Drift Correction. Check the Drift Correction box for every device except your master clock.
- Save and quit Audio MIDI Setup. Close the app completely before launching your DAW, so it detects the finished aggregate cleanly.
What Clock Source and Drift Correction Actually Do
The clock source is the device that sets the timing reference that every other interface in the aggregate must follow. Drift Correction is the software-level adjustment macOS applies to keep non-master devices from slowly sliding out of sync with that reference, since no two interfaces run their internal clocks at exactly the same speed. BlackHole’s documentation walks through why this matters once you’re combining more than one clock domain.
- Pick your highest-quality interface as master clock, not necessarily the one with the most channels.
- Avoid daisy-chaining through USB hubs when possible; direct connections reduce timing jitter.
- Leave Drift Correction on for every secondary device unless you’re linking hardware through ADAT or word clock, where a shared physical clock already handles sync.
A USB mic paired with a multi-channel interface almost always needs Drift Correction on the mic. An ADAT-equipped interface feeding a small USB box benefits from setting the ADAT unit as master, since it usually has a more accurate internal clock.
Pro Tip: If you hear intermittent clicks or a slow phase shift between tracks recorded on different interfaces, that’s drift, not a gain-staging problem. Toggle Drift Correction off and back on for the affected device before you touch anything else.
Setting Up the Aggregate Device Inside Your DAW
Once the aggregate exists in Audio MIDI Setup, your DAW needs to see it as a single input and output device. Open your DAW’s audio preferences and select the aggregate by name for both Input Device and Output Device, assuming your DAW supports one combined device (Logic Pro, Ableton Live, and most Core Audio hosts do).
Channel mapping is where people get tripped up. Your DAW will usually list channels as plain numbers, “Input 1” through however many total channels the aggregate carries, rather than by interface name. MacProVideo’s tutorial recommends cross-referencing Audio MIDI Setup’s device order to figure out which numbered channel corresponds to which physical port.
- In Logic Pro, check the I/O Labels window under Audio preferences to rename channels to match your actual hardware inputs.
- In Ableton Live, the Audio tab under Preferences lets you activate specific input and output channels individually, which helps confirm the mapping before a session.
- In Pro Tools or other Core Audio hosts, look for a Hardware or I/O Setup panel that lists channel counts matching your aggregate’s total.
- Write down a simple map like “Inputs 1 to 8 equal Interface A, 9 to 12 equal Interface B” so you’re not guessing mid-session.
Set your buffer size next. Start around 128 samples for tracking, and raise it if you hear crackling. Run a quick test recording across every channel before the real session starts to confirm each track is pulling audio from the port you think it is.
Aggregate Device vs. Multi-Output Device: Which One Do You Need?
These two solve opposite problems, and mixing them up wastes time. An Aggregate Device combines multiple interfaces into one device for recording (input), so your DAW can pull audio from several sources at once. A Multi-Output Device sends a single output signal to multiple destinations simultaneously, which is useful when you want system audio to play through both your studio monitors and a streaming capture device.
- Use an Aggregate Device when you’re tracking from more inputs than one interface provides.
- Use a Multi-Output Device when you’re routing one output to multiple destinations, such as streaming setups that need audio to go to OBS and headphones at once.
- For large-scale I/O expansion, ADAT, word clock, or TDIF connections between hardware units are generally more reliable than software aggregation, since the devices share a physical clock rather than relying on macOS to reconcile two separate clocks.
Troubleshooting: No Audio Device, Dropouts, and Mapping Errors
Before anything else, connect all your interfaces and confirm they’re powered on before you open Audio MIDI Setup or your DAW. Install any manufacturer drivers first. Then work through this list in order.
- “No audio device installed” message: Quit and reopen Audio MIDI Setup, then relaunch your DAW. Check System Settings > Sound and confirm the aggregate is selected as the active device. Reboot if it still won’t detect.
- Random dropouts or clicks: Switch the master clock to a different device in the aggregate and see if it stabilizes. Toggle Drift Correction off, then back on. Move devices off shared USB hubs, since two interfaces sharing one USB controller can cause exactly this symptom even when each device works fine alone.
- Sample rate mismatches: Set every device inside Audio MIDI Setup to the same rate, then confirm your DAW’s project settings match. A mismatch here is one of the most common causes of silent or garbled channels.
- Latency creeping up: Raise your buffer size incrementally, starting near 64 samples and stepping up to 128 or 256 until dropouts stop.
- Deleting or renaming: Select the aggregate in Audio MIDI Setup’s sidebar, then click the minus button to delete it, or double-click its name to rename it, per Apple’s own instructions.
Best Practices for Reliable Multi-Interface Sessions
Aggregated setups carry real limitations. Latency and timing instability are inherent risks once you’re syncing multiple clock domains through software rather than shared hardware, and Ableton has been direct about aggregates underperforming compared to a single well-specced interface.
- Match sample rates across every device before you touch record.
- Choose your best interface as master clock, every time.
- Minimize USB hubs and shared controllers.
- Test channel mapping with a short recording before the actual session.
- Keep drivers and firmware current on every connected interface.
Pro Tip: If you find yourself rebuilding the same aggregate before every session because your channel count keeps growing, that’s a sign to invest in an ADAT expander or a larger interface instead of stacking more USB devices.
Aggregate Devices in Remote Collaboration Sessions
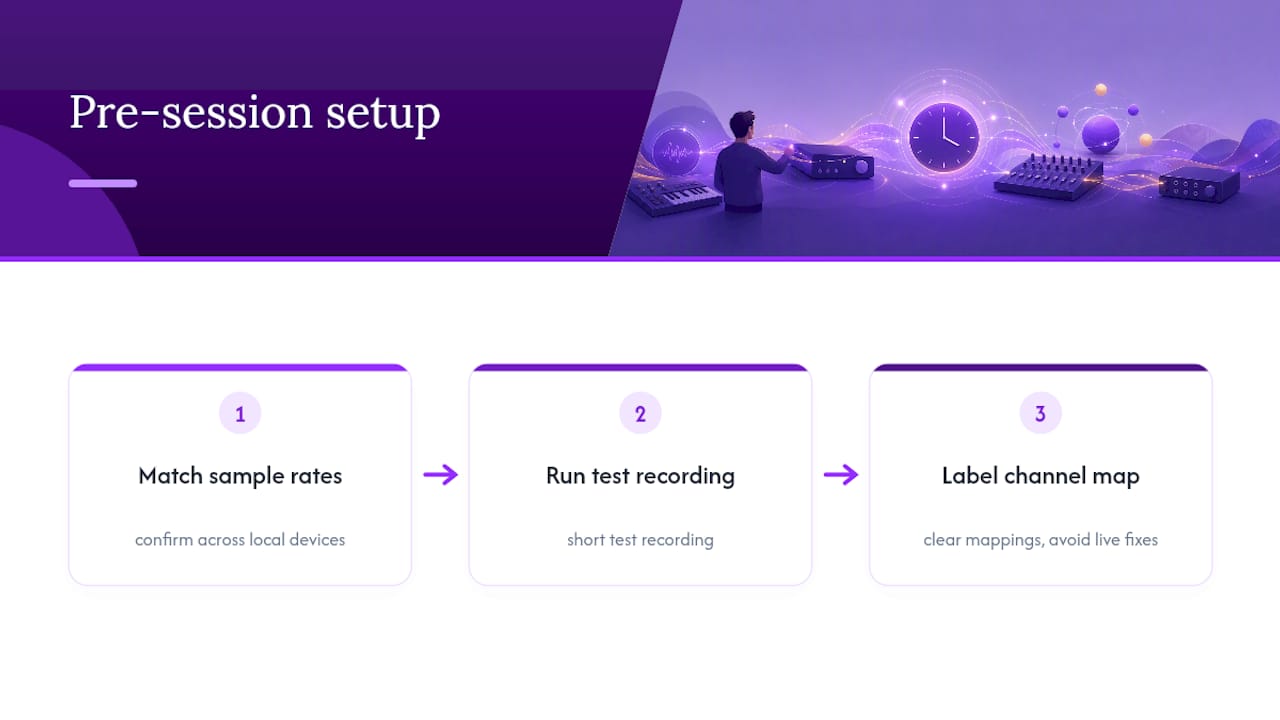
A stable Aggregate Device setup matters even more once you’re tracking with a remote collaborator, since every dropped sample or mistimed channel shows up in someone else’s monitor mix too. Before a remote session, confirm the sample rate matches across all local devices, run a short test recording, and label your channel map so you’re not troubleshooting live while someone waits on the other end of the connection.
SoundBridge’s zero-latency remote tracking depends on your local I/O being mapped correctly first. If your aggregate is feeding the wrong channel into the wrong track locally, that error travels straight into the collaborative session. Getting the local setup right isn’t optional groundwork. It’s the foundation the entire remote workflow sits on.
A Quick Note From an Audio Engineer’s Chair
The clocking mistake that trips up almost everyone the first time: setting a cheap USB mic as master clock because it happened to be first in the device list, then wondering why the multi-channel interface drifts out of phase twenty minutes into a take. Audio MIDI Setup doesn’t pick the best clock for you. It picks whatever you dragged to the top.
The one habit worth building immediately: after you create any aggregate, record ten seconds of silence across every channel before you record anything that matters. If drift or dropouts are going to show up, they show up in those ten seconds, not in the middle of your best take.
— Wake
Where SoundBridge Fits Once Your Interfaces Are Combined
SoundBridge is built for the exact moment your Aggregate Device setup meets a real session: multiple inputs, a collaborator on the other end, and zero tolerance for dropped timing. 
Once your channels are mapped and your clock source is stable, SoundBridge’s zero-latency remote tracking and bi-directional plugin control let you record with someone across town or across the country without the sync guesswork that plagues browser-based tools. High-fidelity processing up to 192kHz means your carefully configured aggregate isn’t the bottleneck in the signal chain. Start with the Free Version to test your local I/O setup inside a real project, or explore the Premium Version and Lifetime License once you’re ready for extended collaboration features and server access available at a monthly fee. Your aggregate is only as useful as the software routing it, and that’s exactly where SoundBridge earns its place in your rig.
Primary Sources for Deeper Technical Reference
For official steps and edge cases beyond this guide, check Apple’s support documentation and BlackHole’s in-depth wiki.
Sources
- Aggregate Device (In Depth) · ExistentialAudio/BlackHole Wiki · GitHub
- How & Why To Create Aggregate Devices in macOS Audio MIDI Setup — MacProVideo
FAQ
What Is an Aggregate Device on a Mac?
An Aggregate Device is a virtual audio device created in Audio MIDI Setup that combines the inputs and outputs of two or more physical interfaces into one device your DAW can use as a single unit.
How Do I Delete an Aggregate Device on My Mac?
Open Audio MIDI Setup, select the aggregate device in the sidebar, and click the minus button at the bottom left to remove it, as Apple documents.
What Do I Do if My Computer Says No Audio Device Is Installed?
Quit and reopen Audio MIDI Setup and your DAW, confirm all interfaces are powered and connected, then check System Settings > Sound to make sure the aggregate is selected as the active device before rebooting if the problem persists.
What Is the Difference Between an Aggregate Device and a Multi-Output Device?
An Aggregate Device combines multiple input interfaces, while a Multi-Output Device sends a single output signal to multiple destinations at once, such as monitors and a streaming capture app.
Recommended
MASTER MUSIC PRODUCTION
Expert-led courses designed to take you from fundamentals to finished tracks.

HOUSEFrom bouncy bass and solid kicks, this course teaches you the most modern House music production techniques needed to succeed and stand out.

TRAPQuit sounding like generic Trap and produce something World with hints of the Far East. Create ethnic soundscapes to put your Trap ahead of the curve.

AMBIENTProduce relaxing, sophisticated psy-influenced ambient. Psychedelic and relaxing to listen to, create meditative soundscapes to put your listeners in Zen.