Audio Mixing Step by Step: The Aspiring Producer’s Guide
Last Edited: May 29, 2026

Learning audio mixing step by step feels overwhelming at first. You open your DAW, stare at twenty tracks, and suddenly every fader, plugin, and pan knob feels equally urgent. The problem is not your ear or your gear — it's the lack of a clear workflow. This guide breaks down the full audio mixing process in a logical sequence, from session prep through final verification. Follow it once, and you'll realize professional-sounding mixes are less about mystery and more about disciplined process.
Key Takeaways
| Point | Details |
|---|---|
| Organize first | A clean, grouped session prevents confusion and speeds mixing decisions. |
| Set levels carefully | Gain staging with track peaks near -18 dBFS preserves headroom and plugin accuracy. |
| Balance before effects | Get a good static mix and pan before EQ, compression, or effects. |
| Use compression wisely | Apply compression only where dynamics need control to avoid squashing instrument character. |
| Verify in mono | Check mono compatibility to fix phase issues that affect many playback systems. |
Preparing Your Session for Audio Mixing
The single biggest time-waster in mixing is a messy session. Before you touch a single fader, get organized. Think of this stage as clearing your workspace before a delicate repair job. Clutter in your session creates clutter in your decisions.
Here's what good session preparation looks like in practice:
- Name every track clearly. "Audio_06" tells you nothing. "Lead Vox Main," "Kick In," and "Rhodes Layer 2" tell you everything at a glance.
- Color-code by instrument group— drums in red, bass in orange, synths in blue, vocals in green. Your eyes navigate faster than your brain reads.
- Group tracks into buses early. Route your drum tracks to a Drum Bus, vocals to a Vocal Bus, and so on. This gives you group control and cleaner routing for later.
- Consolidate and trim your audio clips. Remove silence tails, clicks, and artifacts before mixing starts. Working with flawed audio means any processing you add will amplify those flaws.
- Apply gain staging. This is where most beginners skip a critical step. Gain staging in mixing begins by setting individual track peaks to -18 to -12 dBFS, providing 6-12 dB of headroom on the master bus.
Why does that headroom number matter so much? Because most plugins, especially compressors and saturators, were modeled on analog gear that expects a specific input level. Feed them a signal that's already hot, and they distort or behave unpredictably. Setting peaks to -18 to -12 dBFS keeps everything in the sweet spot where plugins perform as designed. Pair this with solid audio-editing tips to tighten your clips before mixing begins.
Pro Tip: Use a gain plugin on every track as your very first insert. This way, you can always return track faders to unity gain and adjust input level independently, keeping your mix mathematically clean.
Step-By-Step Mixing Workflow: From Static Mixing to Effects
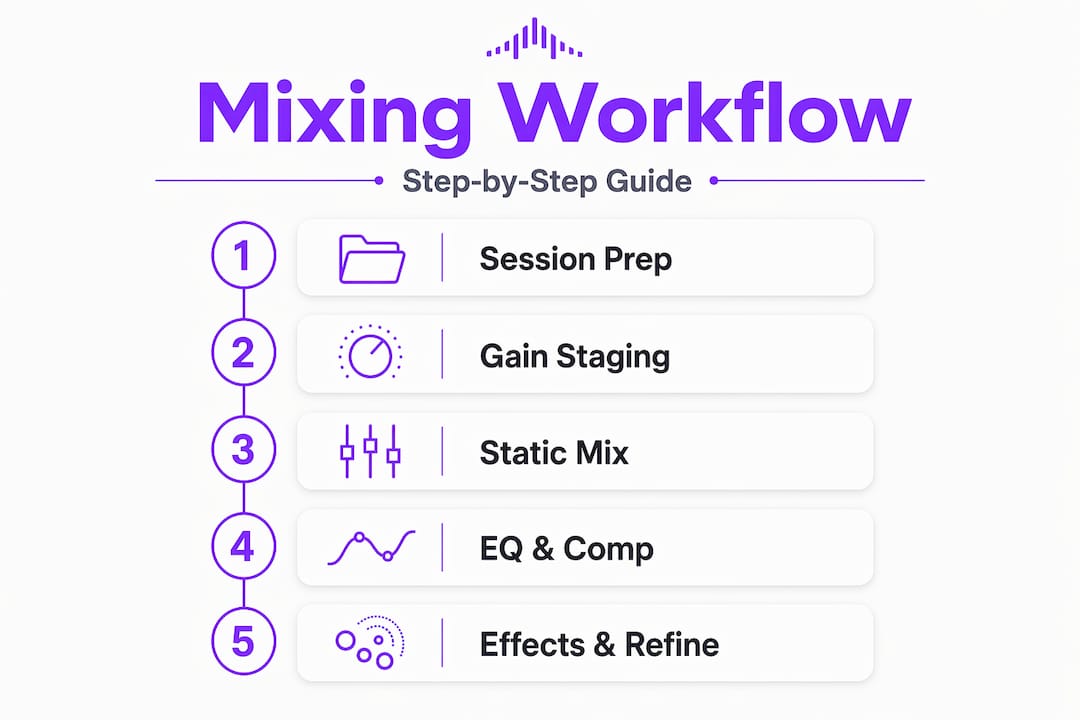
With your session organized and gain set, you can now execute the mixing steps to balance and shape your sounds effectively. Here is the core audio mixing process explained as a numbered sequence:
- Build a static mix. Pull all faders down and bring them back up one by one, starting with your kick and bass, then layering instruments, and finishing with vocals prominent in the mix—no plugins yet — just levels.
- Pan your tracks for stereo width. Keep kick, bass, lead vocals, and snare centered. Push rhythm guitars, synth pads, and backing vocals out to the sides. A wide stereo image creates space without crowding the center.
- Apply EQ in context. High-pass filter everything that doesn't need low-end energy, typically above 80-100 Hz for guitars, synths, and vocals. This clears up mud in the low- to mid-range that builds up quickly.
- Compress for consistency. Start compression on vocals with a 3:1 ratio, a threshold set for 3-6 dB of gain reduction, and a 10-15ms attack time. This evens out performance dynamics while keeping the vocal expressive.
- Add effects via send channels. Use reverb on a send channel rather than directly on each track to keep the mix clear. Multiple tracks feeding a single reverb bus sound cohesive; individual reverbs on each track sound muddy and uncontrolled.
A few essential points about EQ and panning are worth knowing before you rush ahead:
- Cutting problem frequencies beats boosting desired ones in most cases. If a vocal sounds nasal, cut around 1-3 kHz before boosting the high frequencies.
- Panning in small increments matters for mono compatibility. Slamming a synth hard left with no counterpart on the right creates an imbalanced stereo image.
- Vocal mixing techniques deserve their own study, but in the context of basic mixing steps, compression and EQ applied before reverb will always give you more control.
Here's a quick reference for common EQ and compression starting points:
| Track type | High-pass filter | Compression ratio | Attack time |
|---|---|---|---|
| Lead vocal | 80-100 Hz | 3:1 to 4:1 | 10-15ms |
| Electric guitar | 100-120 Hz | 4:1 to 6:1 | 20-40ms |
| Synth pad | 120-150 Hz | 2:1 to 3:1 | 30-50ms |
| Kick drum | No filter | 4:1 to 8:1 | 1-5ms |
| Snare | 60-80 Hz | 4:1 to 6:1 | 5-15ms |
Pro Tip: Always audition EQ cuts in solo first, then immediately switch back to the full mix. What sounds wrong in solo often sounds perfect in context, and vice versa.
Verification and Refinement Techniques to Finalize Your Mix
After executing the core mixing steps, these verification methods help ensure your mix translates well across systems. This stage separates a rough mix from a polished one.
- A/B reference constantly. Import 3-5 professional tracks from the same genre into your session at the same loudness as your mix. Toggle between them. Your mix should feel comparable in tone, weight, and width — not identical, but competitive.
- Check mono compatibility. Mono compatibility fails in 20-30% of consumer playback systems. Press the mono button on your master bus after each round of panning and effects processing. Anything that disappears has a phase problem.
- Take ear breaks seriously. Every 45-60 minutes, step away for 10-15 minutes. Ear fatigue is real, and tired ears reach for unnecessarily high boosts and reverb. The mix you return to after a break is the honest one.
- Address common mix problems before calling it done. The most frequent offenders are too much reverb washing out transients, over-compressed vocals losing expression, and bass frequencies not checked on smaller speakers.
“The mix is finished not when you’ve added everything you can, but when you’ve removed everything you shouldn’t have.”
This mindset shift changes how you approach every session. More processing is not always better processing. The goal of verification is to ask, "What can I take away to make this cleaner?" Use these remote music collaboration tips if you're co-mixing with another engineer, since a second set of ears at this stage is invaluable.
Pro Tip: Export your mix and listen on three different systems: studio monitors, earbuds, and a phone speaker. If it holds up on all three, it's ready.

Managing Your Session and Timeline: Workflow and Time Estimates
Understanding workflow and timing helps you manage your project efficiently while maintaining consistent quality. Here's a reality check for producers and engineers learning beginner audio mixing: time estimates vary widely based on track count and complexity.
Simple mixes with vocals over beats take 2-4 hours, while complex full-band mixes require 8-20 hours across multiple sessions. That range matters because it shapes your expectations and helps you avoid rushing. Rushing a mix leads to over-processing, over-compression, and a finished product that sounds tired.
Here's how to keep your sessions manageable:
- Set a rough mix milestone first. Never jump into detailed processing without a working static balance. The rough mix is your roadmap.
- Work in blocks by instrument group. Spend one session on drums and bass. Another on melodic elements. A third on vocals and effects. This keeps decision fatigue in check.
- Save mix versions often. Label them with dates and stages: "Mix_v1_static," "Mix_v2_EQ_comp," "Mix_v3_effects." You can always step back without losing progress.
- Know when to stop. More hours do not guarantee better results. If you've crossed 20 hours on a mix without resolution, fresh ears or a second opinion will solve it faster than more plugins.
| Mix complexity | Track count | Estimated time | Key workflow tip |
|---|---|---|---|
| Simple vocal/beat | 8-15 tracks | 2-4 hours | Static mix, then EQ and compress in one session |
| Mid-level production | 16-30 tracks | 4-8 hours | Group into buses before mixing begins |
| Full band or dense pop | 30+ tracks | 8-20 hours | Work in multiple sessions by instrument group |
A well-organized project makes the difference between enjoying the process and grinding through it. Check out the DAW workflow comparison guide if you're deciding on the right setup for your workflow style.
Pro Tip: Keep a simple text note in your session folder that lists what you did in each session. Three weeks later, you'll thank yourself when you return to do revisions.
Why Basic Balance Matters More Than Fancy Plugins
Here's an uncomfortable truth: most beginners spend too much time shopping for plugins and not enough time learning to set a static balance. The biggest beginner mistake is reaching for plugins before achieving basic balance, and a messy session leads to messy decisions 80% of the time.
We've seen this play out with producers who own hundreds of plugins but can't get a clean mix. Their sessions are named "Audio_01" through "Audio_47," their faders are all over the place, and they're stacking three compressors on a vocal because the first one isn't working. The root cause is always the same: no foundation.
The foundational steps in this audio mixing guide, like gaining proper staging, static leveling, and clean panning, are not beginner stuff you graduate past. They are what professional engineers return to every single mix. The difference is that professionals execute them faster because they've internalized the discipline. Revisiting essential audio editing techniques at this level builds the instincts that make those foundational steps second nature.
The mindset shift worth making right now: your mix is 70% done once your balance is right and your tracks are clean. Everything after that is enhancement, not rescue.
Get Started With SoundBridge for Your Audio Mixing Journey
Now that you understand the core mixing steps and mindset, it's time to put them into action inside a DAW built for exactly this kind of work.

SoundBridge gives you an intuitive, feature-rich environment where step-by-step audio mixing feels natural rather than overwhelming. From gain staging to effects routing, the platform is built so your workflow decisions are supported by smart tooling, not fought against by clunky interfaces. Whether you're mixing a vocal-over-beat project in two hours or tackling a full band production over multiple sessions, SoundBridge scales with your ambition. Explore the essential DAW features that make mixing more focused, and dive into the audio editing techniques library to sharpen every skill covered in this guide.
Frequently Asked Questions
What is gain staging, and why is it important in mixing?
Gain staging is the practice of managing audio levels throughout your signal chain to prevent clipping and ensure plugins operate predictably. Setting individual track peaks to -18 to -12 dBFS ensures 6-12 dB of headroom on the master bus.
How long does it usually take to mix a song?
It depends on complexity. Simple vocal-over-beat mixes take roughly 2-4 hours, while full band arrangements commonly require 8-20 hours spread across multiple sessions.
Why should I check my mix in mono?
Many speakers and playback devices collapse stereo to mono, and mono compatibility fails in 20-30% of consumer playback systems, meaning panned or phase-heavy elements can disappear entirely.
Can I mix without using compression on every track?
Absolutely. Don't compress every track by default — if a track already sits well in the mix, adding compression only reduces its natural dynamics without adding value.
What common mixing mistake should beginners avoid?
Overusing reverb. Overuse reduces clarity in 70% of novice mixes. Effects should create purposeful space, not cover up a balance problem that should have been fixed with better gain staging and EQ.
Recommended
MASTER MUSIC PRODUCTION
Expert-led courses designed to take you from fundamentals to finished tracks.

HOUSEFrom bouncy bass and solid kicks, this course teaches you the most modern House music production techniques needed to succeed and stand out.

TRAPQuit sounding like generic Trap and produce something World with hints of the Far East. Create ethnic soundscapes to put your Trap ahead of the curve.

AMBIENTProduce relaxing, sophisticated psy-influenced ambient. Psychedelic and relaxing to listen to, create meditative soundscapes to put your listeners in Zen.