

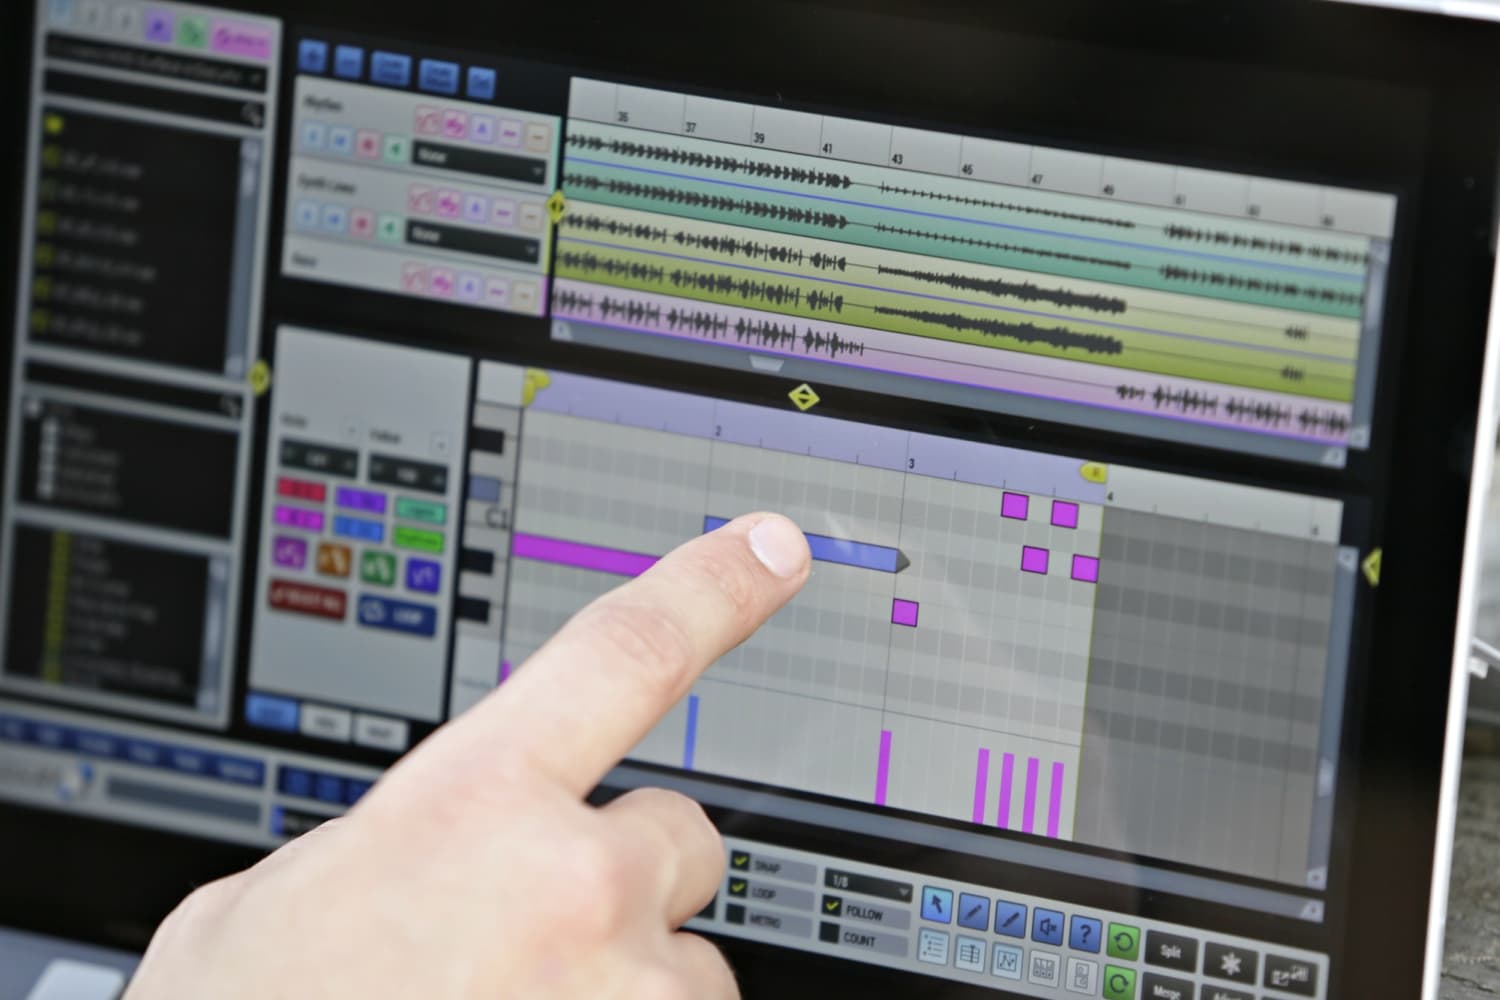
Composite Instruments - Creating Multitimbral Sounds
Last Edited: Nov 28, 2023
As you may already know, stacking and layering are very popular and effective techniques used in electronic music production. They both involve combining multiple sounds to synthesize something larger. Before the recent explosion of software synths, stacking and layering were done using keyboard hardware that featured multi-timbral, split, and unison modes. The composites are playable in this nature, unlike most stacks and layers in software - which are usually divided among separate instances (unless, the composite consists of just a few modules). However, you can consolidate your non-playable layers and stacks into one epic, playable sound using the power of bouncing and resampling.
STEP 1 - MAKE THE COMPONENTS
Pick the Synths - Firstly, decide how many components you want to have and whether they will be stacked (like a salad) or layered (like a sandwich). Stacked sounds typically share the same timbre - so keep those simple, like sine waves or filtered sawtooth waves in FM8 or Massive. Layered sounds typically highlight multiple tones, as Absynth and Omnisphere do. Create the necessary amount of synth/sampler instances you will need.

Draw the Notes - Next, draw one relatively long note for each track - at least 10 seconds long. Then, make it the same note or separate them by octaves. This will allow you to transpose pitches within the synthesizers without offsetting the 0 point. It is best to avoid a hierarchy of transposition, which usually over-complicates the process and throws off the overall harmony. Also, remember the note you chose to call 0; you will need this information later. C1 is a good choice.

Tune and Detune the Pitches - Modify the pitch of the oscillators within the synths. This includes everything from subtle detuning to octaves. Again, although having non-perfect and non-octave intervals in the sound is interesting, make sure they do not influence the fundamentals too much. For example, I used major thirds and sevenths but very low levels. (See Blog: Scales, Intervals). This sounds natural because non-perfect and non-octave intervals exist at lower levels in the harmonic series.

Individually Process (Optional) - If you want, you can add subtle uniqueness to the components by dropping an effect on their signal chain. Intelligent choices for this step include EQs, gate sequencers, delay, volume LFOs, phasers, chorus, and flangers. It is best to avoid reverb since we will add it later to the group.
Automate - Feel free to automate the tracks' panning, level, and FX parameters. Again, it is best to keep these changes subtle as later processes will exaggerate them.

The Master output should sound something like this now….
STEP 2 - BOUNCE
Mixed or Individual - There is an easy, somewhat limiting way and a more comprehensive way to implement your components into the overall sound. The easy way would be to bounce the entire 2-mix and drop that into a sampler. This method consolidates and can evoke just as much interest as the more extended method, especially if you do not plan to play the sound across an extensive range of the keyboard. However, it denies you any further individual manipulation of the components. Bouncing your elements individually (which I will do for my example) will allow you to make additional edits to each of the stems. You can use the freeze-to-file option in the freezing window to do this quickly.


Subtle Variations - Make a slight variation of each component and bounce those. Furthermore, good variations include: a slightly different waveform, slightly different automation, and bypassed/different FX settings.

STEP 3 - SET UP A KONTAKT INSTRUMENT
Note Mapping - Drag the samples you bounced in step two into ranges on the mapping window of Kontakt or another multi-sampling VST. Set the center pitch of every piece you drop to whatever note you used in part 1 (I used C1). It is OK to have each note trigger every component; however, consider mapping one or two of them to isolated ranges and do not put both variations of the same element on the same degree.

Velocity Mapping - Consider having different velocity ranges trigger a different number of samples or a different combination. This creates a more dynamic instrument.

Enveloping - Consider modifying the amplitude contour of some of the samples. You must ensure the group edit is off to manipulate envelopes independently.

Looping and Reversals - Consider implementing some looping and reversals in some samples. Nothing too drastic, though - as I'm sure you've noticed - a "keep it subtle" theme is going on here.

The instrument should sound something like this when playing your MIDI controller.
STEP 4 - GROUP PROCESSING
Gates - Use gates to eliminate undesirable low-level content and clean up the overall sound. EQ - Use EQ to add and subtract resonances. You may want to automate the position of bells and cutoffs.
Gentle Compression - Use a compressor on the output with a low ratio, moderate threshold, and a couple of dBs of make-up gain to create a more cohesive dynamic between the components. The objective is to make them seem like they belong together without adding noticeable distortion.
Reverb and Space - OK, HERE IS THE FUN PART! You can probably guess what these will do for the sound, but I will say it anyway - it puts them in a room together and makes it sound like they are in each other's presence. It is best to fine-tune the reverb and stereo imaging parameters by ear. Recommending specific settings would be of no use to you. I would suggest the coarse-to-fine approach (See Blog: Strategic Mixing).
Filters (optional) - Depending on the arrangement and instrumentation of the song, you may want to high-pass and low-pass the final output to remove any rumble, harshness, or distortion caused by compression.
STEP 5 - SAVE THE INSTRUMENT & PLAY AWAY!
Final Design
MASTER MUSIC PRODUCTION
Expert-led courses designed to take you from fundamentals to finished tracks.

HOUSEFrom bouncy bass and solid kicks, this course teaches you the most modern House music production techniques needed to succeed and stand out.

TRAPQuit sounding like generic Trap and produce something World with hints of the Far East. Create ethnic soundscapes to put your Trap ahead of the curve.

AMBIENTProduce relaxing, sophisticated psy-influenced ambient. Psychedelic and relaxing to listen to, create meditative soundscapes to put your listeners in Zen.