

Create a Tape Stop Effect
Last Edited: Nov 6, 2023
The tape-stop effect, as it's known nowadays, has existed for a long time. It has its roots in old reel-to-reel machines and tape recorders that, when turned off, would continue to play the tape at a progressively slower speed until it came to a complete stop. It has gained a lot of attention in hip-hop and electronic music releases.
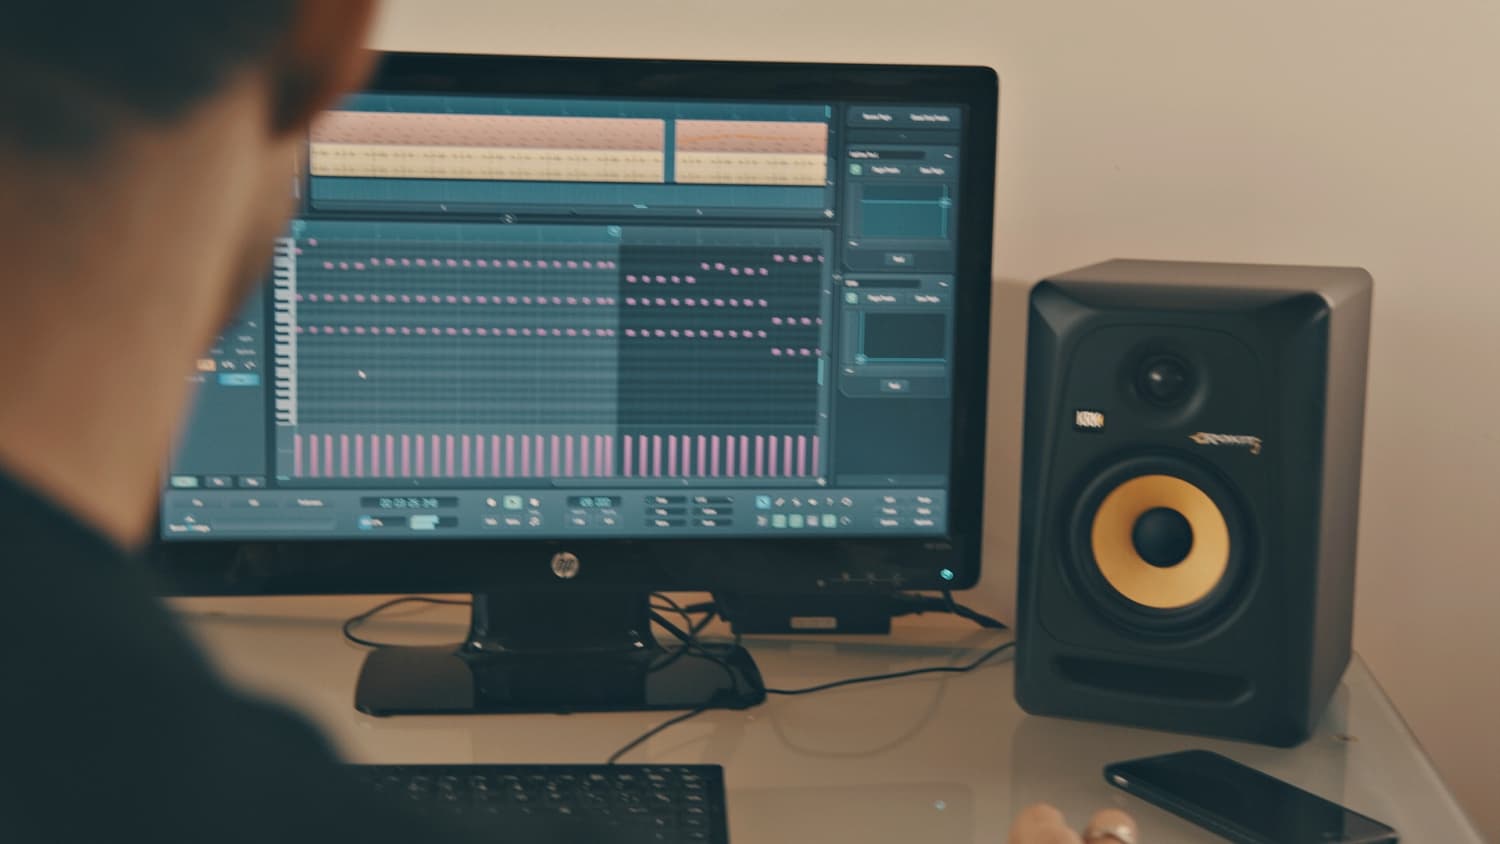
If you have listened to popular music in the last few years, you will likely have heard it on a track or two. In the following tutorial, we will show you how to achieve that effect on your track. As usual, we have made a short sequence within our SoundBridge: DAW, which has most of the essential elements of a full mix. Let's have a quick listen.

~Full Mix - Unprocessed
Some argue that the tape-stop effect is often overused. However, if you're a hip-hop, electro, glitch, or pop producer, you might get a request for it at some point. At its core, the tape stop effect is just a pitch-down effect. Many VST effects offer a tape-stop impact, so explore which one suits you best.
For the sake of this tutorial, we have selected the Effectrix by Sugar Bytes. Since we want to apply the tape-stop effect on the whole track, the best solution would be to group all the channels. On the newly created group, which we call "Tape Stop Group," we will add an instance of the Effectrix plugin.
The Vinyl Tape Stop

Effectrix is a rather complex plugin that can be considered a multi-effect. However, in this tutorial, we will not bother with its full potential. Instead, we will focus on just one section of it. If you pay attention to the colorful section of blocks on the left part of the interface, you will notice one lane called "Vinyl." When we click on it, a set of parameters appears in the bottom section of the interface. This section contains "Time," "Size," and "Slope" as main parameters. Besides them are "Attack," "Mix," and "Release". The most critical parameter to mention is the "Stop" mode. When turned on, it is the one engaging the tape stop effect. You will notice that the "Size" parameter is bypassed. We won't deal with it here.

To set the impact and duration of our tape stop effect, we must look at the middle part of the Effectrix interface. This section is reserved for the sequencer. Here, you can write blocks to trigger the desired effect at a certain time. Since we want the tape stop effect to start towards the end of our sequence, we will write a corresponding block in the sequencer on the "Vinyl" lane. Lastly, looking at the upper part of the interface, you will notice the "Tempo" parameter. Just below it, you can switch between 1/32, 1/16, 1/8T. 1/8. 1/4T and ¼ subdivision. This setting will effectively determine how long the Effectrix sequence will last. In our case, we will set it to ⅛.

Let's listen to our sequence again with the tape stop effect applied.
~Full Mix - Tape Stop Effect
We could also add a bit of reverb to the sequence portion where the tape stop effect transition ends.
~Full Mix - Tape Stop Effect + Reverb
MASTER MUSIC PRODUCTION
Expert-led courses designed to take you from fundamentals to finished tracks.

HOUSEFrom bouncy bass and solid kicks, this course teaches you the most modern House music production techniques needed to succeed and stand out.

TRAPQuit sounding like generic Trap and produce something World with hints of the Far East. Create ethnic soundscapes to put your Trap ahead of the curve.

AMBIENTProduce relaxing, sophisticated psy-influenced ambient. Psychedelic and relaxing to listen to, create meditative soundscapes to put your listeners in Zen.