

Stop AV Drift: Crossfade Editing with an FFmpeg Recipe for Editors
Last Edited: Oct 13, 2026
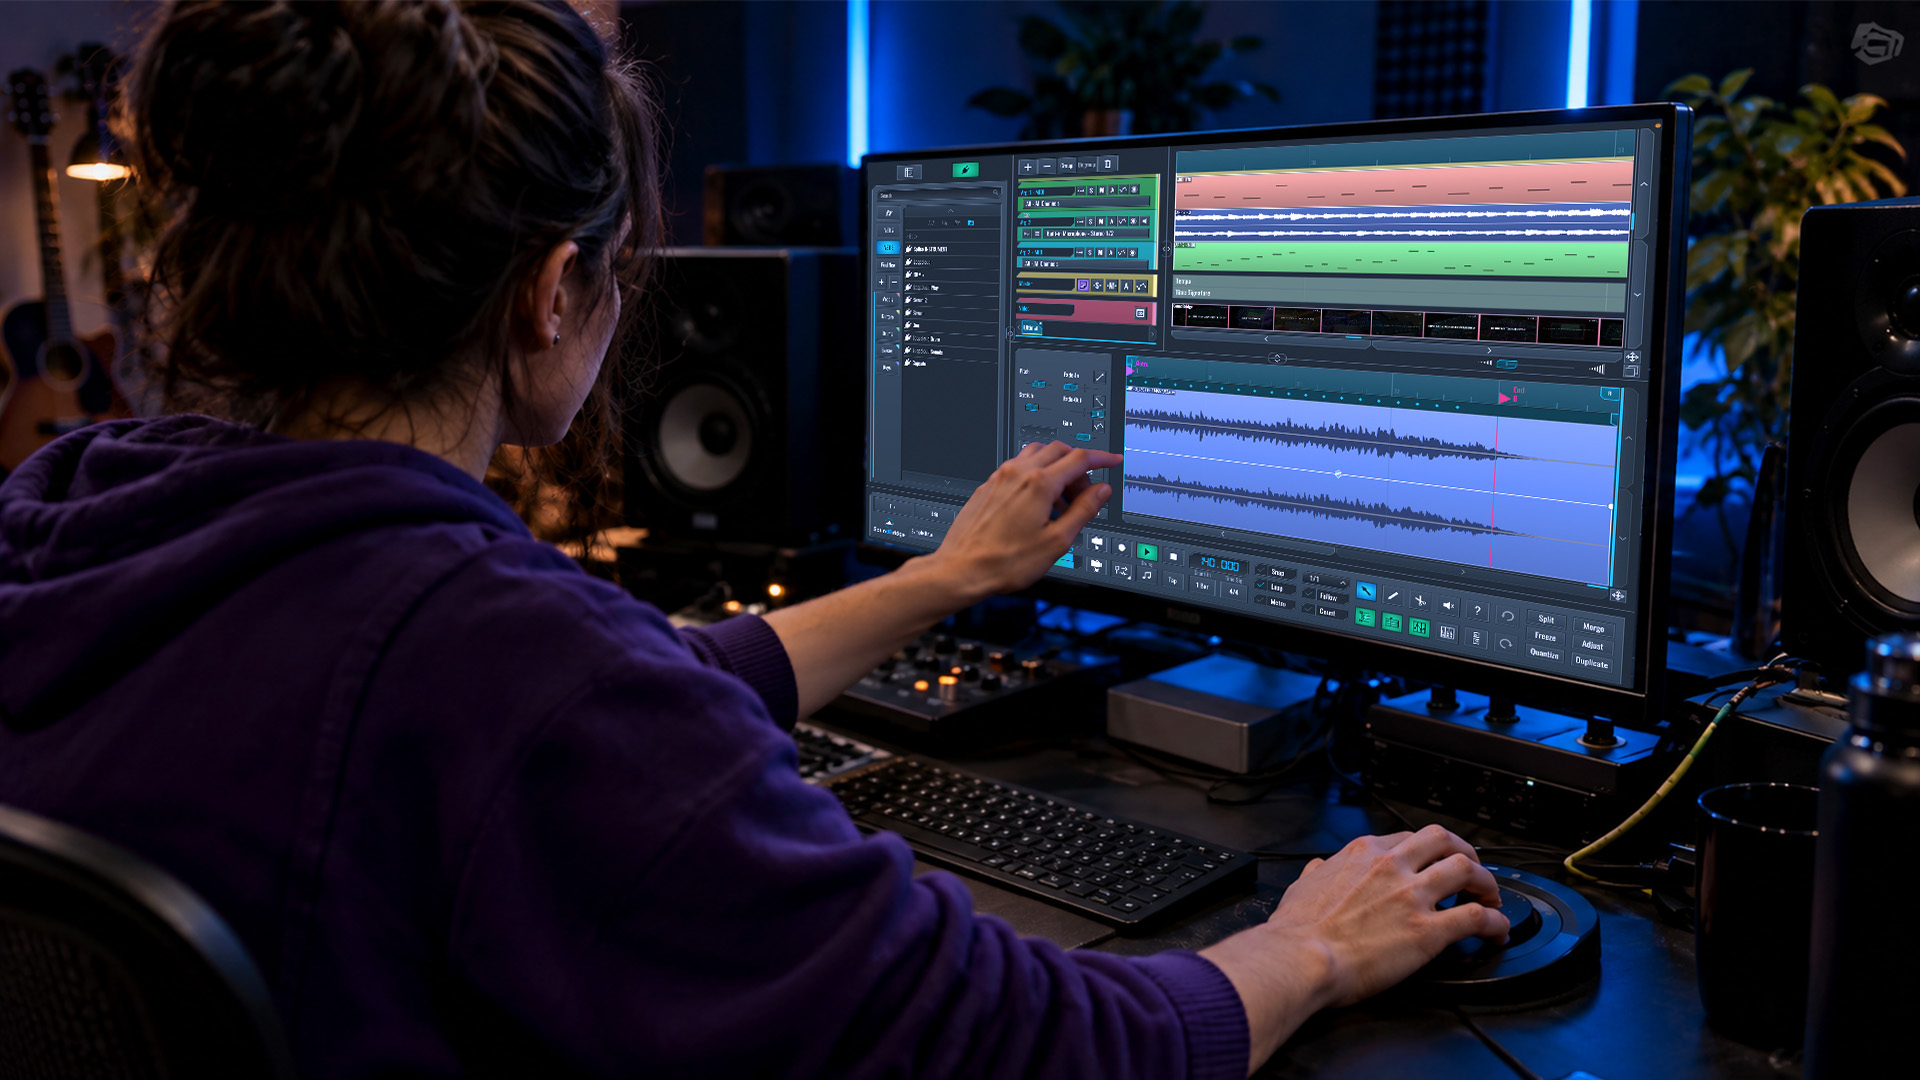
A crossfade overlaps two clips while fading one out as the next fades in, smoothing the gap between them into one continuous moment. You’ll want it for music mixes, scene transitions, and montage cuts where a hard cut feels abrupt, but skip it for dialogue or fast-paced sequences where timing precision matters more than polish. Get the overlap and fade durations matched between your audio and video layers, or you’ll end up with distracting timing drift in captions for live videos.
TL;DR:
- Match audio and video crossfade durations between 0.5 and 5 seconds, depending on whether you are blending music, scenes, or time shifts.
- Use equal-power, linear, or S-shaped curves based on the similarity of signals, optimizing perceived loudness and naturalness in the transition.
- For automation with FFmpeg, ensure
xfadeandacrossfadefilters have synchronized durations and offsets to prevent drift and glitches.- Avoid crossfades in dialogue scenes or fast montages, where hard cuts preserve clarity and energy.
- In mobile editors like CapCut, manually adjust fade handles or transition icons, typically using durations between 0.5 and 3 seconds for short clips.
What a crossfade is and common uses
In audio, a crossfade means overlapping two clips on the timeline and fading one down while the other fades up simultaneously, so there’s never a silent gap or a jarring jump in level. In video, the same idea plays out as a cross-dissolve: one clip’s opacity drops while the next's rises, so the frame melts from one image into another instead of cutting hard.
You’ll reach for crossfades in a handful of recurring situations:
- Blending two songs together in a DJ set or a mixtape
- Smoothing joins between takes in a music recording
- Signaling a passage of time in a film or video sequence
- Softening an emotional beat where a hard cut would feel cold
- Masking an edit point in a voiceover or podcast
Crossfades aren’t the right call everywhere. Dialogue scenes usually need hard cuts to preserve continuity. A cross-dissolve between two people talking reads as a mistake, not a style choice. Fast-paced montages lose their energy if every cut softens into the next.
How to create clean audio crossfades in a DAW or timeline editor
Audio crossfades follow the same logic across every timeline editor, whether you’re working in a DAW, a podcast tool, or a video app’s audio track.
- Place your two clips on the timeline so they overlap by your chosen duration.
- Apply a fade-out to the end of the first clip across that overlap.
- Apply a fade-in to the start of the second clip across the same span.
- Match the fade durations and curve shapes on both clips so neither dominates the blend.
- Audition the transition at a few playback levels, quiet and loud, to catch dips or spikes.
Curve choice matters more than most editors realize. Equal-power curves (a roughly 3 dB boost at the center of the fade) suit uncorrelated signals, like two different songs, because they keep perceived loudness steady through the overlap. Linear fades work better for multiple takes of the same performance, where the signals are correlated, and an equal-power curve would actually cause a bump in volume. S-shaped curves split the difference and tend to sound the most natural for general use.
Before you commit, normalize loudness across both clips, check for phase cancellation if the sources are related, and listen on both headphones and speakers. The Audacity manual recommends a multi-second overlap, around 5 seconds, as a solid starting point when blending full-length music tracks.
Pro Tip: Nudge one clip by a few milliseconds if the crossfade sounds hollow. Small timing offsets often fix phase issues that EQ can’t.
How to create video crossfades and align the audio
Most video editors have a built-in cross-dissolve transition, but you can also build one manually by overlapping clips and keyframing opacity.
- Drag your second clip so it overlaps the end of the first on the timeline.
- Drop in a cross-dissolve transition, or manually keyframe the first clip’s opacity from 100 to 0 while the second climbs from 0 to 100.
- Set the transition duration. Shorter dissolves (under a second) suit quick cuts; longer ones (2 to 5 seconds) suit scene or time shifts.
- Adjust the ease or curve setting if your editor offers one, since a linear opacity ramp can look mechanical compared to an eased one.
- Match your audio fade durations to the visual dissolve length, so sound and picture resolve together, using an audio crossfade on the track beneath if your editor supports one.
Mobile and web editors handle this with lighter tools. In CapCut, you overlap clips and add fade handles or a transition icon between them. Since most versions don't have a dedicated crossfade button, you adjust the audio fades by hand to match. Guides on adding audio transitions in CapCut typically show durations between 0.5 and 3 seconds for short-form social clips, which is a good default if you’re editing for mobile feeds rather than a DJ set or a film reel.
FFmpeg and technical notes for automated crossfading
Command-line crossfading splits into two filters that need to work in lockstep. The xfade filter handles video only, and acrossfade handles audio only, so an automated pipeline needs both, with matching durations, or the picture and sound will drift apart.
The timing math comes down to one rule: set acrossfade’s d equal to xfade’s duration, and set the xfade offset to the duration of clip A minus the transition duration. That keeps the dissolve and the audio blend starting and ending at the same timecode. In multi-clip chains, each xfade instance shortens the running timeline, so later offsets have to be recalculated against the shortened total rather than the original clip lengths.
| Failure mode | Cause | Fix |
|---|---|---|
| Audio and video drift apart | Mismatched xfade and acrossfade durations |
Set both d values equal |
| Join breaks or glitches | Offset exceeds clip length | Recompute offset per clip pair |
| Audio disappears at the join | Missing or incorrect stream mapping | Map both audio and video outputs explicitly |
| Artifacts at the transition | Mismatched resolution, frame rate, or sample rate | Normalize inputs before filtering |
The FFmpeg cookbook’s crossfade guide walks through this offset arithmetic with working command examples, which is worth bookmarking if you’re scripting batch exports.
Timing, curves, and choosing a crossfade length
Duration depends entirely on what you’re joining. For take joins within a single performance, 10 to 30 milliseconds is often enough to mask the edit point without anyone hearing it. Social clips tend to look best with 0.5 to 3-second dissolves. Full-song DJ mixes typically run 2 to 5 seconds, sometimes longer for ambient or downtempo material.

Curve choice follows the same logic as before: equal-power for uncorrelated signals, linear for correlated takes, S-shaped when you want the most natural-sounding default. Academic research on signal-matched crossfading shows that power-preserving curves can be derived from the measured correlation between two signals, which explains why a single curve setting rarely sounds right for every pairing.
When auditioning:
- Listen for a dip or spike in loudness at the center of the fade
- Check for phase cancellation on correlated sources
- Try the transition at both low and high playback volumes
Common pitfalls and quick fixes
Most crossfade problems trace back to a handful of repeat offenders.
- Lip-sync drift: recalculate your offset and confirm the
acrossfadeandxfadedurations actually match. - Audio disappears at the join: check that you’re mapping both outputs, or that
acrossfadeis actually in the chain. - Dialogue dissolves read as mistakes: swap to a hard cut. Crossfades on spoken lines almost always look unintentional.
- Format mismatches cause artifacts: resample and normalize sample rate, channel layout, and frame rate before applying any fade.
Why SoundBridge is built for this kind of editing
We built SoundBridge around the idea that audio and video shouldn’t live in separate tools when you’re shaping a transition. Native video support means you can line up a visual dissolve against an audio crossfade on the same timeline, and high-fidelity processing up to 192kHz keeps the blend clean even on dense mixes.
- Native video support for scoring and sound design work alongside audio tracks
- Zero-latency remote tracking for crossfading parts recorded in different sessions
- High-fidelity processing up to 192kHz for transitions that hold up under scrutiny
For hands-on practice, our guide on creating smooth transitions from groove to breakdown walks through musical crossfade timing in a real session, and our essential audio editing techniques overview covers fades in more depth.
Creative tool or invisible edit: knowing the difference
Reach for the invisible cut first. A hard cut that nobody notices is usually doing its job better than a dissolve that announces itself. Save the crossfade for moments that actually call for a mood shift or a passage of time, not as a default polish you apply out of habit. If the transition itself becomes the thing your viewer remembers, you’ve used it for the wrong reason.
— Wake
Try crossfading in SoundBridge
Practicing crossfades gets a lot easier when your audio and video tracks live in the same timeline instead of bouncing between apps. We built SoundBridge so you can overlap clips, shape fade curves, and check sync drift without exporting to a separate program first.

Start with the Free Version to try overlapping clips and shaping your first fades, and when you’re ready for 192kHz processing and remote collaboration, our Premium Version and Lifetime License are there for you. For a deeper walkthrough of fades and transitions before you dive in, our step-by-step audio editing guide is a good next stop.
FAQ
How do you crossfade correctly?
Overlap the end of one clip with the start of the next, then apply a fade-out and fade-in across that overlap so the levels blend instead of jumping. Match the fade durations and curve shapes on both sides, and for video, align your audio crossfade length to the visual dissolve so sound and picture resolve together.
What is the ideal crossfade duration?
It depends on what you’re joining: 10 to 30 milliseconds works for hiding edit points within a single take, while 0.5 to 3 seconds suits social clips, and 2 to 5 seconds is typical for DJ mixes or full-song blends. Longer transitions generally signal a bigger shift in time or mood.
How do you turn on crossfade?
Most DAWs and video editors automatically apply a crossfade when you overlap two clips and add matching fade handles or a dissolve transition, rather than via a single toggle. In command-line workflows like FFmpeg, you enable it by adding the xfade filter for video and acrossfade for audio with matching durations.
How do you crossfade in CapCut?
In CapCut, overlap your two clips on the timeline and apply fade handles or the transition icon between them, since most versions don’t have a single dedicated crossfade button. Guides on CapCut audio transitions recommend adjusting the audio fade manually to match your visual transition, typically in the 0.5 to 3 second range for short-form content.
Sources
- FFmpeg fade & xfade filters — Crossfade transitions
- Crossfade between clips with FFmpeg xfade (No editor) - FFmpeg Micro Blog
- Audacity Manual — Creating a crossfade
- Signal-matched power-complementary cross-fading and dry-wet mixing — DAFx (2016)
- How to add audio transitions in CapCut — Hollyland Creator Hub
Recommended
MASTER MUSIC PRODUCTION
Expert-led courses designed to take you from fundamentals to finished tracks.

HOUSEFrom bouncy bass and solid kicks, this course teaches you the most modern House music production techniques needed to succeed and stand out.

TRAPQuit sounding like generic Trap and produce something World with hints of the Far East. Create ethnic soundscapes to put your Trap ahead of the curve.

AMBIENTProduce relaxing, sophisticated psy-influenced ambient. Psychedelic and relaxing to listen to, create meditative soundscapes to put your listeners in Zen.