

DAW Templates: Your Complete Workflow Speed Guide
Last Edited: Aug 18, 2026
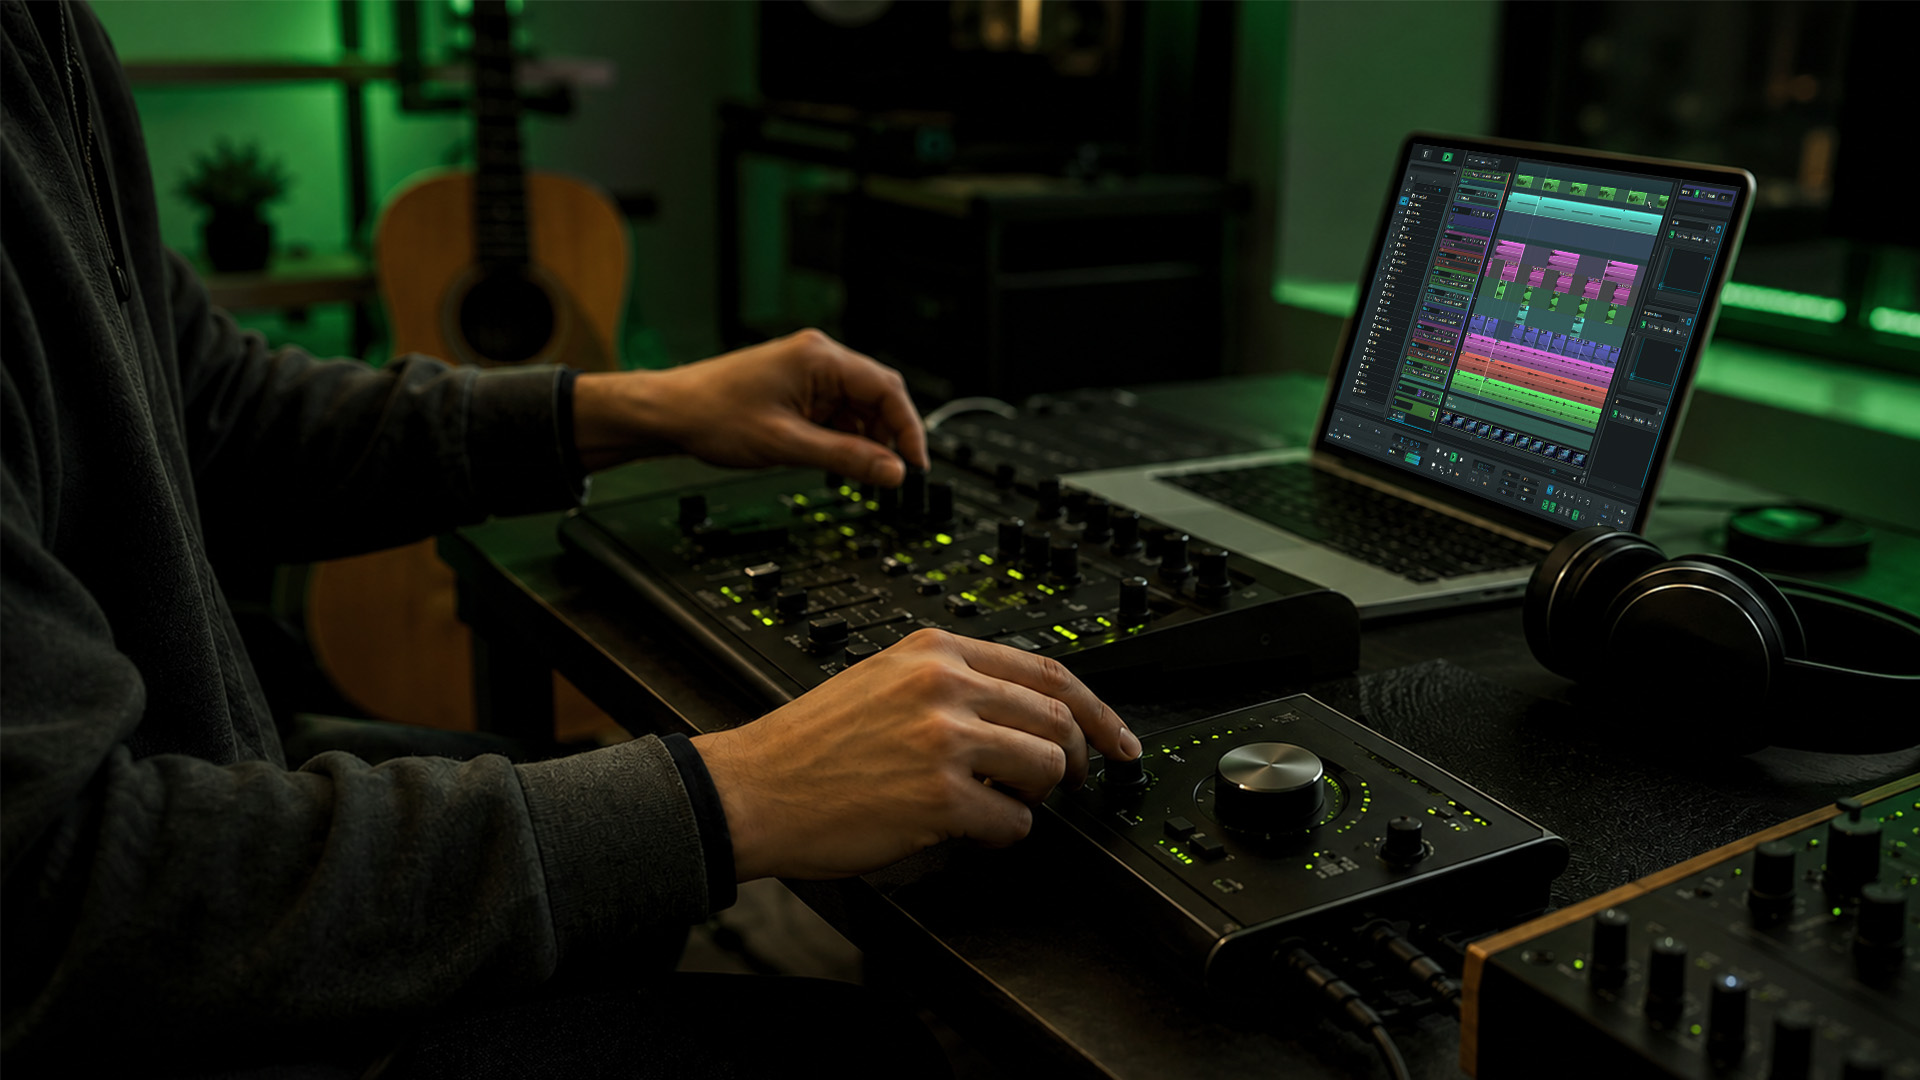
A DAW template is a pre-configured project file loaded with tracks, buses, routing, plugins, and session settings — ready to record or produce the moment you open it. No blank session, no repeated setup, just creative momentum from the first bar. Templates prevent creative interruption by removing the friction that kills ideas before they even breathe.
Your three-step quick start:
- Choose your template type — sketch, full production, mixing, or mastering (each covered below)
- Verify DAW and plugin compatibility before downloading or buying
- Open the template, immediately save a new project copy, then start working
Reliable music production templates come from your DAW’s native library, curated marketplaces like Splice, Loopmasters/Loopcloud, Cymatics, ADSR Sounds, and Producer Loops, or integrated platforms like Soundbridge that bundle templates directly into the DAW environment.
Key Takeaways
The single most important habit in template-driven production: start lean, verify compatibility before downloading, and review your templates every three months so they match your current workflow.
| Point | Details |
|---|---|
| Setup time savings | A well-built template cuts session setup from 20–30 minutes to roughly five minutes. |
| Use the right template type | Match the template to your session stage: sketch, full production, mixing, or mastering. |
| Verify plugin compatibility | Check every plugin dependency before downloading; missing plugins break routing silently. |
| Version and review regularly | Name templates with version numbers and review every three months to keep them current. |
| Soundbridge as an integrated option | Soundbridge bundles native instruments and cloud sync so templates work consistently across machines. |
What DAW Templates Actually Contain and Why Producers Rely on Them
A DAW template is more than a saved session. It’s a fully wired starting environment: pre-named tracks, color-coded groups, configured buses and sends, a master chain, metering, and often a reference track slot. Open it, and your gain staging structure is already in place before you play a single note.
Common components inside a well-built template:
- Audio and instrument tracks (drums, bass, keys, vocals, FX)
- Group/bus channels with routing pre-assigned (drum bus, instrument bus, vocal bus)
- Aux sends for reverb, delay, and parallel compression
- A dedicated reference track channel
- Master bus with metering (limiter off or bypassed by default)
- Session settings: sample rate, bit depth, tempo, time signature
- Saved MIDI clips or chord stacks for quick sketching
- Color coding and track naming conventions
The productivity payoff is real. A well-built DAW template can significantly reduce session setup time, enabling you to start working much faster, freeing you to capture ideas while they’re hot. For client sessions, that consistency also means predictable gain staging, repeatable mixes, and a professional handoff every time.
What Types of DAW Templates Exist and Which One Fits Your Session?
Different template types serve different stages of production — and most experienced producers keep two or three focused templates rather than one bloated mega-session. Here’s how they break down:
| Template Type | Typical Contents | Best Use Case |
|---|---|---|
| Creative / Sketch | 10–12 tracks, click, reference slot, basic bus | Capturing ideas fast, no CPU overhead |
| Full Production | Grouped buses, instrument tracks, arrangement markers, MIDI clips | Developing a track from idea to arrangement |
| Recording / Tracking | Input-ready tracks, headphone mixes, talkback, cue sends | Live tracking sessions with musicians |
| Mixing | Drum/instrument/vocal buses, FX sends, metering, reference channel | Final mix stage, gain staging from scratch |
| Mastering | Stereo master chain, metering suite, reference import slot | Mastering a finished mix |
| Song Structure | Arrangement markers, empty sections (intro, verse, chorus, bridge) | Breaking writer’s block, mapping song form |
A few practical notes on lean vs. full templates:
- Sketch templates should load in under three seconds. Keep them stripped to essentials.
- Full production templates can carry more instruments, but freeze heavy synths before saving.
- Mixing templates work best when the master limiter is off by default — you want to hear the raw mix, not a processed version of it.
- Mastering templates are the most specialized; they often include LUFS meters, spectrum analyzers, and a mid/side EQ in the chain.
Where to Get DAW Templates: Free vs. Paid Sources Compared
Sources range from your DAW’s built-in starter sessions to polished paid packs from genre specialists. Here’s how the main categories stack up:
Platforms worth knowing:
- Splice offers DAW session templates alongside its sample library, with audio previews and DAW-specific filtering.
- Loopmasters / Loopcloud bundles production templates with sample packs, useful for genre-specific starting points.
- Cymatics focuses on EDM and hip-hop templates, often including MIDI and presets for popular synths.
- ADSR Sounds offers mixing and production templates with detailed plugin compatibility notes.
- Producer Loops packages templates with full loop libraries, useful for producers who want audio content alongside the session structure.
Red flags to watch for before downloading:
- No plugin dependency list included with the download
- Download size over 2 GB with no explanation of what’s inside
- No mention of sample clearance or commercial license
- Master limiter or heavy compression engaged by default on the master bus
- Templates may reference plugins you must already own — the plugin binaries are never included, only the preset references
How to Choose the Right Template for Your Project
Compatibility is the first filter, not the last. Before you spend money or time downloading a session template, run through this checklist:
- DAW version match — Does the template require a newer version than you’re running? Ableton 11 templates won’t open cleanly in Ableton 10.
- Plugin dependencies — List every plugin the template uses. Do you own all of them? Missing plugins cause tracks to go silent or load with errors.
- Sample library paths — If the template includes audio loops or Kontakt instruments, do your library paths match the template’s expected locations?
- Tempo and key defaults — Does the template’s default tempo match your genre? A 140 BPM template built for drum and bass needs to be adjusted for a 90 BPM hip-hop session.
- Licensing for commercial release — Free community templates often carry ambiguous licenses. Confirm you can release commercially before building a track on someone else’s session.
- Preview availability — Audio previews or DAW screenshots let you judge routing quality before committing.
- File size and CPU load — A 4 GB template with 60 active instrument tracks will strain most home studio machines before you’ve played a note.
Hard red flags:
- Heavy Kontakt libraries with no path documentation
- No sample clearance information on paid packs
- Extremely large project files with dozens of unused or muted tracks
- No DAW version listed anywhere on the product page
Three questions to ask before any download:
- Will this open in my exact DAW version without errors?
- Which specific plugins are required, and do I have them installed?
- Do the included samples or presets carry a commercial release license?
How to Open, Install, and Use a Template in Major DAWs
Each DAW handles templates slightly differently. Here’s the key path for each major platform, plus the pitfall that trips up most producers.
Ableton Live: Go to File > Save Live Set as Template to save. To load, browse for the template in the control bar under the 'Templates" section.
Logic Pro: Save via File > Save as Template. Load from the New Project dialog under My Templates. Pitfall: Logic templates embed plugin states, so opening a template on a different machine without the same plugins produces a cascade of “Audio Unit not found” warnings.
FL Studio: Set your default template at Options > General Settings > New project default template. FL saves templates as standard .flp files in a designated folder. Pitfall: FL’s mixer routing is saved in the project, but plugin presets reference the plugin’s own preset folder — missing presets load as defaults, not errors, so you may not notice the problem immediately.
Pro Tools: Use File > Save As and store it in your Session Templates folder, or use File > New Session and select a template.Cubase: Go to File > Save as Template from any project. Load via File > New Project > Use Template. Pitfall: Cubase templates store VSTi states, but if the plugin version differs between machines, presets may not load correctly.
Studio One: Save via Song > Save as Template. Load from the New Song dialog.
Common pitfalls across all DAWs:
- Sample rate or bit depth mismatch between template and audio interface settings
- Frozen tracks that play back audio but hide the underlying instrument — unfreeze before editing
- Third-party library paths that differ between Mac and Windows installs
Pro Tip: Always use your DAW’s native “Save as Template” function rather than duplicating the project file manually. This ensures that opening the template always spawns a fresh project — you’ll never accidentally overwrite your master template with session-specific edits.
Pro Tip: Route your reference track directly to your monitor output, bypassing the master bus entirely. This keeps your A/B comparisons uncolored by master-chain processing — a limiter or saturation plugin on the master will skew every loudness comparison you make.
How to Customize and Save Lean, Reusable Session Templates
Downloading a template is step one. Turning it into your template is where the real workflow gains happen. Here’s the process:
- Open the downloaded template and immediately save a working copy — never edit the original.
- Remove tracks you never use. A hip-hop template with a string section you’ll always delete wastes load time and visual space.
- Replace third-party plugins with stock alternatives or placeholders. If a template uses a synth you don’t own, swap it for a stock instrument or an empty instrument rack labeled “SYNTH — replace.”
- Set your naming and color conventions. Drums in red, bass in orange, keys in blue — whatever your system is, apply it now so every session you open feels familiar.
- Configure buses and sends to match your mix philosophy. If you always run parallel compression on drums, wire that send now.
- Set sample rate, bit depth, and tempo defaults to match your most common project type.
- Save using your DAW’s native template function, then name it with a version number:
HipHop_Production_v1.
For naming conventions, a simple system works best: [Genre]_[Type]_v[Number] — for example, Pop_Mixing_v3 or EDM_Sketch_v1. When you update a template, increment the version rather than overwriting.
What to leave out of your template:
- Heavy sample libraries loaded and active (freeze or bounce to audio instead)
- A master limiter engaged by default
- Locked automation lanes that prevent quick edits
- More than 40–50 tracks in a sketch template
Pro Tip: Keep two separate templates: a lean “sketch” version with 10–12 tracks that loads in seconds, and a full “production” version with complete routing and grouped buses. Use the sketch template to capture ideas, then migrate the best parts into the production template. Freeze CPU-intensive instruments in the production template before saving—you preserve the sound without the processing cost.
Three Starter Templates You Can Build or Adapt Right Now
Starter template 1: the quick sketch session
When to use it: You have an idea and 20 minutes. This template gets you recording before the inspiration fades.
What it includes:
- 1 drum machine or loop player (simple beat, no layering)
- 1 bass instrument track
- 2 melodic instrument tracks (keys, synth, or guitar)
- 1 vocal or reference audio track
- 1 master bus with metering only (no processing)
- Tempo set to your most common BPM
Why it helps: Zero decision fatigue. You open it and play. No routing to configure, no plugins to load. The whole session fits on one screen.
Starter Template 2: The Full Production Session
When to use it: You’ve committed to developing a track and need a complete environment.
What it includes:
- Drum group with kick, snare, hi-hat, percussion, and room channels
- Bass bus with DI and processed channels
- Instrument bus (keys, synth leads, pads, FX)
- Vocal bus (lead, harmonies, doubles, effects)
- Arrangement markers: intro, verse, pre-chorus, chorus, bridge, outro
- A bank of empty MIDI clips for chord and melody sketching
- Aux sends: reverb, delay, parallel compression
Each bus feeds a master bus with a gain-staging meter but no limiter. The arrangement markers alone save 10–15 minutes of setup on every new track.
Starter Template 3: The Mix Session
When to use it: You’re receiving stems or bouncing from your production session for a dedicated mix pass.
What it includes:
- Drum bus (kick, snare, overhead, room sub-buses)
- Instrument bus (bass, keys, guitars, synths)
- Vocal bus (lead, BGV, effects)
- FX return channels: room reverb, hall reverb, slapback delay, long delay
- Master bus: metering, mid/side EQ, gentle bus compressor (bypassed by default)
- Reference track channel routed directly to monitors, bypassing the master bus
The reference channel is the detail most mix templates skip. Route it to your monitor output pre-master so your A/B comparisons stay honest. For deeper guidance on audio mastering best practices, keep the master bus clean until you’re ready to commit.
Expert Guidance on Template Design: Keep Templates Useful, Not Prescriptive
The most common mistake producers make with mixing templates is treating them as sound presets. A great mixing template doesn’t make your mix sound a certain way — it removes the technical work so you can focus on the creative decisions.
A mixing template should act as a professional assistant for gain staging, routing, and organization rather than imposing a preset sound. Include a reference track routed to bypass master processing for accurate A/B comparisons — a limiter or saturation plugin on the master will color every loudness judgment you make.
That reference-track routing is the single most underused technique in template design. Wire a dedicated channel directly to your monitor output, pre-master, and you’ll catch mix problems that a processed master bus was hiding.
Recommendations for keeping templates current and collaborative:
- Version every template update (
v1,v2,v3) — never overwrite the previous version - Document what changed and why in a simple text file stored with the template
- Sync templates via cloud storage for multi-machine workflows — a template that lives only on one machine is a single point of failure
- Schedule a template review every three months to retire plugins you no longer use and add new routing you’ve developed
- When sharing templates with clients or collaborators, export a plugin list alongside the session file, or provide rendered stems — missing plugins on their machine will break your routing silently
Soundbridge’s integrated environment handles several of these pain points natively: cloud sync, built-in instruments that travel with the session, and zero-latency remote collaboration mean your template works the same way whether you’re in your studio or working remotely with a vocalist across the country. For producers building production workflows from home studio to pro tracks, that consistency matters more than any individual plugin.
For genre-specific template adaptation, particularly when working with world music or media production contexts, resources like world music sounds for media production can help you understand which instrument groupings and routing conventions translate across cultural contexts.
A working producer’s honest take on templates in daily practice
Templates are the most underrated productivity tool in music production, and most producers either ignore them entirely or over-engineer them into unusable monsters. The sweet spot is narrower than most guides admit.
Use your sketch template every single day, even when you don’t feel creative. Open it, set a 20-minute timer, and record something. The constraint of a minimal session forces decisions. You can’t hide behind plugin browsing when there are only 10 tracks and a click.
Switch to your full production template only when you’ve committed to a direction. Moving too early into a complex session kills momentum — you start tweaking routing instead of writing music.
Daily habits that actually stick:
- After every two or three sessions, note one thing you set up manually that should be in the template
- Keep a “scratch” template for experiments — a throwaway session where you test new plugins or routing ideas without touching your master templates
- Document every heavy plugin in each template in a simple note: plugin name, version, preset name
A real-world session flow looks like this: open the sketch template, record a chord progression and a rough beat, commit to the key and tempo, save the sketch as a new project, then open the production template and import the committed parts. You’re building on momentum, not starting over.
Unlock the essential DAW features that make this workflow click — routing, bussing, and session organization are the foundation every good template is built on.
Soundbridge gives you templates that work the moment you open them
Most template packs hand you a session file and wish you luck. Soundbridge takes a different approach: templates load inside a DAW environment built for high-fidelity production, with native instruments and effects that travel with the session — no missing plugin warnings, no broken routing on a different machine.

The features that matter for template-driven workflows: cloud sync keeps your templates consistent across every machine you work on, zero-latency remote collaboration means your template session sounds identical whether you’re tracking locally or with a vocalist in another city, and 192kHz sample-rate support means your template is ready for any delivery format from the start. Built-in virtual instruments mean your sketch template loads fast and sounds professional without a single third-party plugin.
Ready to build your first production-ready session? Explore Soundbridge and its DAW environment to see how integrated templates fit into a complete production workflow. Other sources like Splice, Loopmasters, and Cymatics offer strong template packs too — always verify plugin compatibility before committing to any of them.
Sources
These resources back the guidance in this article and give you direct access to template downloads and DAW-specific how-to steps:
- DAW templates: How to create your perfect starting point | Feedtracks
- How to Create a Template in Your DAW | Violet Recording
- Recording Setup Tips: Build Better DAW Session Templates | Inside The Recording Studio
Before using any template commercially, confirm that the sample and preset license cover commercial release. Free community templates often carry ambiguous terms. Store your master templates in cloud storage — Dropbox, Google Drive, or iCloud — so they’re accessible from any machine and protected against local drive failure.
Recommended
MASTER MUSIC PRODUCTION
Expert-led courses designed to take you from fundamentals to finished tracks.

HOUSEFrom bouncy bass and solid kicks, this course teaches you the most modern House music production techniques needed to succeed and stand out.

TRAPQuit sounding like generic Trap and produce something World with hints of the Far East. Create ethnic soundscapes to put your Trap ahead of the curve.

AMBIENTProduce relaxing, sophisticated psy-influenced ambient. Psychedelic and relaxing to listen to, create meditative soundscapes to put your listeners in Zen.