


Get Creative With the Gate Effect
Last Edited: Jan 5, 2024
The primary function of a noise gate is to eliminate unwanted noise from audio content. You could picture it as a switch that mutes a signal when it falls below a specific threshold in order to 'gate out' undesirable sound. This particular tool has been used in numerous popular tracks within the electronic music genre, and in this tutorial, we will show you how to get creative with the gate effect.
As usual, we'll begin by listening to the short sequence created in our SoundBridge: DAW, which contains most of the entire mix's elements, including the strings section you can hear before the drop.
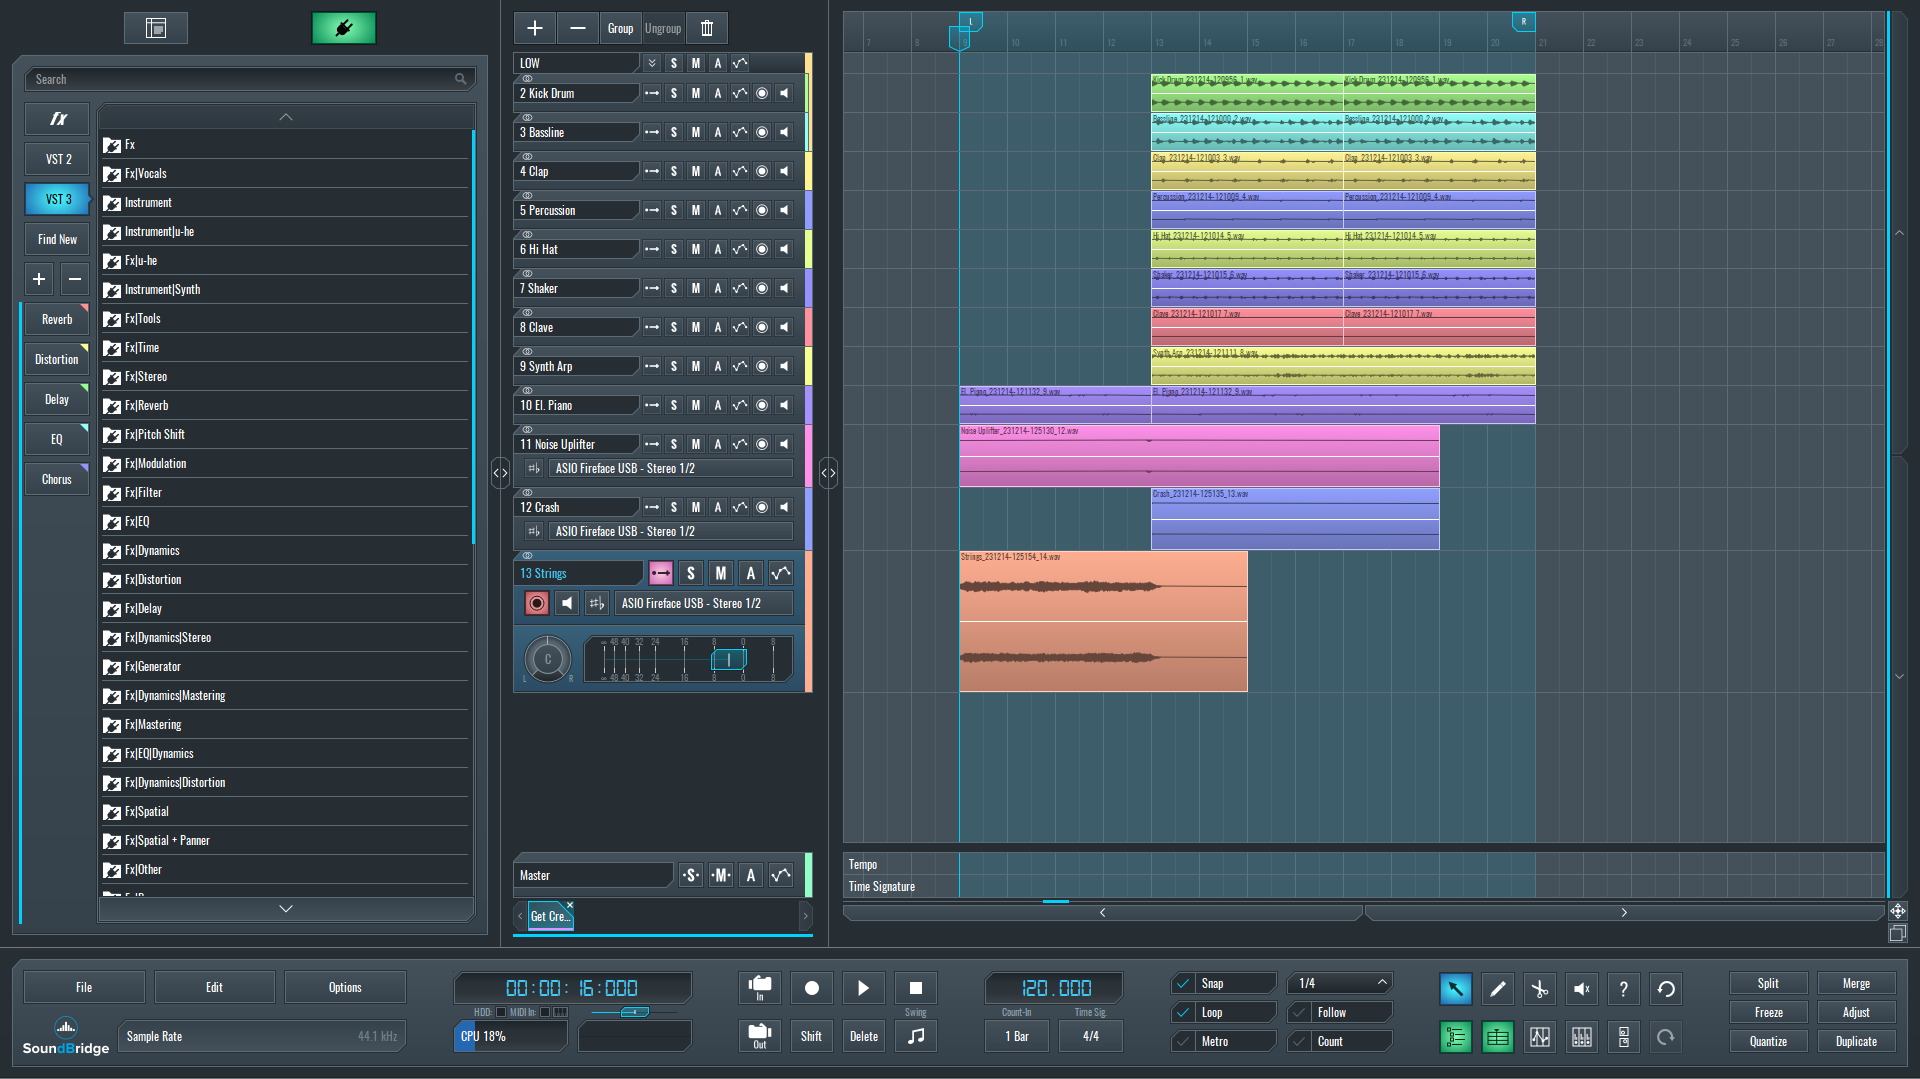
~Full Mix - Strings (Unprocessed)
Melodic techno has captured the attention of a large audience and revived the effect we were about to show you. Nonetheless, musicians have used this gate effect trick in other electronic music genres, and it is not novel. It can be applied to whatever you work on. The string section in this track is also an ideal element for this application.
Choosing the Right Effect Plugin
To begin with, we'll add a new gate effect instance to the string section track. In this case, we chose the LFO Tool by Xfer, but there are other plugins with similar control parameters that you can use instead.
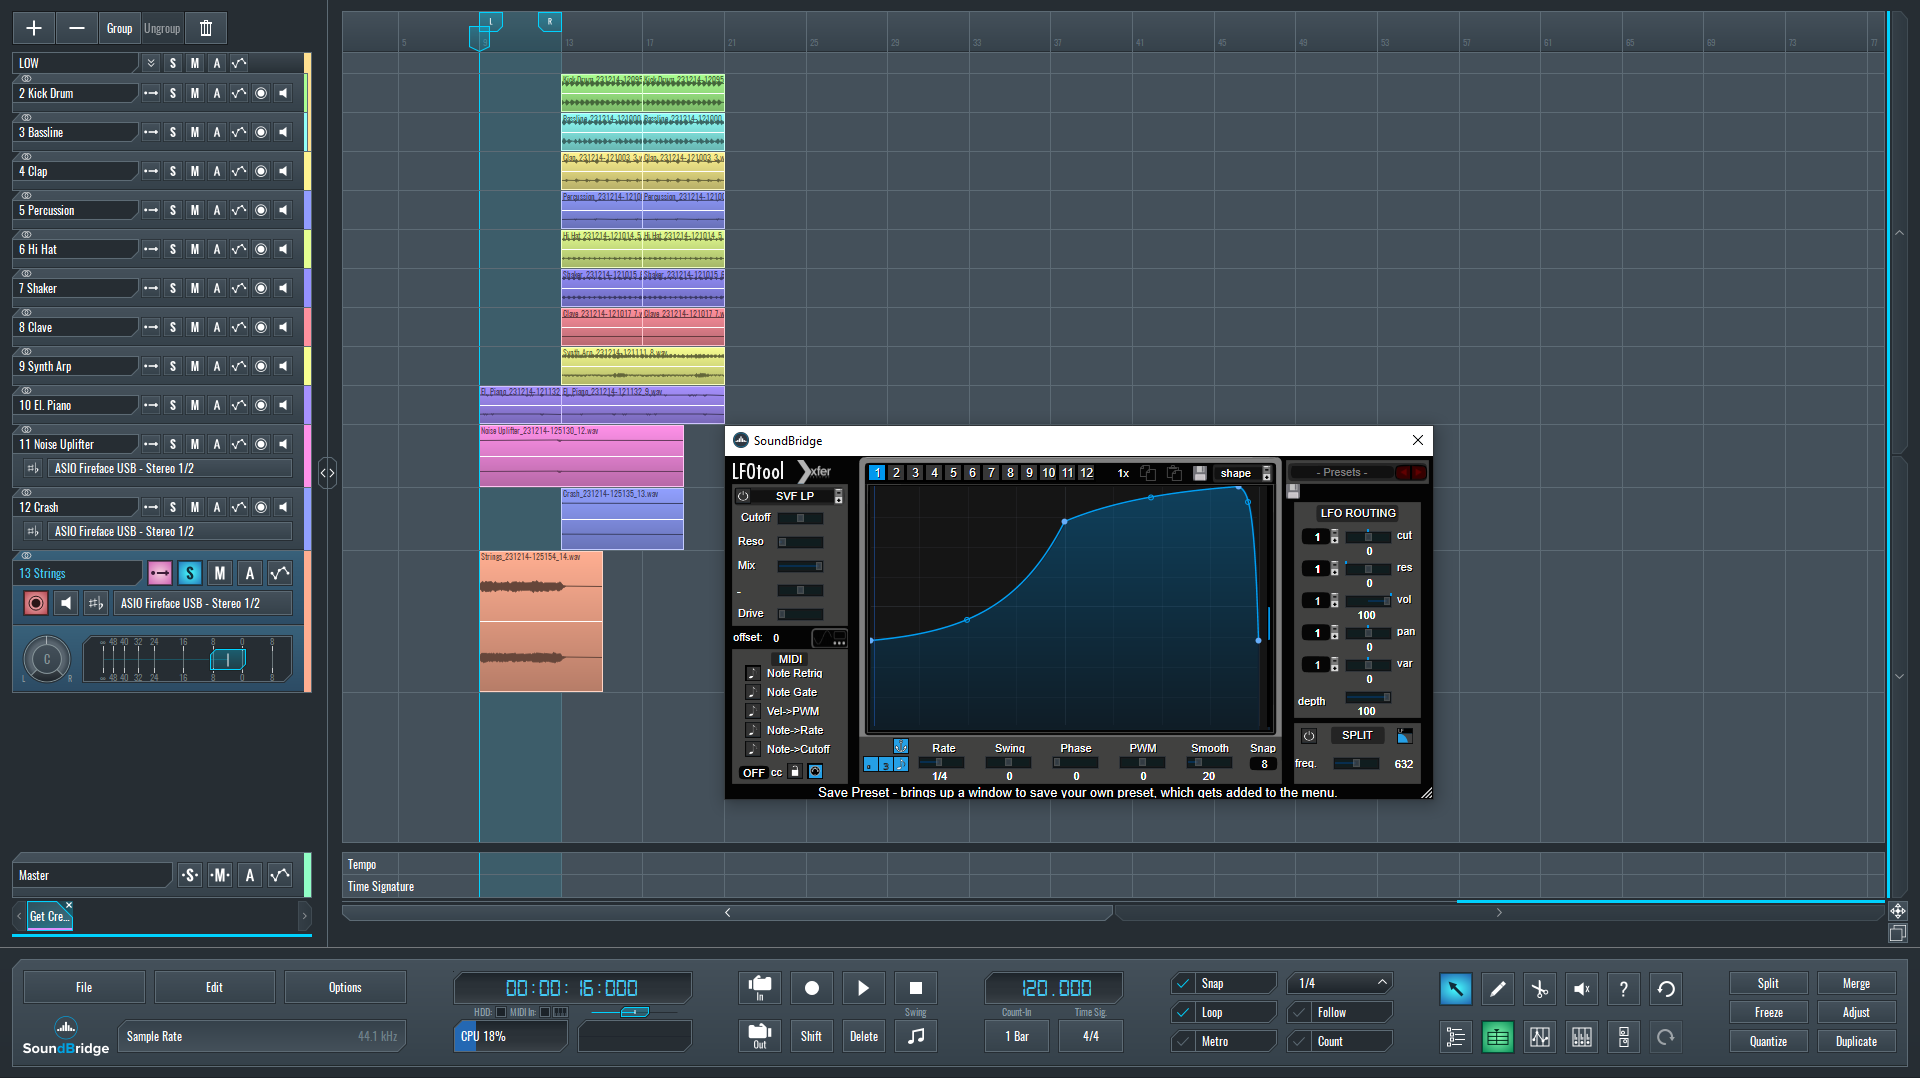
When we open the interface, we get the basic rhythmical sidechain envelope shape, which we do not want. We are sure that you will recognize the sound of it.
~Strings - Solo (Basic Side Chain Sound)
Instead, we'll make a new envelope shape. Also, you need to turn off the sync for the LFO rate. This will allow us to manually control the rate by drawing a curve in the automation block.
~Strings - Solo (Manual Gate Automation)
Use Appropriate Automation and Reverb to Get Creative With the Gate Effect
After finishing the gate effect and automation settings, we will give this sound some space with additional reverb because it sounds too dry. We'll accomplish this by adding a new reverb effect after the gate effect and automating the dry/wet parameter after we've set its parameters.
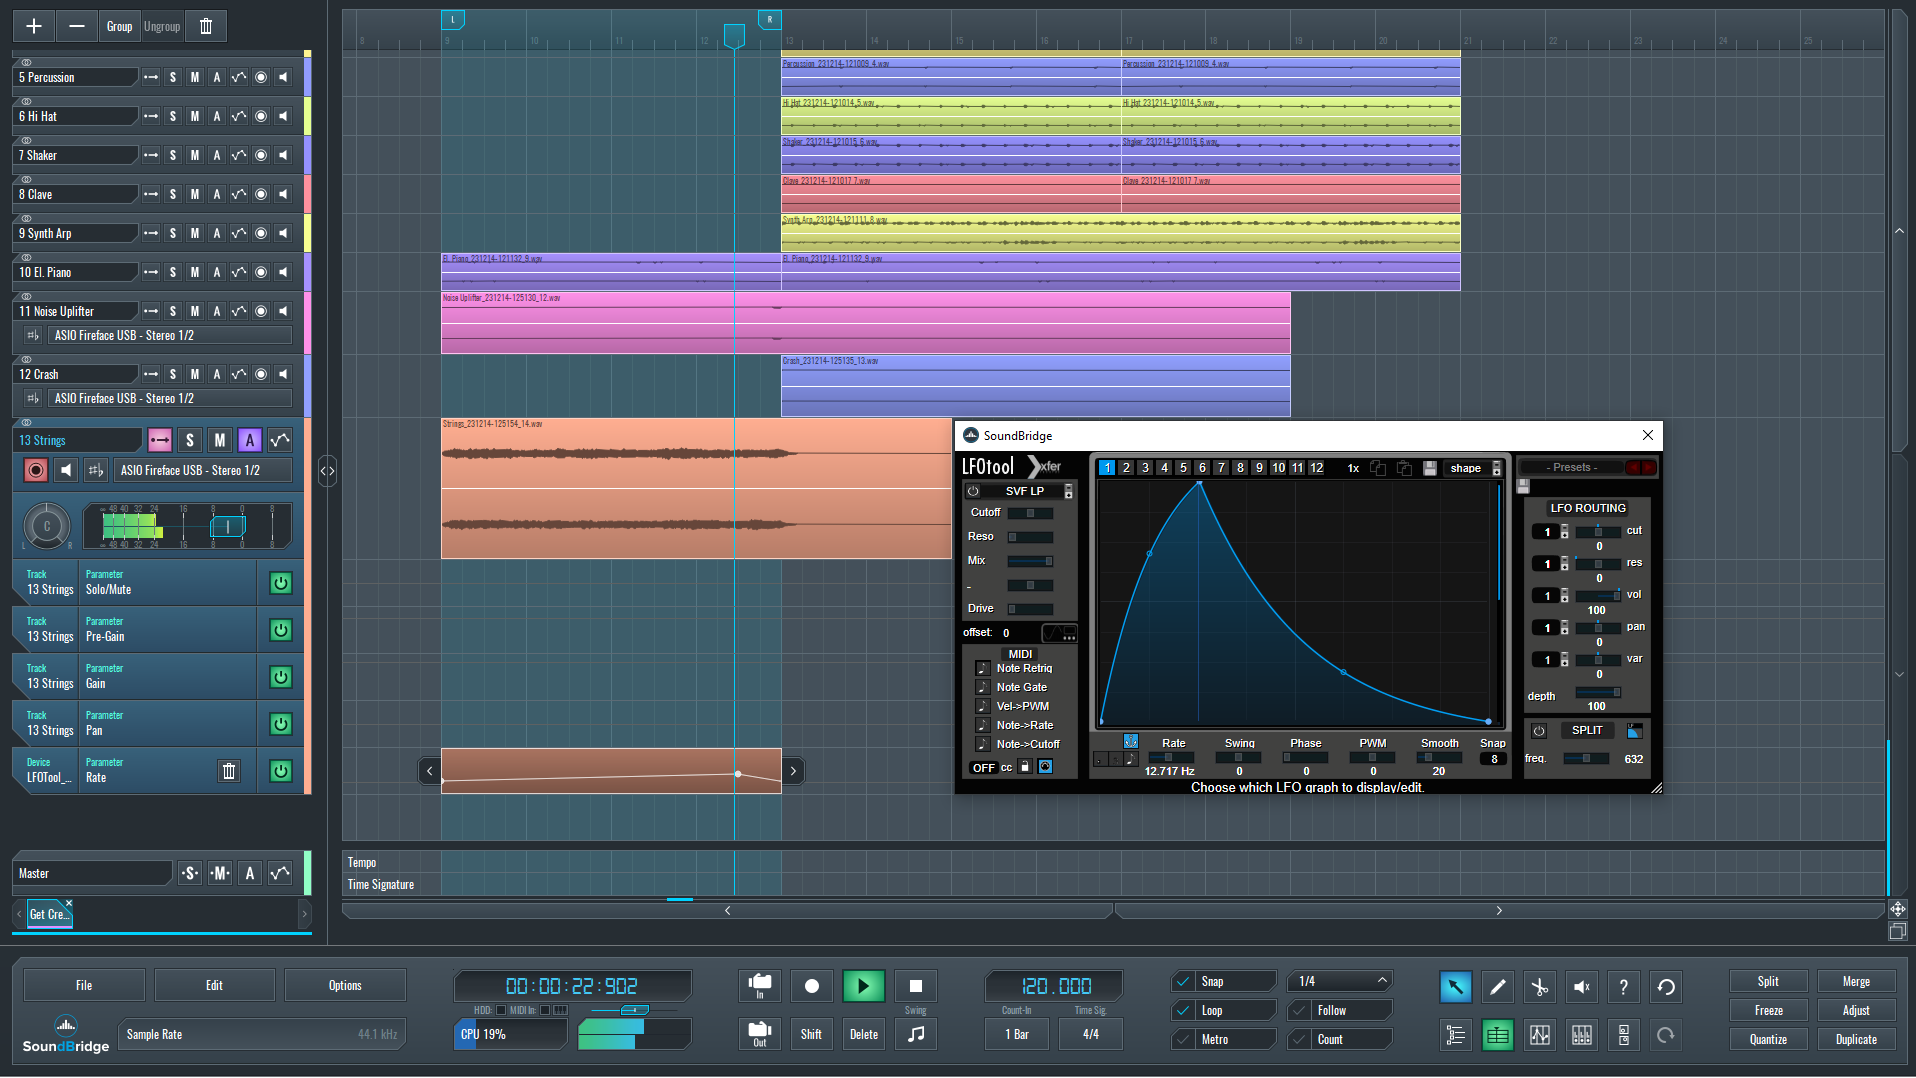
~Strings - Solo (Manual Gate & Reverb Automation)
Finally, let's hear how our processed strings section sequence sounds in the context of the whole mix.
~Full Mix - Strings (Processed)
If you liked this article on sound design, here are some more on the same subject:
MASTER MUSIC PRODUCTION
Expert-led courses designed to take you from fundamentals to finished tracks.

HOUSEFrom bouncy bass and solid kicks, this course teaches you the most modern House music production techniques needed to succeed and stand out.

TRAPQuit sounding like generic Trap and produce something World with hints of the Far East. Create ethnic soundscapes to put your Trap ahead of the curve.

AMBIENTProduce relaxing, sophisticated psy-influenced ambient. Psychedelic and relaxing to listen to, create meditative soundscapes to put your listeners in Zen.