How to Edit Audio Tracks: A Step-By-Step Guide
Last Edited: May 29, 2026
Knowing how to edit audio tracks is the difference between a mix that sounds polished and one that sounds like a rough demo. Yet most musicians hit the same wall: the DAW feels overwhelming, the terminology blurs together, and a simple vocal chop turns into a two-hour rabbit hole. This guide cuts through that noise. You’ll learn the exact steps for preparing your project, splitting and trimming clips, removing silence automatically, and exporting to platform-ready loudness specs. Every technique maps directly to SoundBridge’s workflow, so you walk away with skills you can apply immediately.
Key Takeaways
| Point | Details |
|---|---|
| Essential editing techniques | Splitting, trimming, and crossfading are fundamental for smooth, professional audio tracks. |
| Use automated tools | Automated silence detection speeds up editing but requires careful synchronization in multitrack sessions. |
| Leave clip handles | Always leave extra audio beyond clip edges to enable effective crossfades without artifacts. |
| Check the loudness last. | Measure LUFS only on the fully mixed and mastered track, using full playback for accuracy. |
| Master editing mindset | Prioritize clean edits before effects to make mixing easier and improve overall sound quality. |
Preparing Your Project and Tools for Editing Audio Tracks
Before you touch a single clip, your environment needs to be set up correctly. Professional audio editing relies on splitting, trimming, and crossfading to produce seamless tracks. Still, none of those techniques work cleanly when your session is a mess of unnamed tracks and random routing.
Here is the hardware and software baseline you need in place:
| Component | Recommended spec | Why it matters |
|---|---|---|
| Audio interface | 24-bit / 96kHz minimum | Clean signal capture with editing headroom |
| Headphones | Flat-response, closed-back | Accurate playback without room reflections |
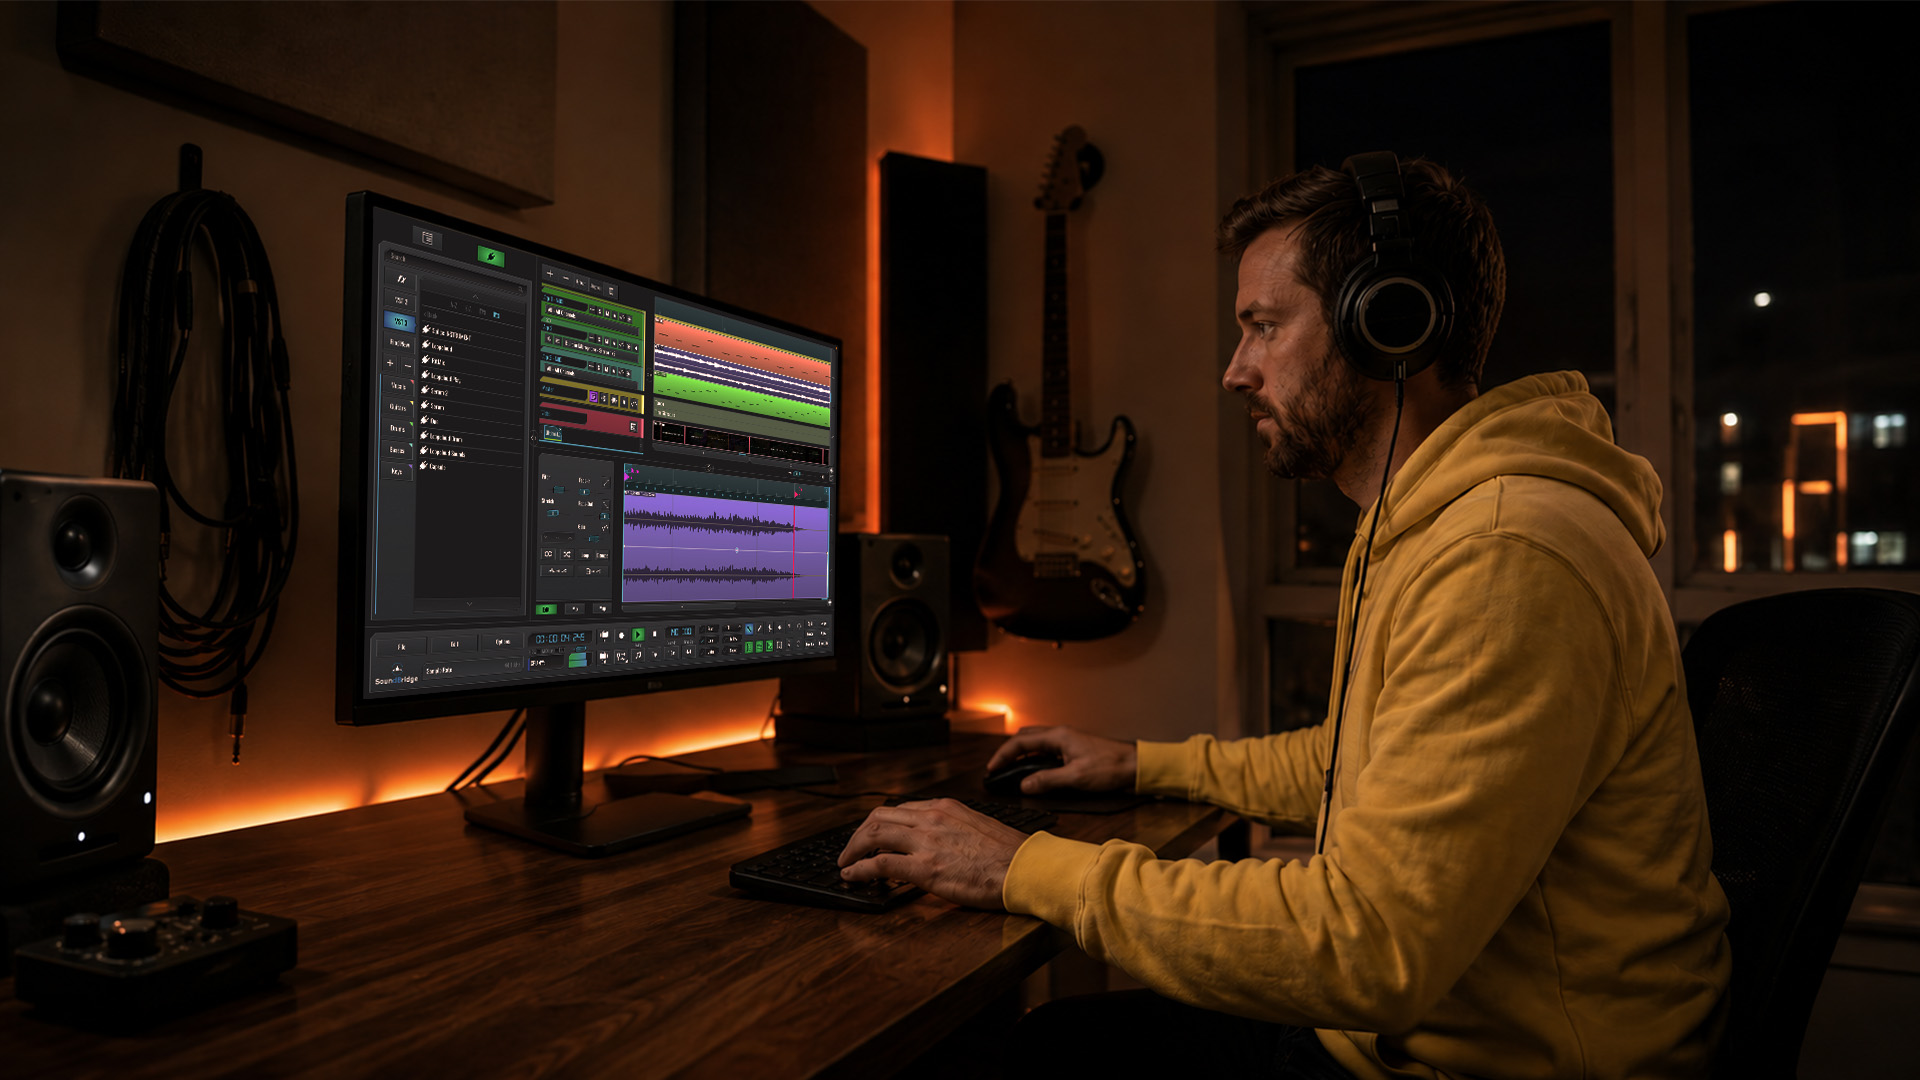
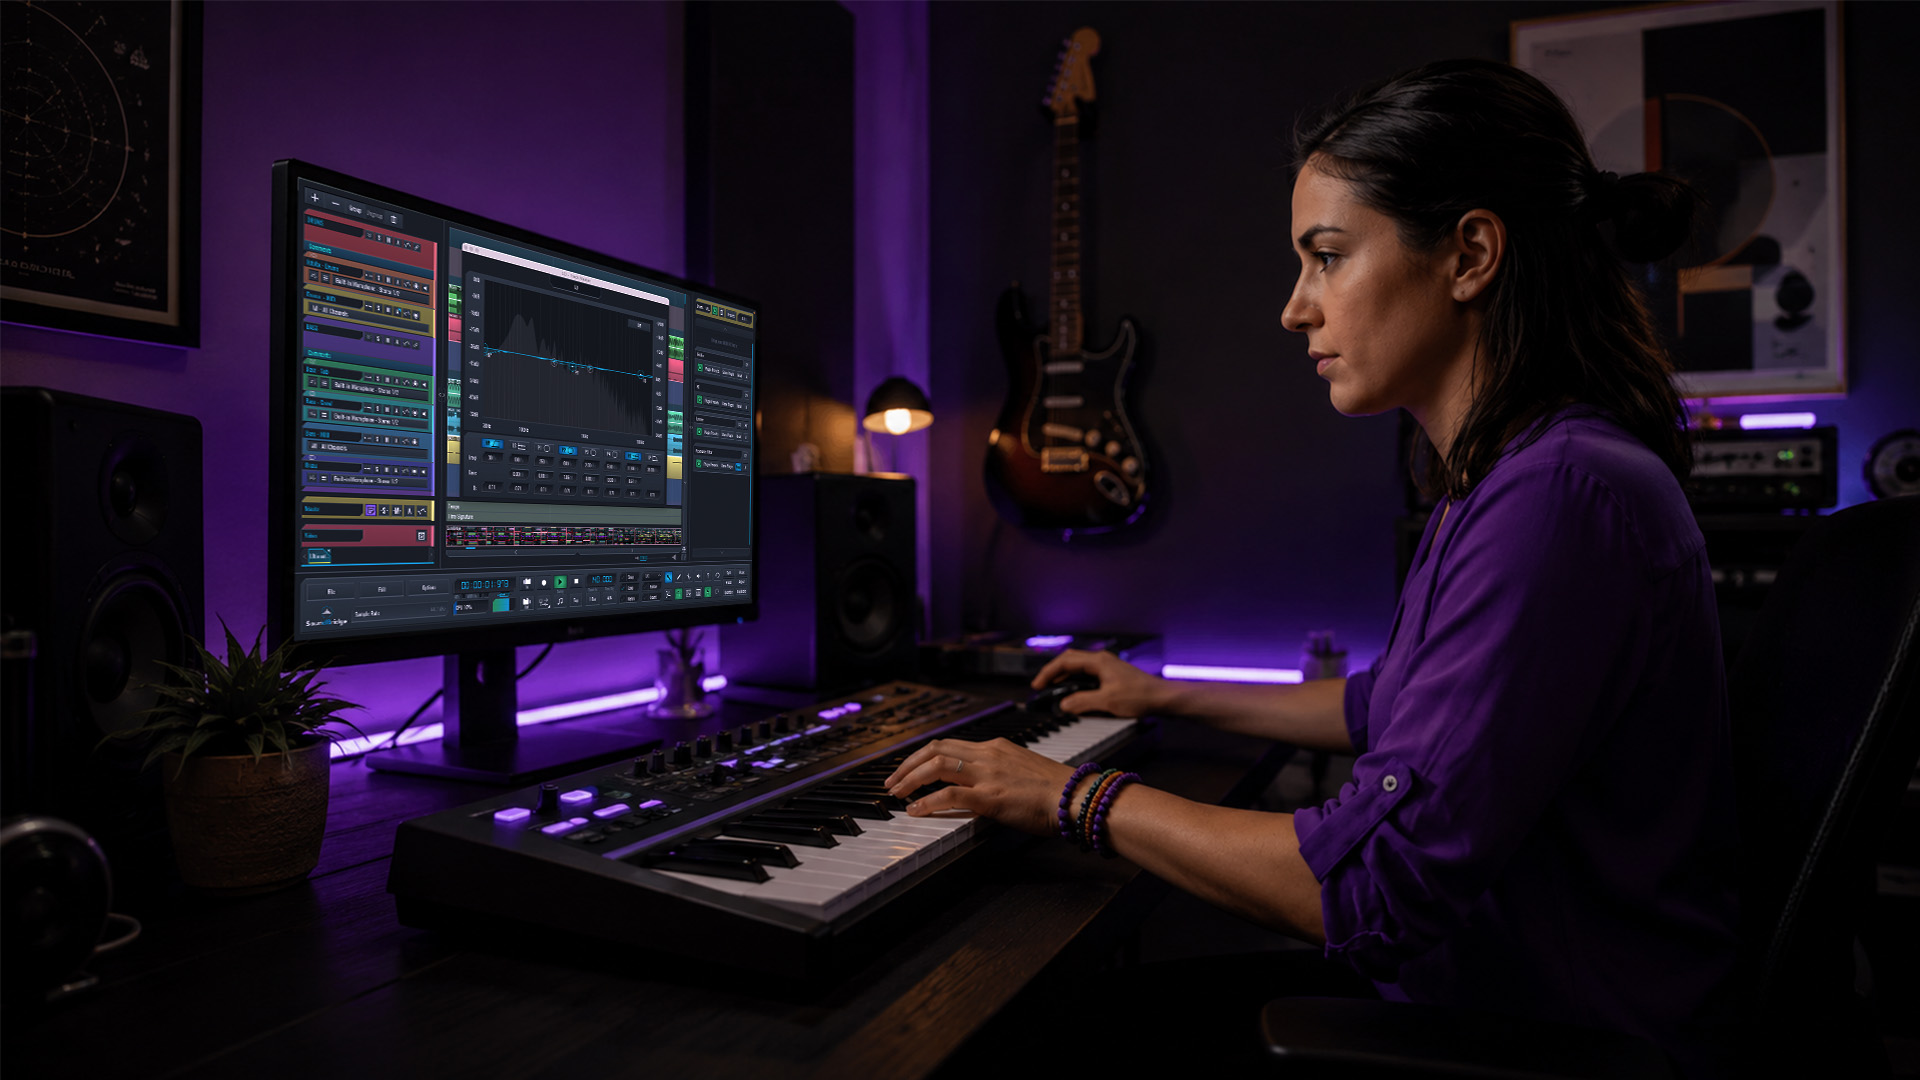
| DAW | SoundBridge (Mac or Windows) | Non-destructive editing, 192kHz support |
| Storage | SSD with 200MB/s+ write speed | Prevents buffer issues during playback |
| RAM | 16GB minimum | Handles large multitrack sessions smoothly |
Once your hardware is connected, open SoundBridge and build a clean project structure before importing any files. Name every track descriptively: “Vox Lead Take 1,” “Kick Close,” “Bass DI.” Color-code your groups. This sounds basic, but a labeled session cuts your editing time in half because you stop hunting and start working.
Key setup habits to lock in from day one:
- Set your session sample rate to match your recorded files (no conversion artifacts)
- Adjust track height so waveforms are clearly readable without constantly scrolling
- Save a custom workspace layout in SoundBridge for vocal editing, one for drums, and one for mixing
- Enable snap-to-grid for transient-accurate edits at the clip level
- Use the zoom controls to stay at a view where individual words or beats are visible
Pro Tip: SoundBridge lets you save custom workspace layouts as presets. Create one layout for editing (tall tracks, large waveform view) and a separate one for mixing (compact tracks, plugin chain visible). Switching between them takes one click and eliminates setup time on every new project.
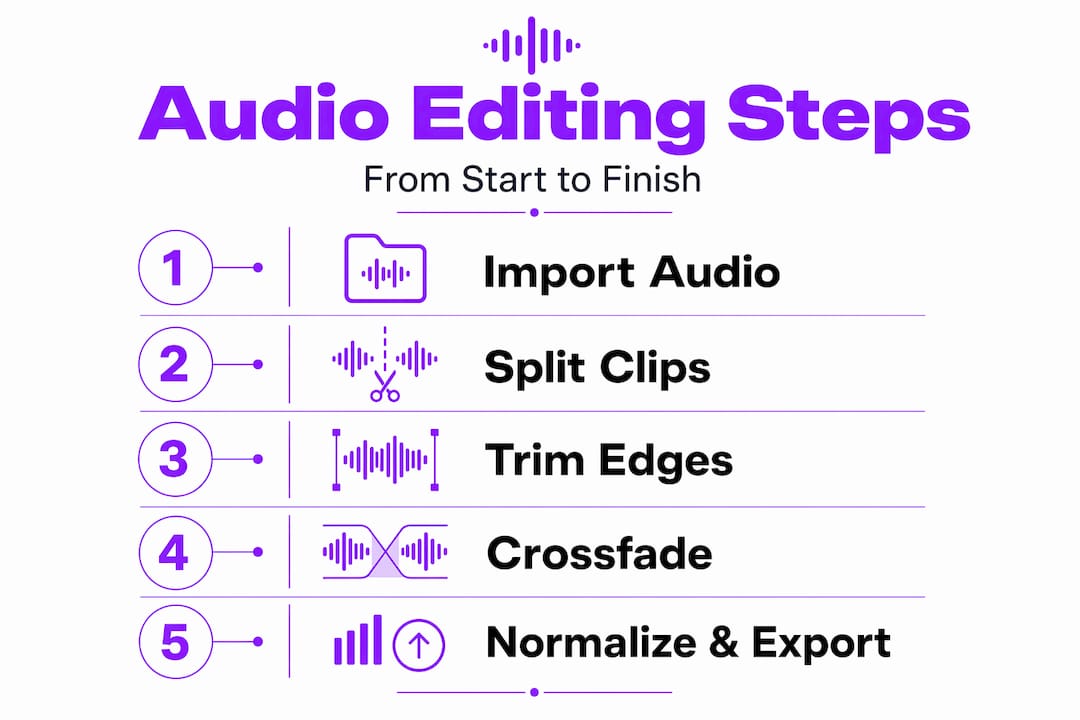
The Core Steps to Editing Audio Tracks: Splitting, Trimming, and Crossfading
With your project set up, it’s time to work on the material. The core editing techniques every producer needs come down to three actions: splitting, trimming, and crossfading. Get these clean and everything downstream, from mixing to mastering, becomes dramatically easier.
Professional audio editing relies on these three fundamentals, and when you nail them, your track stops sounding edited and starts sounding intentional.
Step-by-step: splitting clips in SoundBridge
- Place your playhead at the exact point where you want to cut
- Select the clip you want to split
- Use the split tool (keyboard shortcut S in most modes) to divide the clip at the playhead position.
- The clip splits into two independent objects, each with its own handles and fade controls.
- Repeat across any track that captured the same moment (room mics, parallel processing tracks) to stay in sync.
Step-by-step: trimming clips without losing your handles
- Hover over the edge of a clip until the trim cursor appears
- Drag inward to shorten the clip’s visible region, not the actual audio data
- Non-destructive trimming means the hidden audio still exists; you can expand it back at any point
- Leave at least 10 to 20 milliseconds of extra audio beyond your intended start and end points
- This “handle” is what you need to create a proper crossfade later
Step-by-step: creating crossfades
- Overlap two adjacent clips slightly, using the handles you preserved
- Select both clips
- Apply a crossfade via the edit menu or keyboard shortcut
- Choose a “Constant Power” curve for most materials, which maintains perceived loudness through the transition
- Adjust the crossfade duration to taste: 5 to 15ms for dialogue, 20 to 50ms for music transitions
Crossfades applied at clip boundaries with Constant Power curves produce the most natural-sounding transitions, especially across takes with slightly different room tones.
Common mistakes to avoid when editing soundtracks:
- Trimming too aggressively, removing the handles you need for crossfading
- Forgetting to split all parallel tracks (room mic, direct, bus) at the same position
- Applying crossfades with equal-gain curves on music can create a volume dip at the center)
- Leaving micro-gaps between clips that create silent clicks on playback
- Snapping clips to the grid without checking that the transient actually lands on the beat
Pro Tip: Always zoom in to at least the millisecond level before applying any crossfade. What looks like a clean edit in the full timeline view often reveals a 3-5ms gap or an overlapping transient that creates an unwanted artifact.
Speeding up Editing With Silence Detection and Timeline Management
After mastering basic edits, accelerating your workflow with automation tools will save you valuable time and maintain audio quality. Manual silence cuts feel manageable on a three-minute song. On a 45-minute podcast or a drum session with 12 takes, they become a real productivity drain.
Automated silence detection tools can speed up editing workflows by up to 10x compared to manual editing. SoundBridge and similar professional DAWs include a Strip Silence function that analyzes your audio, detects regions below a set threshold, and automatically removes or mutes them.
Here is how to use it without creating problems:
- Set your silence threshold at 6 to 10dB above your actual noise floor, not at absolute silence
- Define a minimum silence duration (typically 200 to 500ms) to avoid removing natural micro-pauses
- Always preview the detected regions before committing to the strip operation
- Apply Strip Silence to all related tracks simultaneously to preserve phase alignment
That last point is critical. In multitrack projects, silence removal must be sync-aware to avoid phase and timing errors. If you strip silence from your lead vocal but leave the room mic and parallel reverb track untouched, those tracks will continue to play ghost audio during the “silent” sections, muddying your mix.
“Multitrack silence detection only works when every mic that captured the same source is processed at the same time. One unprocessed room mic can undo all your cleanup work.” Think of it as removing scaffolding: every support needs to come down together, or the structure shifts.
The silence detection and timeline tools in SoundBridge make this sync-aware approach much easier. You can group related tracks and apply silence detection to the entire group as a single operation.
Best practices for timeline management in complex sessions:
- Group all mics that captured the same source (kick in, kick out, kick sub) before any silence operations
- Use color-coded track folders to identify which groups belong together visually
- Lock your video or click track reference before editing to prevent accidental timeline shifts
- Regularly save incremental versions of your session after large edit passes
- After automated silence removal, zoom into 10 to 15 random points along the timeline to spot-check transitions
Pro Tip: After running Strip Silence, always do a full-session playback before moving on. Automated tools are fast, but they occasionally remove a breath or a soft guitar pickup that you actually want. One playback catches these before they become a problem in your mix.
Finalizing Edits: Loudness Normalization and Export Best Practices
Once your editing is flawless, ensure your track meets loudness standards and export it correctly for professional delivery. Loudness measurement is where many otherwise solid productions stumble at the finish line.
LUFS (loudness units relative to full scale) is the standard measure for perceived loudness across streaming and broadcast platforms. True Peak is the maximum peak sample value after digital-to-analog conversion. Every platform enforces these limits differently.
| Platform | Target integrated LUFS | True Peak limit |
|---|---|---|
| Spotify | -14 LUFS | -1.0 dBTP |
| Apple Podcasts | -16 LUFS | -1.0 dBTP |
| YouTube | -14 LUFS | -1.0 dBTP |
| Broadcast TV (USA) | -24 LUFS | -2.0 dBTP |
| Apple Music | -16 LUFS | -1.0 dBTP |
Target -16 LUFS for Apple Podcasts and YouTube, -14 LUFS for Spotify, with True Peak capped at -1.5 dBTP to prevent clipping during codec conversion.
Here is the step-by-step process for measuring and hitting your loudness target:
- Complete all editing and mixing before taking a loudness reading
- Insert a LUFS metering plugin on your master bus (SoundBridge supports third-party metering via its plugin host)
- Start playback from the very beginning and let it run to the absolute end, no skipping
- Measure loudness only on fully mixed and mastered tracks to get accurate LUFS readings
- Compare your integrated LUFS reading against your target platform
- Adjust your master fader or a transparent limiter to bring the level into spec
- Re-run the full playback measurement to confirm the new reading
For export, SoundBridge gives you granular control. Select your format (WAV for delivery masters, MP3 for demos), set your sample rate (44.1kHz for most streaming, 48kHz for video), and choose your bit depth (24-bit for delivery files, 16-bit only for legacy CD targets). If your client or collaborator needs stems, SoundBridge’s multi-stem export function lets you bounce each group independently in a single pass.
Pro Tip: Always perform a full-program playback to get an accurate LUFS reading. Measuring just the loudest chorus will give you a falsely high number. True integrated loudness reflects the entire track from fade-in to fade-out.
Why Mastering Editing Techniques Beats Overreliance on Effects and Plugins
Here is an opinion you will not hear often enough: most audio quality problems are editing problems, not mixing problems. Producers reach for an EQ or a noise reduction plugin when the real fix is a cleaner cut or a better crossfade. Effects should enhance great raw material, not rescue sloppy edits.
Experienced engineers build their sessions on precise splits, clean trims, and smooth crossfades before inserting a single plugin. When the foundation is solid, the mix almost builds itself. When it is not, you spend hours chasing artifacts that should have been cut out in five seconds.
The most common mistake beginners make is timeline fatigue: manually hunting for every silence instead of using automation. This does not just waste time. It leads to inconsistent edits because your attention degrades after the first hundred manual cuts. Strategic automation does not compromise your artistry; it protects it.
The right mindset is this: your timeline is the instrument. Every edit is a performance decision. A precisely trimmed vocal that breathes naturally is more compelling than a heavily processed one that was never properly cut. You can master the fundamentals of editing and unlock a level of clarity that no plugin can replicate.
Pro Tip: Build a personal editing checklist and run through it at the start of every session. When you know your process, you stop second-guessing small decisions and move faster, which means cleaner edits and less correction work when you get to mixing.
Enhance Your Audio Editing With Soundbridge’s Powerful DAW Features
If you are ready to put these techniques into practice, SoundBridge gives you the tools to make every edit count.
SoundBridge’s object-based editing engine lets you trim, fade, and crossfade clips with sample-accurate precision, so your cuts are clean every single time. The non-destructive workflow lets you experiment freely without risking your original audio. Need to move fast on a long session? The essential audio editing features built into SoundBridge, including Strip Silence, sync-aware grouping, and integrated automation, help you work at a professional pace without sacrificing quality. When your edits are done, the multi-stem export and comprehensive format options make delivery simple and consistent. Explore how SoundBridge’s unlock feature can reshape your entire production workflow, and compare it in any DAW workflow across platforms.
Frequently Asked Questions
What are crossfades, and why are they important in audio editing?
Crossfades smoothly blend two adjacent clips by overlapping them and shaping the volume curves so there are no clicks or jarring transitions. Constant Power curves are preferred for natural-sounding results across most material types.
How can I speed up editing long audio tracks without losing quality?
Use automated silence detection to remove dead air based on threshold settings, rather than cutting manually. Just make sure to apply it across all tracks simultaneously to preserve phase alignment in multitrack sessions.
When should I check the loudness (LUFS) of my audio track?
Check loudness only after your track is fully mixed and mastered, using a full playback from start to finish. Measure loudness on the final file to get an integrated reading that accurately reflects how the platform will process your audio.
What is a common mistake beginners make when editing audio tracks?
Beginners often get caught in timeline fatigue, manually cutting every silence rather than using automated tools, which leads to inconsistent results. Using automation instead is faster and produces more reliable edits across long sessions.
Recommended
MASTER MUSIC PRODUCTION
Expert-led courses designed to take you from fundamentals to finished tracks.

HOUSEFrom bouncy bass and solid kicks, this course teaches you the most modern House music production techniques needed to succeed and stand out.

TRAPQuit sounding like generic Trap and produce something World with hints of the Far East. Create ethnic soundscapes to put your Trap ahead of the curve.

AMBIENTProduce relaxing, sophisticated psy-influenced ambient. Psychedelic and relaxing to listen to, create meditative soundscapes to put your listeners in Zen.