How to Use a DAW: Beginner's Production Guide
Last Edited: Jun 18, 2026
A digital audio workstation (DAW) is the central software tool you use to record, arrange, edit, and mix music on your computer. Learning how to use a DAW means getting comfortable with tools like GarageBand, FL Studio, or Ableton Live to turn raw ideas into finished tracks. The full production process covers five key phases: session setup, recording or programming, arranging, mixing, and mastering. You do not need expensive gear to start. You need a computer, a DAW, and about 20 hours of focused practice to build a working foundation.
How to Use a Daw: What You Actually Need to Start
The minimum setup for music production is a computer and a DAW. Everything else depends on what you want to create.
If you are on a Mac, GarageBand is free and already installed. Windows users can download Cakewalk by BandLab at no cost. Both are fully capable DAWs for learning the fundamentals. When you are ready to invest, FL Studio costs $99 with lifetime updates, making it one of the best long-term values in the market. Reaper offers a discounted license at $60 for personal use.

An audio interface and microphone are only necessary if you plan to record live instruments or vocals. For producers working with MIDI and virtual instruments, a basic pair of closed-back headphones is enough to get started. Studio monitors become useful once you are mixing seriously and need accurate stereo imaging.
Here is a quick comparison of popular DAW options for beginners:
| DAW | Platform | Cost | Best For |
|---|---|---|---|
| GarageBand | Mac only | Free | Absolute beginners on Mac |
| Cakewalk by BandLab | Windows only | Free | Windows users starting out |
| FL Studio | Mac and Windows | $99+ | Beat making, electronic music |
| Reaper | Mac and Windows | $60 | Budget-conscious producers |
| Ableton Live Intro | Mac and Windows | $99 | Live performance, loop-based production |
Key gear checklist:
- Computer (Mac or Windows, 8GB RAM minimum)
- DAW software (start free, upgrade when ready)
- Headphones (closed-back, 80–250 ohm range)
- Audio interface (only if recording live audio)
- MIDI keyboard (optional, but speeds up melody writing)
Matching your DAW to your platform first removes one major decision from your plate. Pick one option and commit to it.
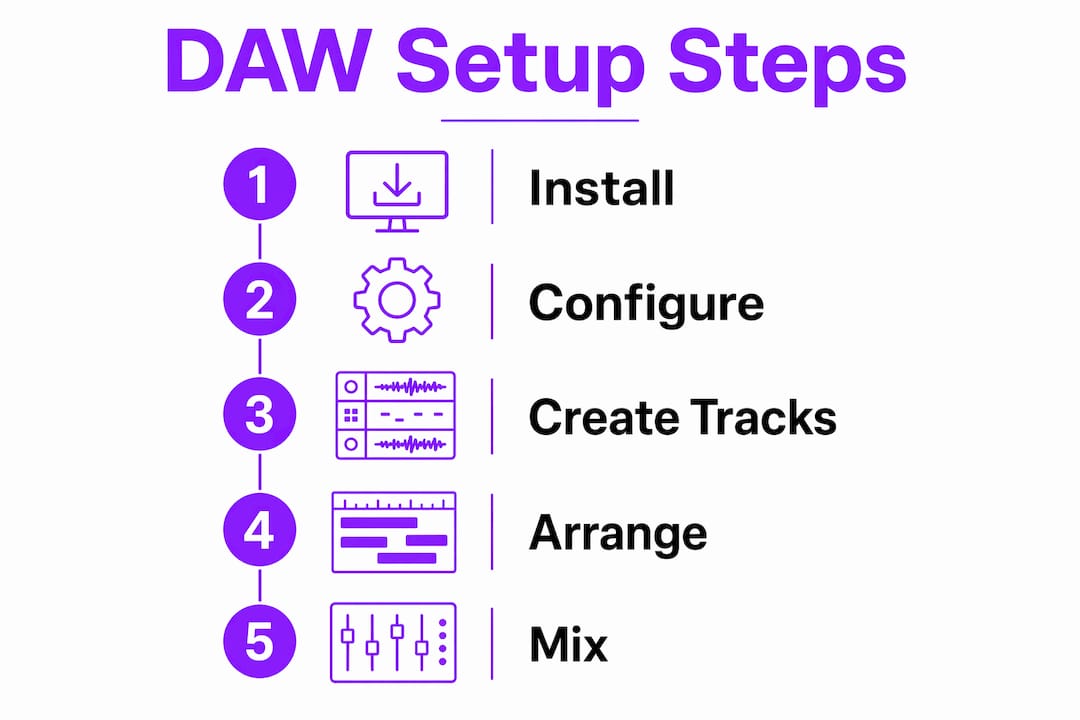
How Do You Set Up Your First Daw Session?
A well-organized session is the difference between finishing a track and abandoning it halfway through. Start with a template.
Session templates with preconfigured tracks and color-coding can save 10–20 minutes each time you open a new project. That adds up fast. Set up a template with your core track groups: drums in red, bass in orange, melodic elements in blue, and vocals in green. Pre-route your effects chains so you do not have to rebuild from scratch each session.
Here is a step-by-step process for starting your first project:
- Set your tempo. Most electronic genres sit between 120 and 140 BPM. Hip-hop typically runs 80–100 BPM. Lock this in before you place a single note.
- Create your track layout. Add a drum track, a bass track, and two or three instrument tracks. Label everything immediately.
- Load a virtual instrument. In GarageBand, use the built-in drum machine. In FL Studio, open the step sequencer and load a kick, snare, and hi-hat.
- Program a basic beat. Place a kick on beats 1 and 3, a snare on beats 2 and 4. Add a closed hi-hat on every eighth note. This is the foundation of most popular music.
- Open the piano roll. Draw in a simple four-chord progression: C major, A minor, F major, G major. This progression appears in hundreds of hit songs across pop, R&B, and electronic music.
- Record or draw a bassline. Follow the root note of each chord. Keep it simple on the first pass.
Pro Tip: Color-code every track from day one. It feels unnecessary at first, but once your session has 20 tracks, color coding is the fastest way to find what you need without breaking your creative flow.
The piano roll is the most powerful tool for beginners who do not play an instrument. You can draw notes, adjust velocity, and build melodies entirely with a mouse. It removes the barrier of live performance and lets you focus on the music itself.
What Are the Essential Mixing and Arrangement Techniques?
Arrangement is how you build a song from a loop. Mixing is how you make every element sound clear and balanced. Both skills take time, but the basics are learnable in your first few weeks.
A standard song structure follows a proven formula. Intro runs 4–8 bars, verse runs 8–16 bars, chorus runs 8 bars, bridge runs 4–8 bars, and outro runs 4–8 bars. Start by copying your core loop into this structure. Then subtract elements in the verse and add them back in the chorus for contrast. That single technique creates energy and movement without writing new material.
Core mixing fundamentals every beginner needs:
- Levels first. Set your fader volumes so no single element dominates. The kick and bass should anchor the mix without burying the melody.
- Panning for width. Place hi-hats slightly left, percussion slightly right, and keep kick and bass centered. Width makes a mix feel three-dimensional.
- EQ to reduce muddiness. Cut low frequencies below 80Hz on non-bass elements. This clears up the low end and gives your kick and bass room to breathe.
- Compression for control. Apply gentle compression to drums to glue the rhythm section together. A 4:1 ratio with a medium attack works well for most beginners.
Separating creative composing from technical mixing prevents one of the most common beginner traps: over-processing while you are still writing. Build your rough demo first. Get the arrangement locked. Then move into mixing mode. Treating these as two distinct sessions keeps your creative energy focused and your mix decisions intentional.
Pro Tip: Do not touch the EQ or compressor until your arrangement is finished. Mixing an unfinished song is like painting a house before the walls are built.
For a deeper look at mixing step by step, SoundBridge has a dedicated guide that walks you through every stage from gain staging to final balance.
What Are the Most Common Beginner Daw Mistakes?
Most beginners stall not because the software is too hard, but because they fall into predictable traps. Knowing them in advance puts you ahead.
The biggest mistake is equating gear value with sound quality. A $3,000 microphone does not fix a poorly arranged track. Skill and discipline produce better music than expensive tools. Start with what you have and upgrade only when your skills outpace your gear.
Common mistakes and how to fix them:
- Gain staging errors. Aim for approximately -18 dBFS RMS input levels on your tracks. Recording too hot causes digital clipping, which destroys audio quality and cannot be fixed in the mix.
- Switching DAWs too early. Switching DAWs frequently early in your learning resets your muscle memory and slows progress. Pick one and stay with it for at least six months.
- Tutorial paralysis. Watching hours of tutorials without opening your DAW teaches you nothing. The ratio should be 20% watching and 80% doing.
- Never finishing tracks. Finishing tracks builds skill faster than endlessly tweaking unfinished projects. A completed imperfect track teaches you more than a perfect loop ever could; you never develop.
“The producer who finishes 10 imperfect tracks will always outgrow the one who spends six months perfecting a single loop.”
Pro Tip: Set a rule for yourself: every project gets a mixdown, no matter how rough it is. Exporting a finished file, even a bad one, trains your ear and builds the habit of completion.
Using session templates and keyboard shortcuts also removes friction from your workflow. Most DAWs let you assign shortcuts to your most-used functions. Learn the shortcuts for mute, solo, record arm, and loop toggle in your first week. These four alone will significantly cut your session time.
For a solid foundation in essential audio editing techniques, SoundBridge covers the core skills that help you work faster and with more confidence inside any DAW.
Key Takeaways
Mastering a DAW requires consistent practice across five phases: setup, recording, arranging, mixing, and mastering, with finishing tracks being the single fastest path to real skill growth.
| Point | Details |
|---|---|
| Start with free tools | GarageBand on Mac and Cakewalk on Windows are fully capable DAWs at zero cost. |
| Use session templates | Preconfigured templates with color coding save 10–20 minutes per session and reduce decision fatigue. |
| Separate creative and technical phases | Write your full arrangement before touching EQ or compression to avoid over-processing. |
| Fix gain staging first. | Aim for -18 dBFS RMS input levels to prevent clipping and keep your mix clean. |
| Finish every track | Completing imperfect tracks builds ear training and workflow discipline faster than any tutorial. |
The Habit That Actually Moves the Needle
Here is what I have seen over and over: beginners spend weeks choosing the perfect DAW, buying gear they do not need, and watching tutorials instead of making music. Then they wonder why they are not improving.
The truth is uncomfortable. The DAW does not matter that much at the start. GarageBand and FL Studio can both produce chart-level music. What matters is the hours you put in with one tool until it becomes second nature. When you stop thinking about where the button is, you start thinking about what the music needs. That shift is everything.
I also think the “finish your tracks” advice gets dismissed too quickly because it feels like lowering your standards. It is the opposite. Every time you export a finished song, you hear exactly where your skills are and where they are not. That honest feedback loop is more valuable than any course. Your tenth finished track will sound dramatically better than your first, not because you learned more theory, but because you made ten real decisions about ten real songs.
The producers who grow fastest are not the ones with the best gear or the most plugins. They are the ones who open their DAW every day, make something, and export it. Build that habit in your first month, and the rest follows naturally.
— Wake
Start Building Your Sound With SoundBridge
Ready to put these principles into practice? SoundBridge is built for producers at every level, from your first beat to professional releases. The platform offers an intuitive interface, zero-latency remote recording, and a full suite of virtual instruments and effects so you can focus on creating rather than troubleshooting your setup.
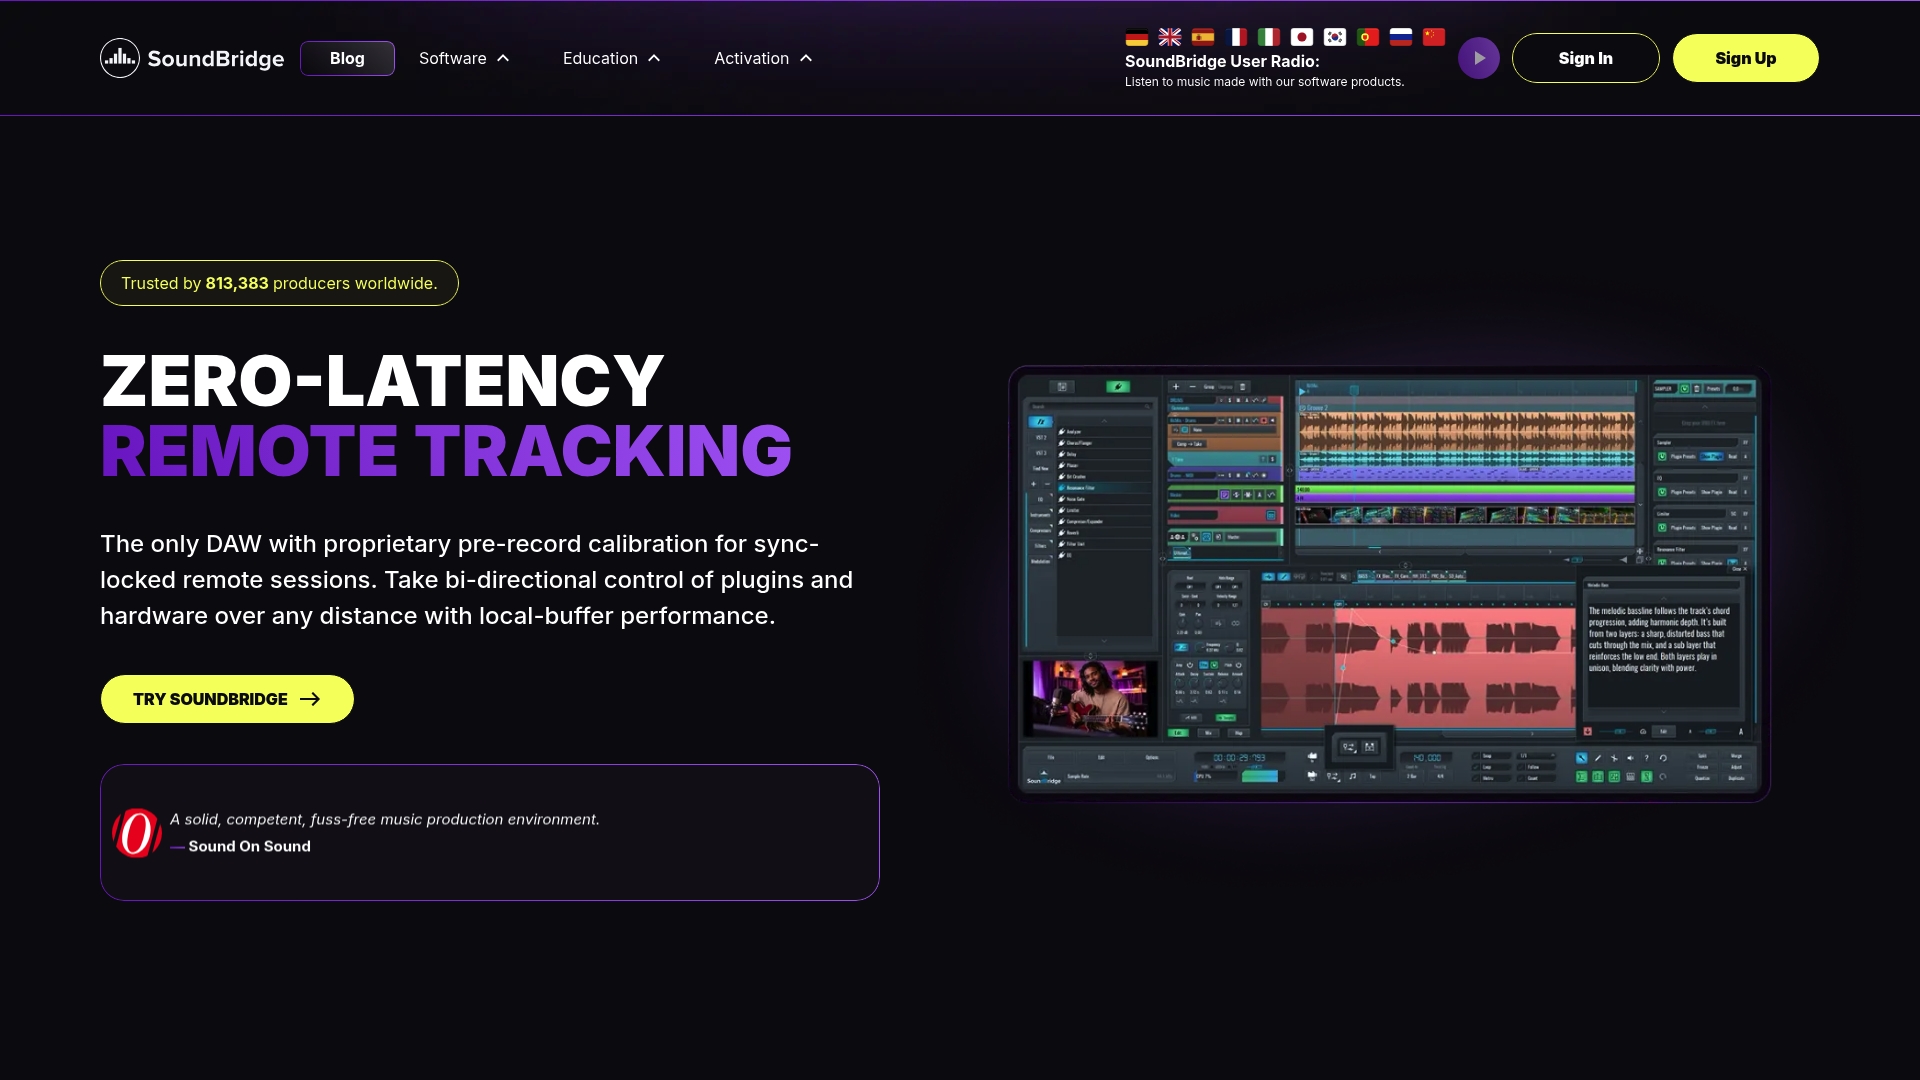
Whether you are mapping out your first DAW workflow or pushing into advanced mixing territory, SoundBridge gives you the tools and the environment to grow. The free tier gets you started immediately, no credit card required. Explore the platform and see how much faster you progress when your DAW works with your creative process, not against it.
FAQ
What is the best DAW for beginners?
GarageBand is the best free option for Mac users, while Cakewalk by BandLab is the top free choice for Windows. FL Studio at $99 with lifetime updates is the best paid entry point for most beginners.
How long does it take to learn a DAW?
New producers should dedicate about 20 hours to learning core DAW concepts, including navigation, MIDI programming, and arrangement. Consistent daily practice of 30 minutes builds a working foundation within 1–3 months.
Do I need an audio interface to start producing music?
An audio interface is only necessary if you plan to record live instruments or vocals. Producers working entirely with MIDI and virtual instruments can start with just a computer, a DAW, and headphones.
What is gain staging, and why does it matter?
Gain staging means setting your input recording levels so they average around -18 dBFS RMS. Recording too loud causes digital clipping, which permanently damages audio quality and cannot be corrected during mixing.
Should I switch Daws if I am not happy with my progress?
Switching DAWs early on resets your muscle memory and slows your learning. Commit to one DAW for at least six months before considering a change, since slow progress is almost always a practice issue, not a software issue.
Recommended
MASTER MUSIC PRODUCTION
Expert-led courses designed to take you from fundamentals to finished tracks.

HOUSEFrom bouncy bass and solid kicks, this course teaches you the most modern House music production techniques needed to succeed and stand out.

TRAPQuit sounding like generic Trap and produce something World with hints of the Far East. Create ethnic soundscapes to put your Trap ahead of the curve.

AMBIENTProduce relaxing, sophisticated psy-influenced ambient. Psychedelic and relaxing to listen to, create meditative soundscapes to put your listeners in Zen.