Low Latency Audio Recording: Your 2026 Producer's Guide
Last Edited: Jun 23, 2026
Low-latency audio recording is the practice of minimizing the delay between your input signal and the audio you monitor or capture, with professional standards targeting delays under 10 milliseconds. Every guitarist, vocalist, and producer who has ever heard a ghostly echo of themselves while tracking knows how badly that delay wrecks a performance. The good news: the right combination of a quality, low-latency audio interface, optimized driver settings, and smart DAW configuration puts you firmly in control. This guide covers every layer of the problem, from hardware choices to streaming setups, so you can record in real time without fighting your own signal chain.
What Hardware and Settings Most Influence Low-Latency Audio Recording?
The audio interface is the single biggest hardware variable in your latency equation. Consumer-grade USB audio adapters rely on generic OS drivers that add significant processing overhead. A dedicated interface from brands like Focusrite, Universal Audio, or MOTU uses purpose-built drivers that talk directly to your CPU with far less delay.
Buffer size is the next critical setting. 128 samples is the recommended buffer for active tracking sessions, 256 samples for balanced tracking, and 512 samples or higher for mixing phases when latency no longer matters. A 128-sample buffer at 44.1kHz typically produces roundtrip latency below 10 milliseconds, which is adequate for most recording needs. That sub-10ms threshold is the point where most musicians stop perceiving delay as a performance obstacle.
Sample rate also plays a role, though not in the way most people expect. Higher sample rates, such as 96kHz or 192kHz, reduce the time each audio sample occupies, which can shave a few milliseconds off roundtrip latency. The trade-off is a heavier CPU load, which can force you to raise your buffer size and cancel out the gain.
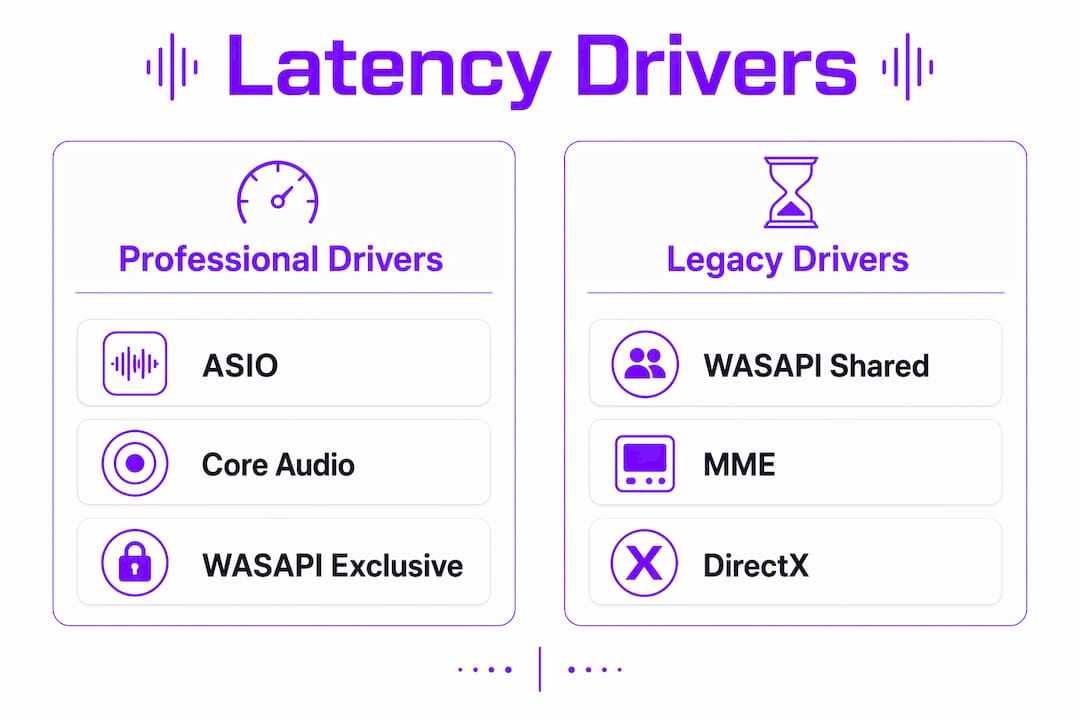
Driver Type Comparison: ASIO, WASAPI, and MME
Your driver choice determines how efficiently your operating system passes audio to your interface. The table below shows how the three main Windows driver types compare in terms of latency and practical use.
| Driver type | Typical latency | Best use case |
|---|---|---|
| MME | 100 ms or higher | Legacy software only |
| WASAPI | Near real-time | Audacity, browser-based tools |
| ASIO | Under 10 ms | Professional DAW recording |
ASIO (Audio Stream Input/Output) bypasses the Windows audio mixer entirely, giving your DAW direct access to hardware. WASAPI bypasses the Windows kernel mixer to deliver near real-time, bit-perfect audio, making it a strong free upgrade for users who cannot run ASIO. MME, the oldest Windows driver model, routes audio through multiple processing layers, resulting in delays that make real-time tracking nearly impossible.
On Mac, Core Audio serves as the system-level driver framework. It handles low-latency routing natively without requiring a third-party driver like ASIO, which is one reason Mac has historically been favored in professional studio environments. The Mac vs. Windows DAW debate often comes down to exactly this driver architecture difference.
Pro Tip: If you are on Windows and cannot install ASIO drivers, switch your DAW or recording software to WASAPI exclusive mode. This prevents other applications from sharing the audio device and significantly reduces processing overhead.
How to Configure Your Daw and Drivers for the Lowest Latency Possible
Getting your DAW configured correctly is just as important as your hardware. Follow these steps to squeeze every millisecond of performance out of your setup.
- Set your buffer size to 128 samples or lower during tracking. Open your DAW’s audio preferences and locate the buffer size or latency control. Drop it to 128 samples before you hit record. Raise it back to 512 or higher when you move into mixing.
- Select ASIO as your audio driver on Windows. In your DAW’s audio device settings, choose your interface’s ASIO driver by name, such as Focusrite USB ASIO or UA ASIO. Avoid the generic ASIO4ALL wrapper if your interface has a native driver, as native drivers are always more stable.
- Enable low-latency monitoring mode in your DAW. Both Logic Pro and Ableton Live include a dedicated low-latency mode that automatically bypasses or freezes CPU-heavy plugins during recording. This keeps your signal chain light while you track.
- Disable unnecessary plugin processing on your input channel. Heavy reverbs, convolution processors, and multi-band compressors on a live input channel spike CPU usage and force the system to buffer more audio. Strip your input chain to a gate and a light EQ while tracking.
- Match your sample rate across hardware and software. A mismatch between your interface’s sample rate and your DAW project rate forces the system to perform real-time conversion, which adds latency and can cause audio artifacts. Set both to 44.1kHz or 48kHz and confirm they match in your OS audio settings as well.
Pro Tip: In Ableton Live, the “Overall Latency” readout in the Audio preferences panel shows your true roundtrip delay in milliseconds. Use it as your benchmark. If it reads above 12 ms, lower your buffer size or check whether another application has locked the audio device.
Techniques and Tools for Zero-Latency Monitoring and Streaming
Zero-latency monitoring is the professional term for hearing yourself through your interface without any DAW processing in the signal path. Direct hardware monitoring sends your input signal straight to the output, bypassing DAW processing entirely. Every major audio interface from Focusrite Scarlett to Apollo Twin includes a direct monitoring switch or software mixer for exactly this purpose.
The challenge comes when you want to stream your DAW output live while also monitoring with zero latency. Virtual audio cables, such as VB-Audio Virtual Cable or Loopback on Mac, are a common workaround, but they add their own processing layer and can introduce instability.
A cleaner solution for Windows users is the DAW-ASIO-Capture plugin. It routes your DAW’s ASIO output directly to OBS or any streaming application through shared memory, adding only approximately 40 milliseconds of transparent buffer delay to the stream while leaving your ASIO monitoring path completely untouched. Your listeners hear a clean, slightly buffered stream. You hear yourself with zero delay.
Here is a quick breakdown of monitoring and streaming approaches ranked by latency impact:
- Direct hardware monitoring: Zero latency. No DAW processing on the input. Best for tracking vocals and instruments.
- DAW-ASIO-Capture to OBS: Approximately 40 ms delay in the stream only. No latency added to your monitoring path. Best for live streaming sessions.
- WASAPI loopback in OBS: Low latency, no extra software needed. Works well for producers who do not need ASIO monitoring.
- Virtual audio cable routing: Functional but adds complexity and latency. Direct shared-memory routing is more stable and efficient for most live-streaming workflows.
- Software monitoring through a DAW adds full roundtrip latency. Only use this when you need to hear processed effects, such as reverb on a vocalist who performs better with the effect present.
| Monitoring method | Latency added | Streaming compatible |
|---|---|---|
| Direct hardware monitoring | 0 ms | No |
| DAW-ASIO-Capture | ~40 ms (stream only) | Yes |
| WASAPI loopback | Low | Yes |
| Virtual audio cable | Medium to high | Yes |
| DAW software monitoring | Full roundtrip | Yes |
Common Mistakes That Kill Your Low-Latency Performance
Most latency problems in home and project studios come from a handful of avoidable errors. Knowing what to look for saves you hours of troubleshooting.
- Leaving the buffer size at the default. Most DAWs ship with a buffer size of 512 or 1024 samples. That setting is fine for playback but produces 20–40 ms of roundtrip latency during tracking. Lower buffer sizes decrease latency but increase CPU load, so 128 samples is the practical sweet spot for most recording sessions.
- Using MME or DirectSound drivers on Windows. These legacy driver models add a significant processing delay. Switching from MME to WASAPI is the most effective free upgrade for Windows users seeking lower latency without buying new hardware.
- Running heavy plugins on the input channel during recording. A convolution reverb or a CPU-hungry amp simulator on your live input forces the system to process more audio per buffer cycle. Bypass or remove those plugins during tracking and add them back in the mix stage.
- Mismatched sample rates between hardware and software. If your interface is set to 48kHz and your DAW project is at 44.1kHz, the system converts in real time. That conversion adds latency and degrades audio quality. Always confirm that both settings match before you start a session.
- Relying on a laptop’s built-in audio. Built-in audio chips use generic OS drivers and lack a low-latency path. Even a budget-dedicated interface like the Focusrite Scarlett Solo will outperform any built-in chip in terms of recording latency.
- Ignoring USB bus contention. Connecting your audio interface to the same USB controller as your external hard drive, MIDI controller, and keyboard forces them to share bandwidth. Plug your interface into a dedicated USB port, ideally on a separate controller, to avoid dropouts and added latency.
Pro Tip: Record a short test take and zoom in on the waveform in your DAW. Compare the transient of a sharp sound, like a clap, against the click track. The visual offset shows your actual roundtrip latency in milliseconds, which is more reliable than any software readout.
Key Takeaways
Achieving low latency in audio recording requires the right interface hardware, a 128-sample buffer size, ASIO or Core Audio drivers, and direct monitoring during tracking.
| Point | Details |
|---|---|
| Buffer size is your primary control | Set to 128 samples during tracking to keep roundtrip latency below 10 ms. |
| Driver choice defines your ceiling. | ASIO on Windows and Core Audio on Mac deliver the lowest possible latency for professional recording. |
| Direct monitoring eliminates delay. | Use your interface’s hardware monitoring switch to hear yourself with zero latency during takes. |
| Disable heavy plugins while tracking | Strip your input chain to light processing to reduce CPU load and prevent buffer overruns. |
| Match sample rates everywhere | Confirm that your interface, OS, and DAW project all share the same sample rate before recording. |
The Trade-off Nobody Talks About
I have spent years chasing the lowest possible buffer size on every machine I have worked on, and the honest lesson is this: ultra-low latency and rock-solid stability are not always the same goal. A 64-sample buffer sounds great on paper, but in a session with 40 tracks and a dozen plugins, it is a recipe for mid-take dropouts.
The producers I have seen work most efficiently treat latency as a session-phase problem rather than a permanent setting. They drop to 128 samples for tracking, confirm the performance feels right, then raise the buffer to 512 or higher the moment they shift into editing and mixing. That workflow discipline matters more than any single piece of gear.
I have also watched musicians spend thousands on new interfaces when their real problem was a legacy MME driver or a mismatched sample rate. Fix the software first. The hardware upgrade can wait. And when you move into remote collaboration, the calculus shifts again. Tools built for zero-latency remote tracking handle network buffering for you, so you can focus on what you need to optimize locally.
The best setup is the one that lets you focus on the performance, not the signal chain. Get your latency low enough that it disappears from your awareness, then stop tweaking and start recording.
— Wake
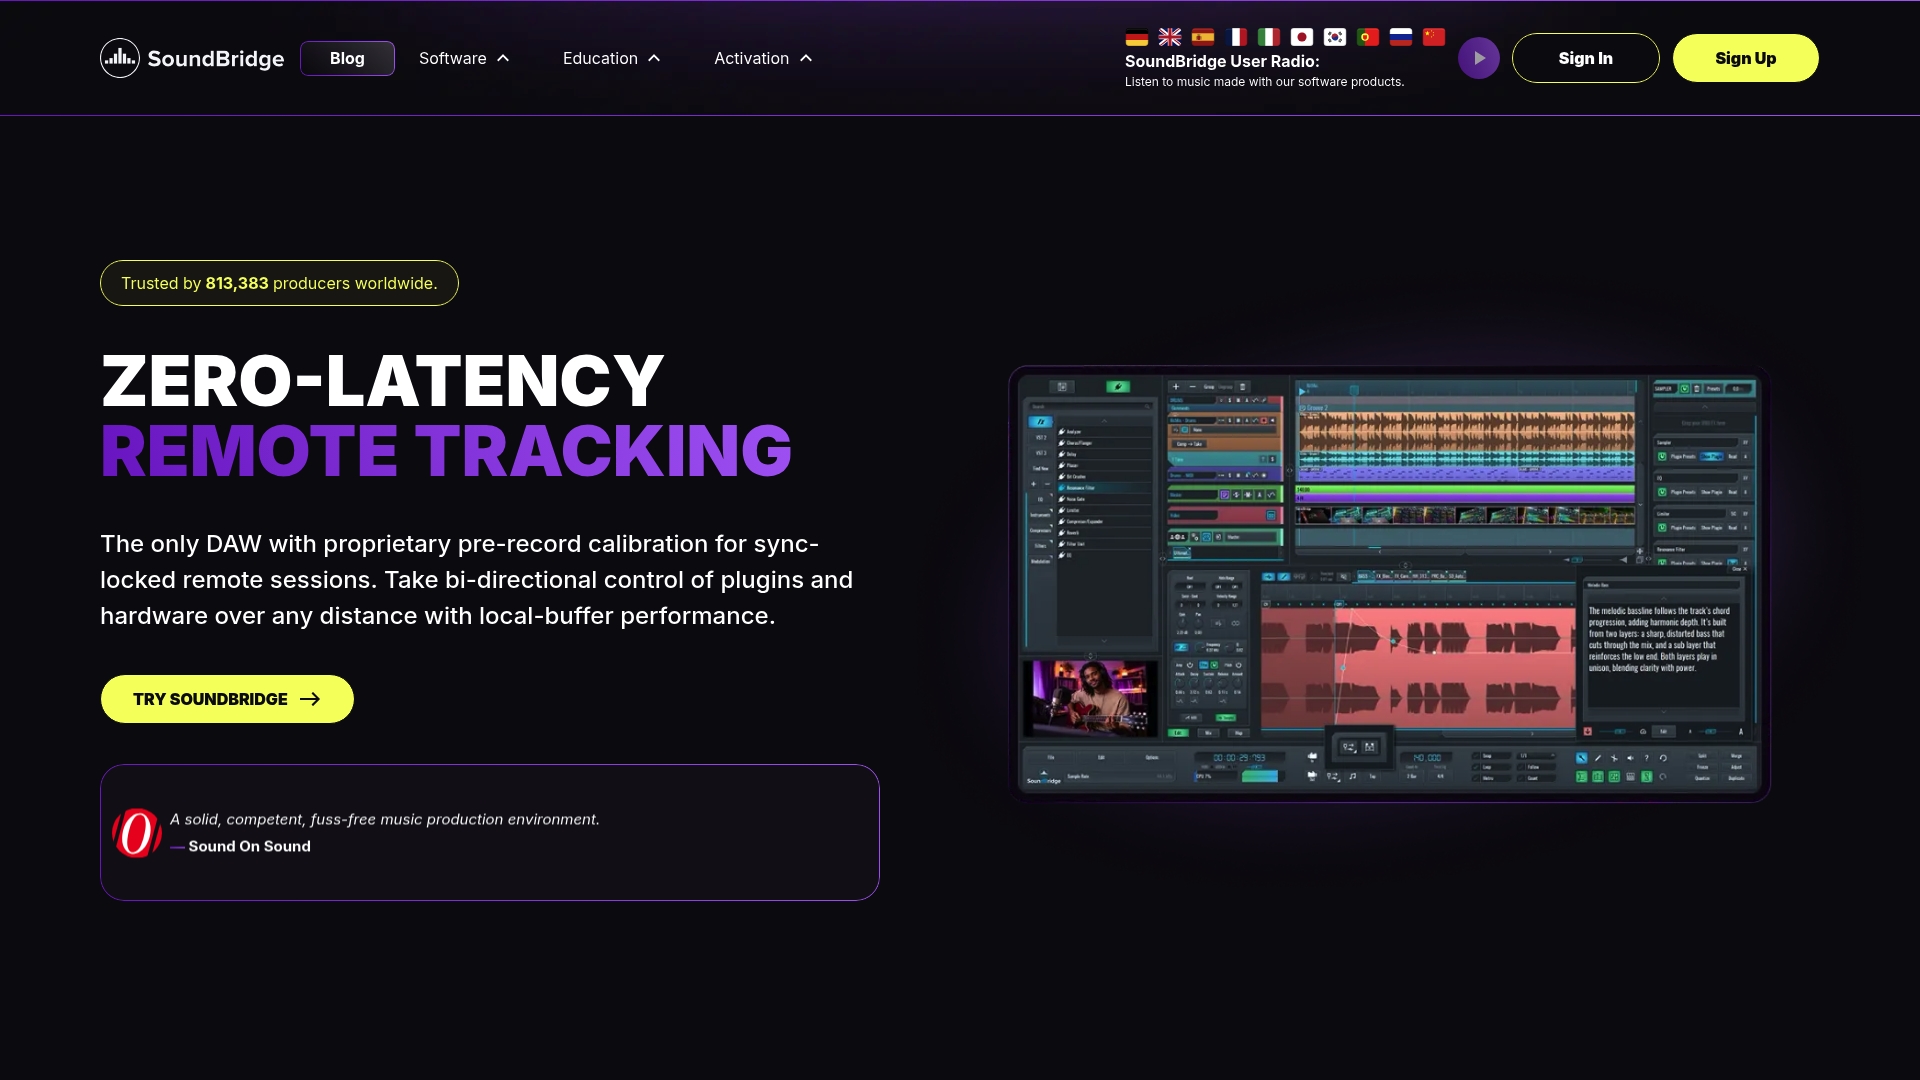
How SoundBridge Helps You Record With Zero Latency
If you want a DAW built around the idea that latency should never interrupt your creative flow, SoundBridge is worth your attention. It supports buffer and driver management directly within the interface, works natively with ASIO and Core Audio, and offers zero-latency remote tracking for producers who collaborate across locations.
SoundBridge runs on both Mac and Windows, handles sample rates up to 192kHz, and includes real-time remote collaboration with studio-accurate synchronization. Whether you are tracking vocals in your home studio or co-producing with an engineer across the country, the platform keeps your signal chain tight and your monitoring clean. Start with the complete DAW guide to see how SoundBridge fits your workflow, or explore essential DAW features to get the most out of your sessions from day one.
FAQ
What is an acceptable latency for audio recording?
128 samples at 44.1 kHz yield a latency below 10 ms, the standard threshold for comfortable real-time tracking. Most musicians stop perceiving delay as a problem at or below that level.
What is the best driver for low latency on Windows?
ASIO is the best driver for professional DAW recording on Windows because it bypasses the OS audio mixer entirely. WASAPI is the best free alternative for software like Audacity that natively supports it.
Does a higher sample rate reduce latency?
Higher sample rates, such as 96kHz, reduce the duration of each audio sample, which can slightly lower latency. The trade-off is increased CPU load, which may require a larger buffer size and offset any latency gains.
How do I monitor with zero latency while streaming?
Use your audio interface’s direct monitoring feature for your own monitoring path, and route your DAW output to your streaming software using a tool like DAW-ASIO-Capture. This adds only approximately 40 ms to the stream without touching your monitoring signal.
Why does my audio crackle at low buffer sizes?
Audio crackling at low buffer sizes means your CPU cannot process audio fast enough within each buffer cycle. Disable heavy plugins on your input channel, close background applications, and confirm your interface driver is set to ASIO or Core Audio rather than a generic OS driver.
Recommended
MASTER MUSIC PRODUCTION
Expert-led courses designed to take you from fundamentals to finished tracks.

HOUSEFrom bouncy bass and solid kicks, this course teaches you the most modern House music production techniques needed to succeed and stand out.

TRAPQuit sounding like generic Trap and produce something World with hints of the Far East. Create ethnic soundscapes to put your Trap ahead of the curve.

AMBIENTProduce relaxing, sophisticated psy-influenced ambient. Psychedelic and relaxing to listen to, create meditative soundscapes to put your listeners in Zen.