
Make Your Hi-Hat Patterns More Interesting
Last Edited: Jan 25, 2024
Hi-hats, often referred to as the track's pulse, supply the energetic driving rhythm that propels a house song's energy forward. Hi-hats give the rhythms more depth and texture and aid in defining a song's general vibe and aesthetic. The following tutorial will show you how to make your hi-hat patterns more interesting.
As usual, we'll listen to the short sequence created in our SoundBridge: DAW, which contains most of the entire mix's elements.
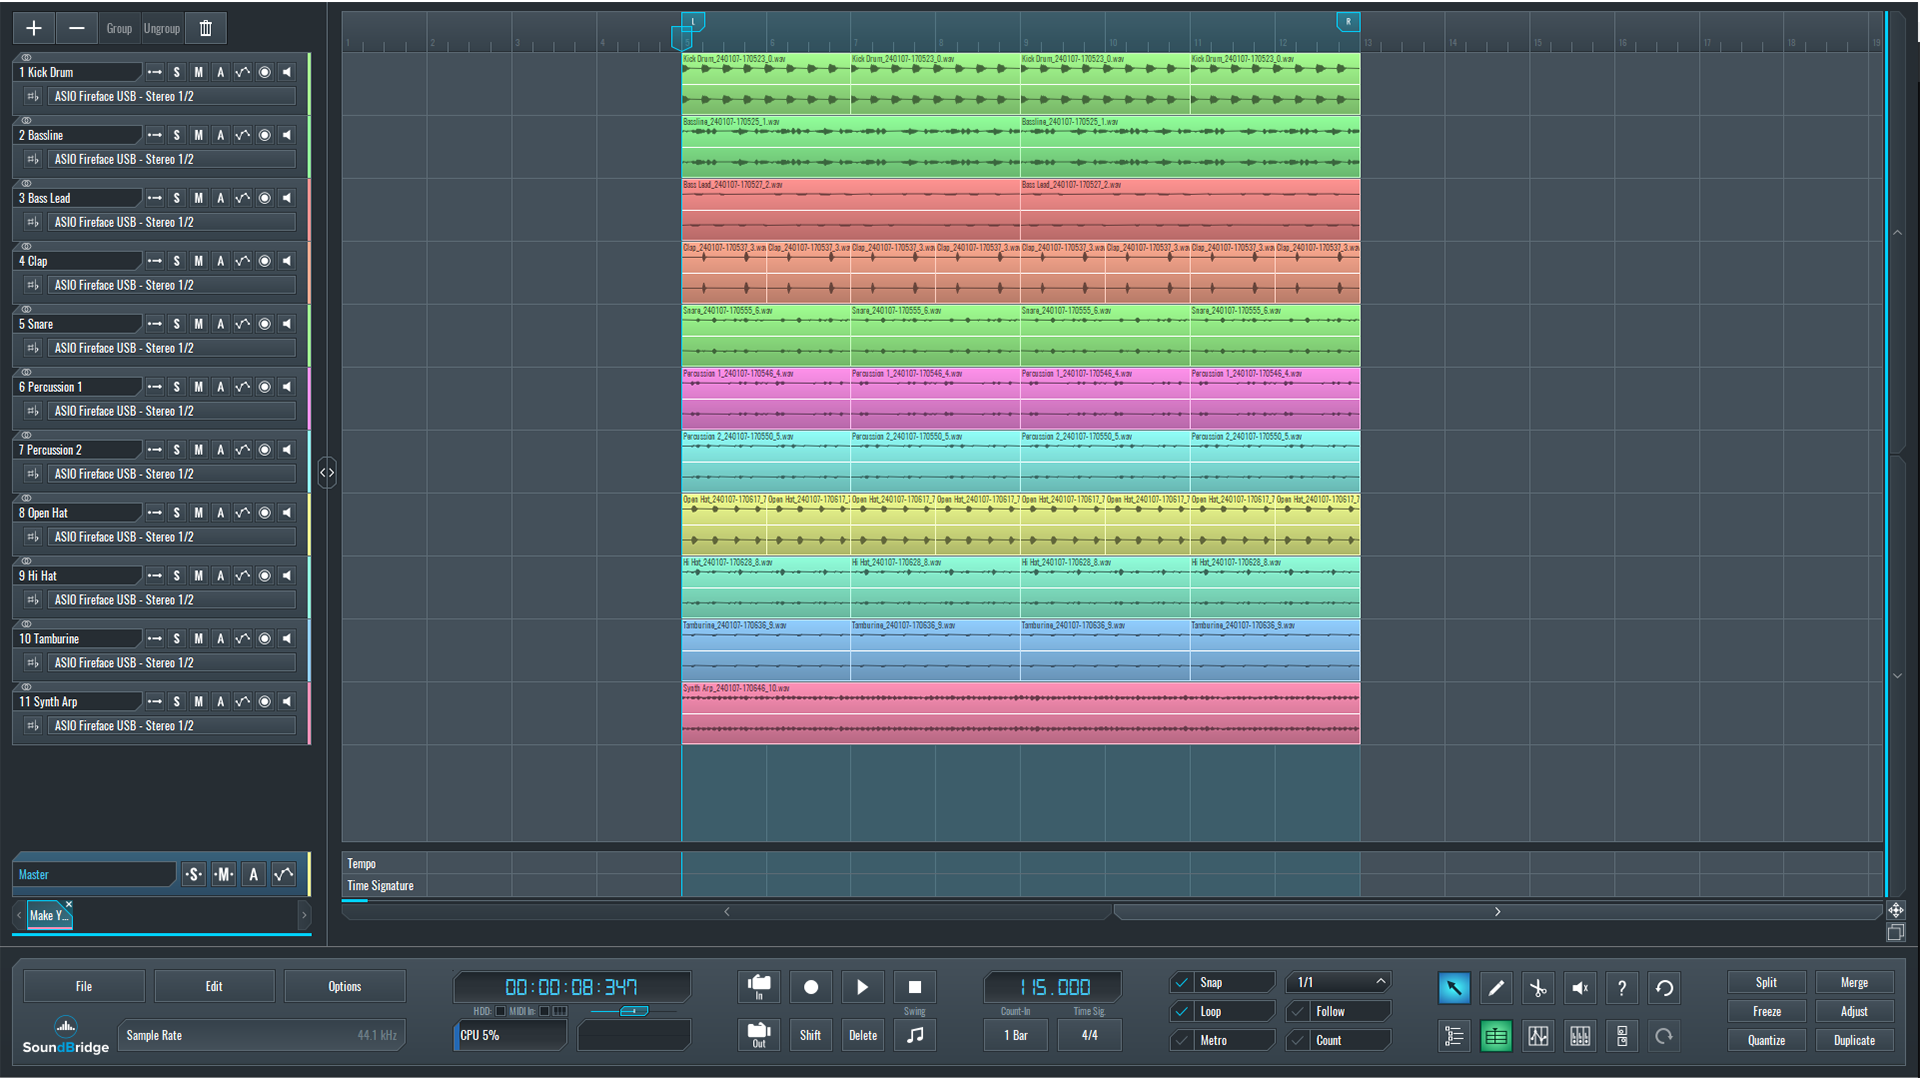
~Full Mix - Without Hi-Hat Sequence
Designing Your Hi-Hat Sound With a Synth
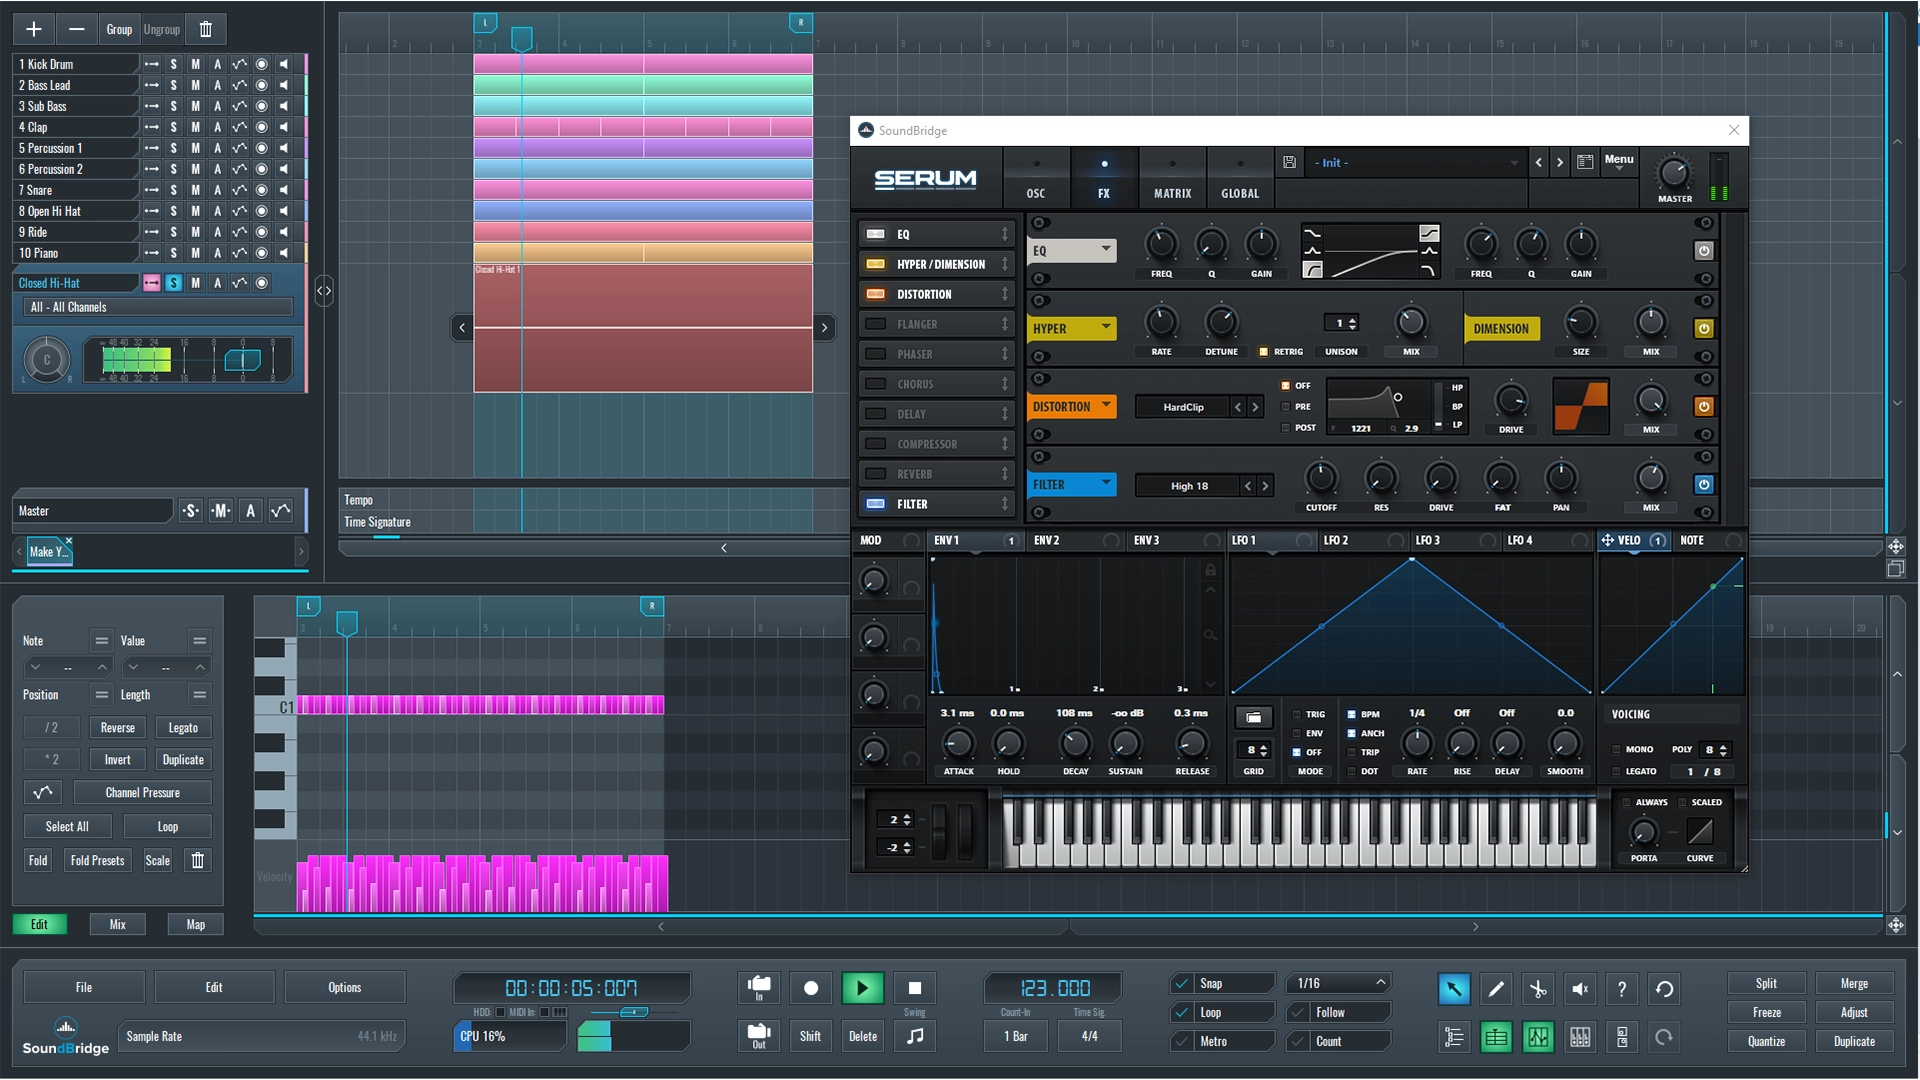
As you may have noticed, we can only hear the open hi-hat in this sequence. We will create a faster-closed hi-hat sequence from scratch and attempt to incorporate it into the overall mix. We will use a synth as a source for our hi-hat pattern to accomplish this because it gives us much more control over various parameters. In this case, we used Serum by Xfer, but any other synth with a noise oscillator will suffice.
We then created a 16th note sequence in the SoundBridge: DAW MIDI editor, which sounds like this without processing.
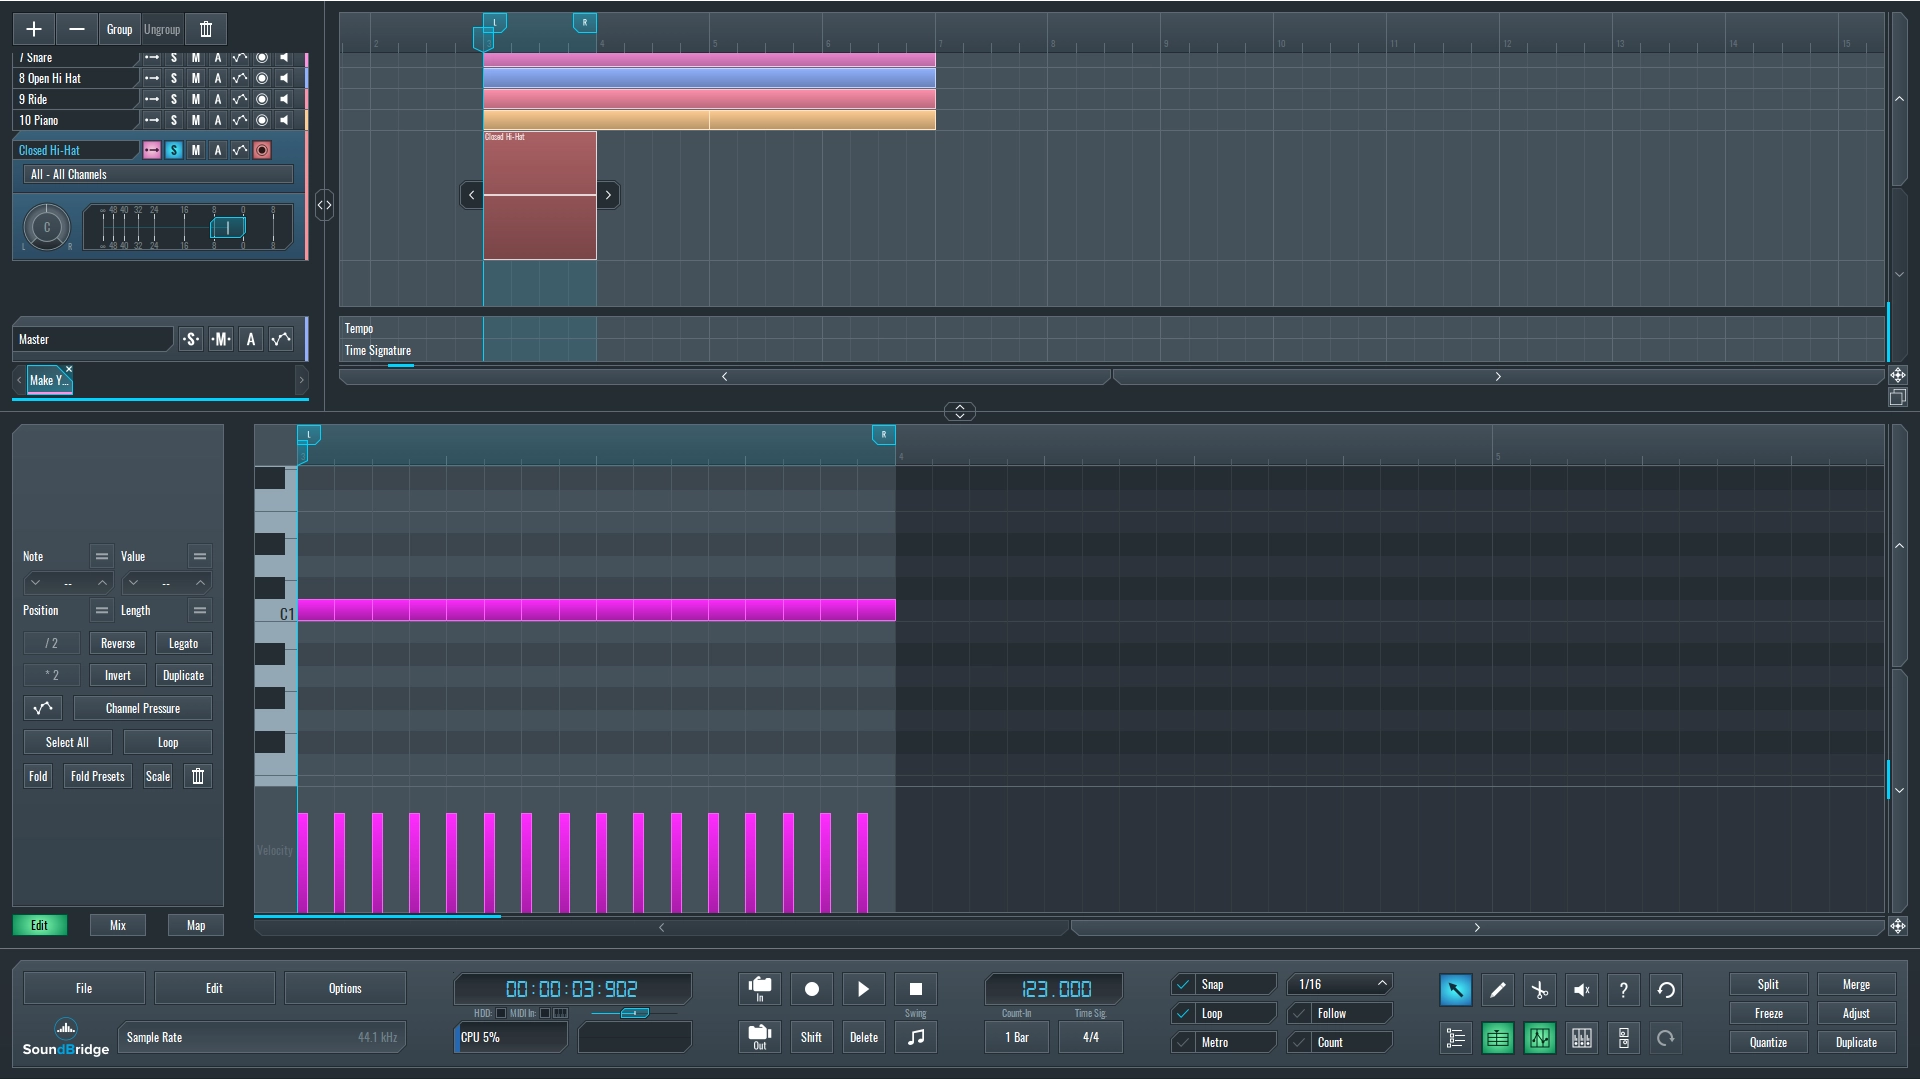
~Closed Hi-Hat Sequence - Initial Pattern
To begin designing our hi-hat sound, we will then turn off all oscillators except the noise oscillator. After selecting the noise sound from the menu, the first and most crucial step is to go down to the envelope section and deal with the settings. Because we want a fast 16th note hi-hat sequence, we should set the decay to around 123 ms, completely decrease the sustain and release time, and set the attack time to about 3 ms to avoid a sharp transient at the beginning of the sound. We now have something that sounds more like a hi-hat sound sequence.
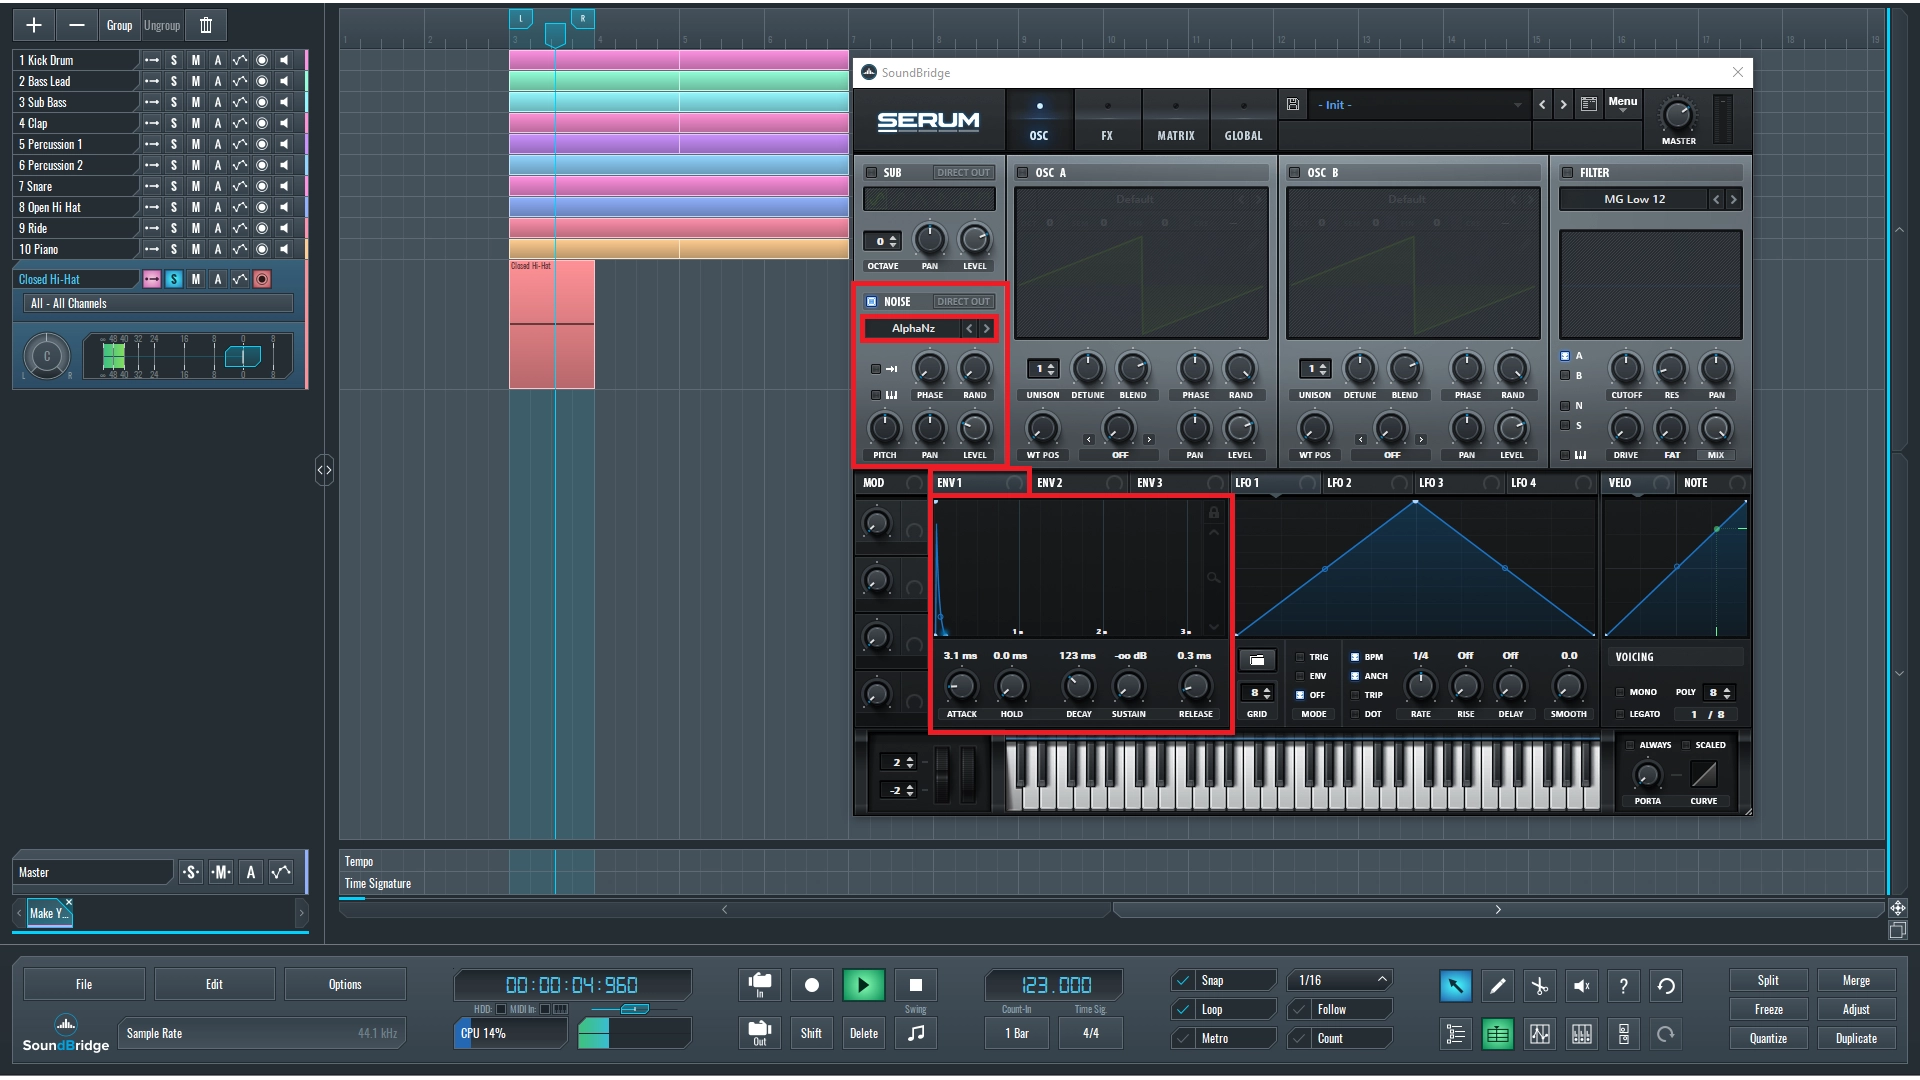
~Closed Hi-Hat Sequence - Volume Envelope Settings
How to Make Your Hi-Hat Patterns More Interesting
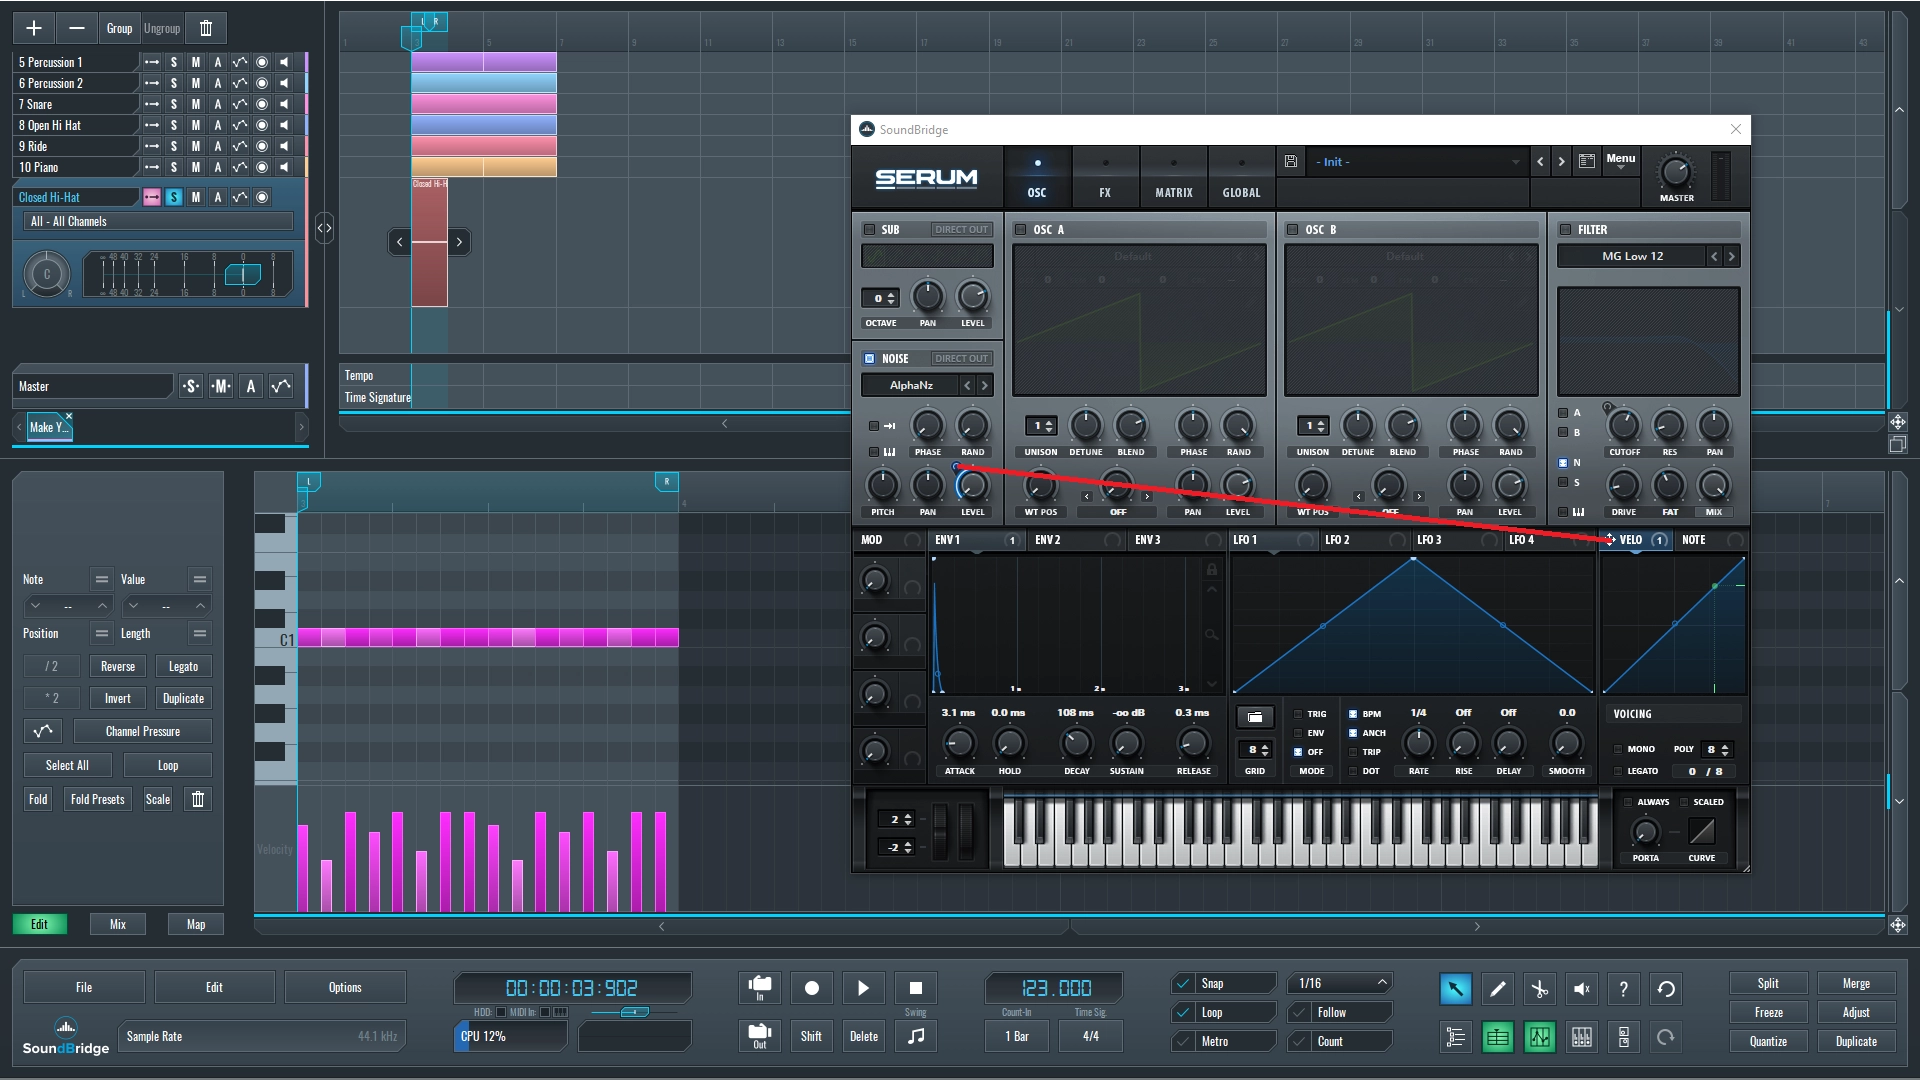
To break up the monotony of the 16th note sequence and add some groove, we'll route the velocity to the level parameter of the noise oscillator and then write a groove with velocity inside our MIDI editor.
Since we're happy with these settings, we can move on to the Serum's effect section. Firstly, we will use an EQ, which will be used to reduce unwanted low frequencies. The second effect is a handy Hyper/Dimension effect that can be used to widen the stereo image and a slight flanging effect that will help our sequence sound more natural. Following that, we will use a bit of distortion to emphasize certain harmonic content of the sound, followed by a filter that will cut unwanted low-frequency content that may occur after using the distortion.
~Closed Hi-Hat Sequence - Final Processed
~Full Mix - With Hi-Hat Sequence
If you liked this article on sound design, here are some more on the same subject:
- Use The Trance-Gate Effect to Alter the Rhythm of Your Instruments
- Improve the Sound of Your House Drum Groove
- Color Your Track With a Lo-Fi Sound
- Add Pitch Bend Automation to Your Melodies
MASTER MUSIC PRODUCTION
Expert-led courses designed to take you from fundamentals to finished tracks.

HOUSEFrom bouncy bass and solid kicks, this course teaches you the most modern House music production techniques needed to succeed and stand out.

TRAPQuit sounding like generic Trap and produce something World with hints of the Far East. Create ethnic soundscapes to put your Trap ahead of the curve.

AMBIENTProduce relaxing, sophisticated psy-influenced ambient. Psychedelic and relaxing to listen to, create meditative soundscapes to put your listeners in Zen.