Mastering for Streaming: Your 2026 Platform Guide
Last Edited: Jul 2, 2026
Mastering for streaming is the process of preparing your audio to meet the loudness normalization, codec compatibility, and dynamic fidelity standards applied by major streaming platforms. The industry-standard target is -14 LUFS integrated loudness, with a true-peak ceiling of -1.0 dBTP. These numbers are not arbitrary. They reflect the ITU-R BS.1770 measurement standard and the EBU R128 broadcast specification, both of which inform how Spotify, Apple Music, Tidal, YouTube, and Amazon Music normalize playback. The goal is not maximum loudness. The goal is transparency, dynamic balance, and codec integrity across every listener’s device.
What Are LUFS and True Peak, and Why Do They Matter?
LUFS stands for Loudness Units relative to Full Scale. It is a perceptual loudness measurement that accounts for how the human ear responds to frequency content over time. Integrated LUFS measures the average loudness of an entire track from start to finish. That number is what streaming platforms read when they apply normalization.
True peak (measured in dBTP) is different from a standard sample peak meter. Sample peak meters read individual digital samples. True-peak meters reconstruct the analog waveform between samples and capture inter-sample peaks that standard meters miss. This distinction matters because lossy codecs can increase peaks by up to 3 dB during transcoding. A track that reads 0 dBFS on a sample peak meter can clip audibly after AAC or Ogg Vorbis encoding.
Here is how the major platforms currently handle normalization:
- Spotify normalizes to -14 LUFS integrated by default
- Apple Music normalizes to approximately -16 LUFS integrated
- YouTube targets -14 LUFS integrated
- Amazon Music and Tidal align closely with -14 LUFS
- Deezer follows a similar -14 LUFS target
Mastering to a louder than -14 LUFS level yields no competitive advantage. Platforms normalize downward but do not amplify quieter tracks. Pushing past that target only increases distortion risk and compresses your dynamic range for no gain.
Pro Tip: Use a true peak meter that complies with ITU-R BS.1770 or EBU R128. Most modern DAWs include one natively, and SoundBridge supports high-fidelity metering up to 192kHz, giving you accurate readings before export.
What Mastering Chain Produces a Codec-Safe Streaming Master?
A well-ordered mastering chain is the backbone of every great streaming master. Each stage has a specific job, and the sequence matters. Here is the recommended order for a transparent, codec-aware mastering workflow:
- High-pass filter. Roll off sub-bass energy below 20–30 Hz. Inaudible low-end wastes headroom and can confuse codec encoders.
- Corrective EQ. Address tonal imbalances left over from the mix. Boost and cut conservatively. The goal is balance, not color.
- Gentle compression. Apply 1–3 dB of gain reduction maximum. Mastering compression preserves the emotional arc of the track. Heavy compression at this stage kills dynamics and creates listener fatigue.
- Stereo imaging. Widen or tighten the stereo field as needed. Check mono compatibility before moving on.
- True-peak limiting. Set your ceiling at -1.0 dBTP. This is your final safeguard against inter-sample clipping after codec transcoding.
Transparency is the defining principle of this chain. Every process should be nearly invisible. If you can clearly hear the compressor working or the EQ coloring the sound, you have gone too far. The mix should do the heavy lifting. The master should refine it.
Codec-aware limiting deserves special attention. Standard limiters catch sample peaks but often miss inter-sample peaks. A true-peak limiter reads the reconstructed waveform and prevents those hidden spikes from distorting encoding. Set your limiter ceiling to -1.0 dBTP and trust it.
Pro Tip: Bypass your entire mastering chain and compare the processed master to the original mix at matched loudness. If the master sounds significantly different rather than just cleaner and more focused, pull back on your processing.
Over-compression is the most common mastering mistake in the streaming era. Prioritizing dynamic range over sheer loudness produces a master that sounds bigger, not smaller, after normalization. A track with natural dynamics and a well-controlled true peak will always outperform an over-limited brick wall on any streaming platform.
How to Prepare Your Mixes for Streaming Mastering
The quality of your master is directly tied to the quality of your mix. Masters that need significant corrective processing signal mix problems, not mastering opportunities. Get the mix right first, and the mastering chain stays light and transparent.
Follow these mix delivery standards before sending to mastering:
- Peak headroom: Leave -3 to -6 dBFS of peak headroom in your mix. Mixes peaking close to the 0 dBFS limit constrain what a mastering engineer can do and increase the risk of distortion.
- File format: Export at 24-bit WAV or FLAC. These formats preserve full dynamic resolution. Do not export at 16-bit for mastering.
- Every major streaming platform supports sample rates of 44.1 kHz or 48 kHz. Higher rates are fine but not required for streaming delivery.
- No clipping: Check every stem and bus for clips before export. Even one clipped sample can cause audible distortion in the final master.
- No limiting on the master bus: Remove any master bus limiter or loudness maximizer before bouncing your mix. Let the mastering engineer control the final ceiling.
Session organization also speeds up the mastering workflow. Label your tracks clearly, consolidate your stems, and include a reference track if you have a sonic target in mind. A clean, well-labeled session tells the mastering engineer you know what you are doing. That trust translates directly into better results. For a deeper look at building solid mixes before mastering, the audio mixing guide from SoundBridge covers the full process step by step.
Do You Need Separate Masters for Different Streaming Platforms?
The short answer is no. A single master targeting -14 LUFS integrated and -1.0 dBTP covers Spotify, YouTube, Amazon Music, Tidal, and Deezer without the need for separate versions. Streaming normalization algorithms are sufficiently consistent across these platforms that a single well-engineered master performs correctly on all of them.
Apple Music is the one exception worth knowing. Apple normalizes to approximately -16 LUFS, which is 2 dB quieter than the standard target. A -14 LUFS master plays at native loudness on Apple Music without distortion. That is actually fine. The track plays without normalization applied, which means your master is heard exactly as you delivered it.
| Platform | Normalization target | Single master works? |
|---|---|---|
| Spotify | -14 LUFS integrated | Yes |
| YouTube | -14 LUFS integrated | Yes |
| Amazon Music | -14 LUFS integrated | Yes |
| Tidal | -14 LUFS integrated | Yes |
| Apple Music | -16 LUFS integrated | Yes, plays at native level |
The case for a second master arises with hi-res or lossless tiers. If you are delivering to Apple Music Lossless or Tidal HiFi, a 24-bit master at 44.1 kHz or higher is worth preparing separately. The loudness target stays the same. Only the bit depth and sample rate change.
How to Validate Your Streaming Master Before Distribution
Validation is the final quality check between your master and your listeners. Skipping it is how distortion and clipping end up on released tracks.
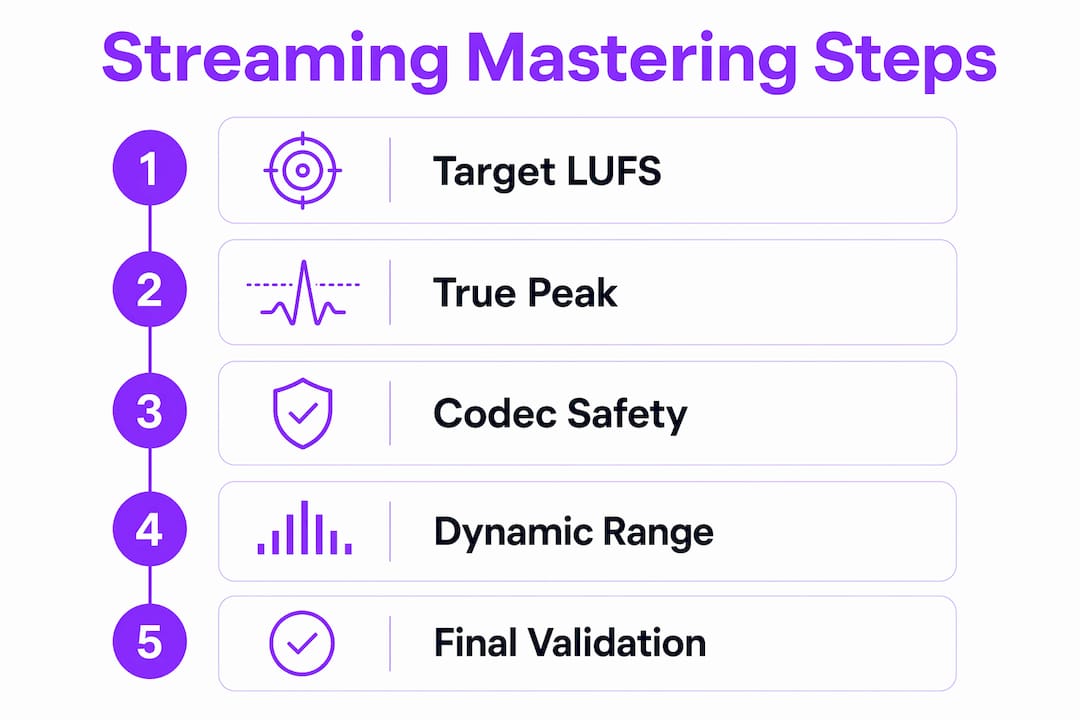
Follow this step-by-step validation workflow:
- Measure integrated LUFS. Use a meter that complies with ITU-R BS.1770 or EBU R128. Confirm your integrated reading lands at or near -14 LUFS.
- Check true peak. Confirm no peak exceeds -1.0 dBTP. If any peak breaks that ceiling, return to your limiter and adjust.
- Run codec simulations. Encode your master to AAC and Ogg Vorbis and listen critically. These are the codecs Spotify and Apple Music use. Listen for pumping, distortion, or harshness that was not present in the WAV.
- Test on multiple devices. Listen on studio monitors, headphones, earbuds, and a phone speaker. Streaming listeners use all of these. A master that only sounds good on monitors is not finished.
- Check dither and bit depth. If you are exporting to 16-bit for any delivery format, apply dither. Skipping dither in a 24-bit-to-16-bit conversion introduces quantization noise that is audible in quiet passages.
“The codec simulation step catches problems that no meter can show you. Your ears are the final validator.”
A common error is trusting the DAW export meter as the final word on true peak. DAW meters vary in accuracy. Always run your exported file through a dedicated loudness analysis tool after export. Confirm the numbers match your session readings before uploading to any distributor.
Key Takeaways
Mastering for streaming requires targeting -14 LUFS integrated loudness and -1.0 dBTP true peak, applying a transparent processing chain, and validating through codec simulation before distribution.
| Point | Details |
|---|---|
| Target -14 LUFS and -1.0 dBTP | These are the universal streaming targets that cover all major platforms without separate masters. |
| Keep compression transparent | Limit gain reduction to 1–3 dB to preserve dynamics and prevent listener fatigue. |
| Deliver mixes with headroom. | Send mixes peaking at -3 to -6 dBFS so mastering stays light and effective. |
| One master covers most platforms. | A single well-engineered master works for Spotify, YouTube, Amazon, Tidal, and Deezer. |
| Validate with codec simulation. | Encode to AAC and Ogg Vorbis and listen critically before distribution to catch hidden clipping. |
The Loudness War Is Over. Here Is What That Actually Means for Your Masters.
I have been watching producers chase loudness for years, and the streaming era has genuinely changed the game. The old instinct was to push the limiter until the waveform looked like a brick. That instinct now works against you. Normalization means a louder master does not sound louder to the listener. It just sounds worse.
What I find most producers still get wrong is treating mastering as the fix for a weak mix. It is not. The mastering chain I described above works beautifully on a well-balanced mix with proper headroom. On a mix that is already clipping or tonally uneven, even the best mastering chain cannot save it. Fix the mix first. That is the most practical advice I can give you.
The shift toward codec diversity is the next thing worth watching. Platforms are expanding into lossless and spatial audio formats. The core loudness targets stay consistent, but the delivery specs are getting more varied. Producers who understand compression and dynamics at a deep level will adapt faster than those who rely on presets. Build the skill, not just the template.
My honest recommendation for most musicians is to spend 80% of your effort on the mix and 20% on mastering. A great mix with a light, transparent master will always beat a mediocre mix with an aggressive master. The platforms have leveled the playing field in terms of loudness. Dynamics and clarity are your real competitive edge now.
— Wake
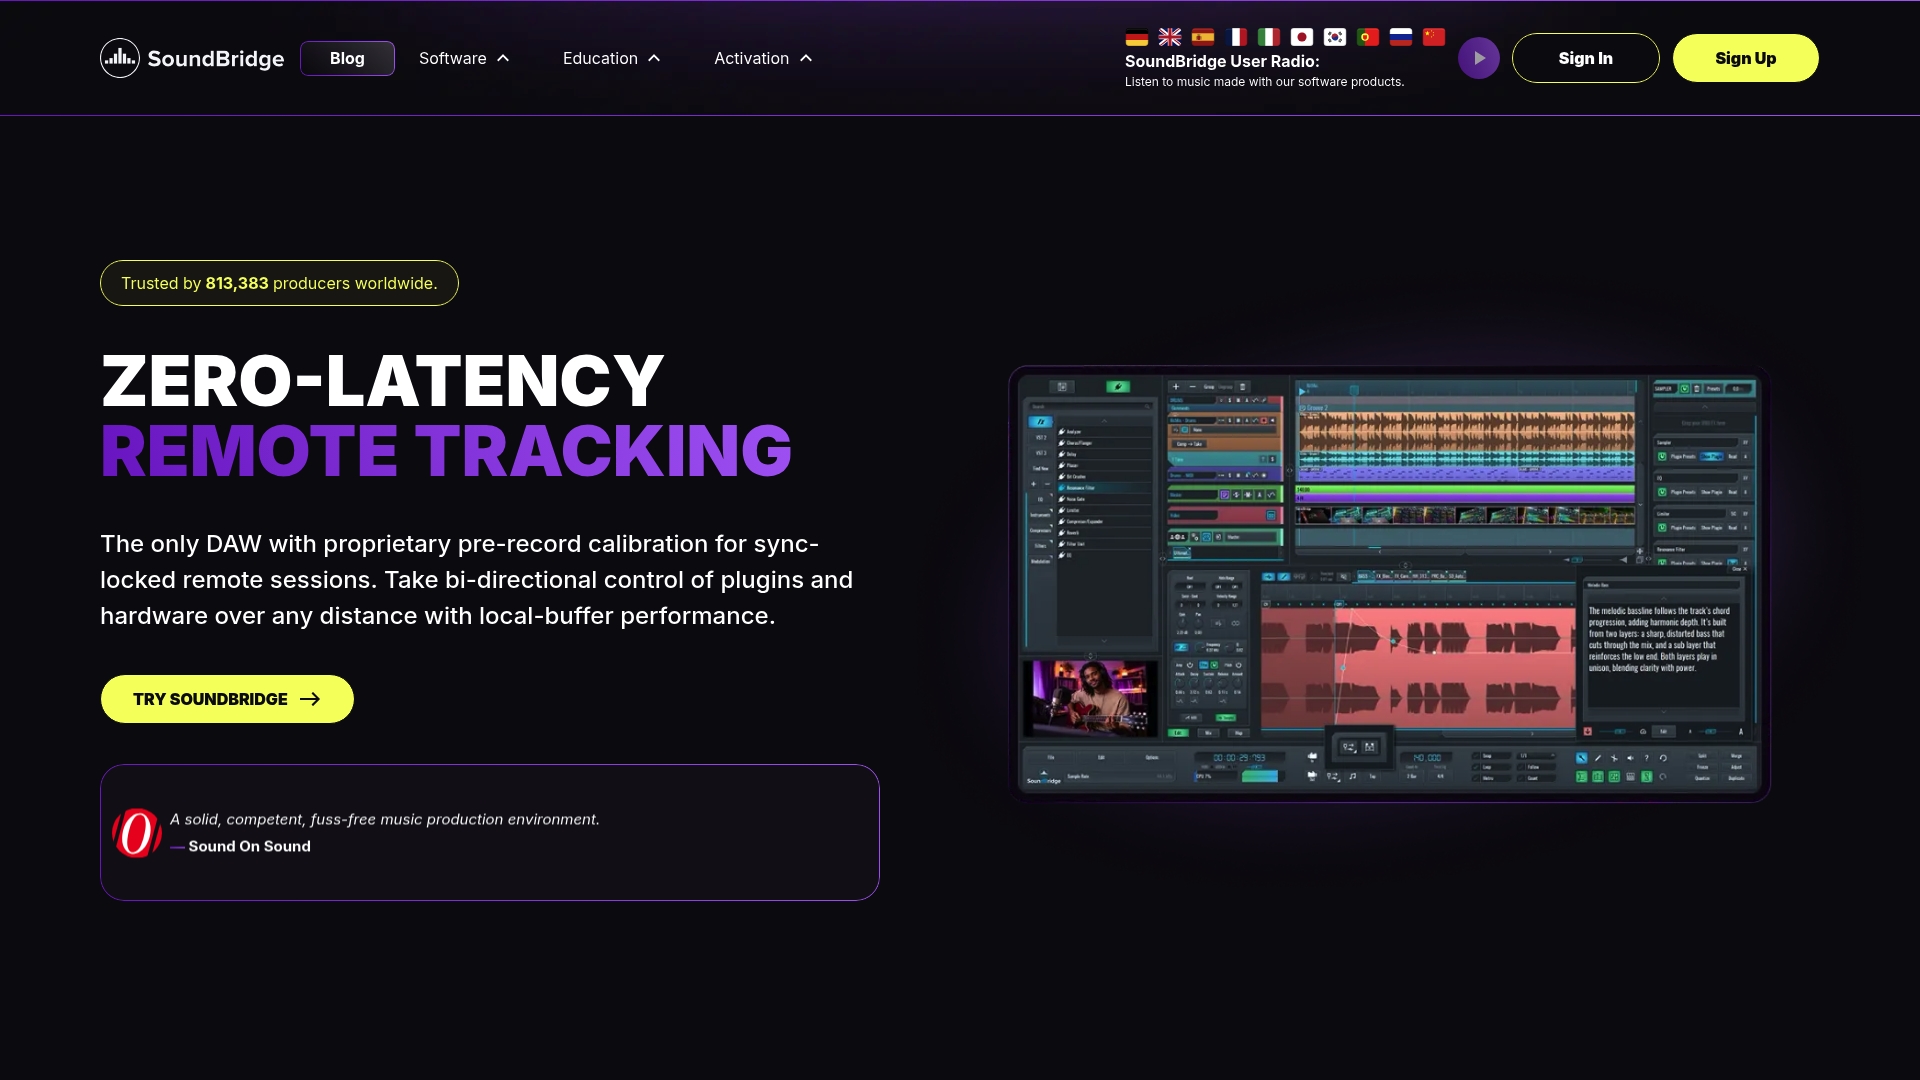
SoundBridge Has the Tools to Take Your Masters Further
Your mastering workflow is only as strong as the platform behind it. SoundBridge gives musicians, engineers, and producers a professional DAW environment built for high-fidelity audio processing, with support for 192kHz sample rates and bidirectional plugin control, keeping your mastering chain accurate from the first listen to the final export.
Whether you are building your first mastering chain or refining an existing workflow, the SoundBridge DAW guide walks you through the tools and concepts you need to work at a professional level. For producers who want to go deeper on dynamics and processing, the audio editing automation guide covers advanced techniques that apply directly to mastering for digital distribution. Your next great master starts with the right environment.
FAQ
What LUFS target should I use for streaming?
Target -14 LUFS integrated loudness for most major streaming platforms, including Spotify, YouTube, and Amazon Music. Set your true-peak ceiling to -1.0 dBTP to prevent distortion after encoding.
Does mastering louder give me an advantage on streaming?
No. Streaming platforms normalize loudness downward but do not amplify quieter tracks, so mastering above -14 LUFS only increases distortion risk without any perceived loudness benefit.
What file format should I send to mastering?
Send a 24-bit WAV or FLAC file with peak headroom between -3 and -6 dBFS. Remove any master bus limiter before exporting your mix.
Do I need a separate master for Apple Music?
Not necessarily. A -14 LUFS master plays at native loudness on Apple Music without normalization applied. A separate -16 LUFS master is optional but not required for standard distribution.
How do I test my master for codec distortion?
Encode your master to AAC and Ogg Vorbis and listen critically on multiple devices. These codec simulation tests reveal inter-sample clipping and harshness that loudness meters alone cannot detect.
Recommended
MASTER MUSIC PRODUCTION
Expert-led courses designed to take you from fundamentals to finished tracks.

HOUSEFrom bouncy bass and solid kicks, this course teaches you the most modern House music production techniques needed to succeed and stand out.

TRAPQuit sounding like generic Trap and produce something World with hints of the Far East. Create ethnic soundscapes to put your Trap ahead of the curve.

AMBIENTProduce relaxing, sophisticated psy-influenced ambient. Psychedelic and relaxing to listen to, create meditative soundscapes to put your listeners in Zen.