Music Production Shortcuts That Transform Your Workflow
Last Edited: Jun 18, 2026

Music production shortcuts are the keystrokes, templates, and workflow methods that eliminate friction between your ideas and the finished track. Every second you spend hunting menus or repeating setup tasks is a second your creative momentum bleeds out. Producers working in Ableton Live, FL Studio, Logic Pro, and Pro Tools all share the same core problem: technical overhead kills inspiration. The fixes covered here span universal keyboard shortcuts, session prep hacks, DAW-specific tricks, and audio-editing automation. Master these, and you will produce faster, finish more tracks, and spend more time actually making music.
1. Essential Music Production Shortcuts Every Producer Must Know
The foundation of any fast workflow is a tight set of universal keyboard shortcuts that work across most DAWs. These are not glamorous, but they are the difference between a session that flows and one that constantly stalls.
Start with the non-negotiables:
- Ctrl/Cmd + Z (Undo) and Ctrl/Cmd + Shift + Z (Redo): Your safety net. Use them freely and experiment without fear.
- Ctrl/Cmd + S (Save): Learning three shortcuts per week, starting with save, transforms workflow speed within six months. Save obsessively.
- Ctrl/Cmd + D (Duplicate): Instantly copies a selected clip, region, or pattern. Faster than copy-paste for looping sections.
- Spacebar (Play/Stop): Controls transport without touching the mouse. This alone removes dozens of interruptions per session.
- Ctrl/Cmd + A (Select All): Grab everything in a track or session for bulk moves, edits, or exports.
- Zoom shortcuts (varies by DAW): In Ableton Live, use + and - to zoom the Arrangement. In Logic Pro, use Ctrl + Left/Right Arrow. Zooming fast keeps your visual context sharp.
The real power here is not any single shortcut. It is the cumulative effect of removing every small hesitation. When your hands know where to go, your brain stays in the music.
Pro Tip: Every major DAW lets you remap shortcuts to fit your hands. Spend 20 minutes in your DAW’s preferences and reassign the commands you use most to keys within easy reach of your left hand. This alone can shave hours off a week of sessions.
2. How Templates and Session Prep Accelerate Your Production
Keyboard shortcuts handle the micro level. Templates handle the macro. Structured templates remove repetitive setup tasks, so you start creating the moment you open your DAW, not 30 minutes later. This is where producers who finish tracks separate themselves from those who don’t.
Here is a practical template-building sequence:
- Build a master session template. Pre-load your drum bus, reverb, and delay return tracks, a reference track slot, and your go-to virtual instruments. In Ableton Live and Logic Pro, pre-structured drum groups and return tracks are particularly effective.
- Apply consistent color coding. Assign a fixed color to each track type: drums in red, bass in orange, melodic elements in blue, vocals in green. Pro mixers use fixed color coding for session consistency and speed. You will navigate any session instantly.
- Pre-route your buses. Send drums to a drum bus, all melodic elements to a mix bus, and set your gain staging before you touch a single plugin. Reusable mix templates with auto-routing eliminate setup delays in every single session.
- Create genre-specific variants. Your hip-hop template looks different from your ambient template. Keep three or four ready to go.
- Build a personal MIDI snippet library. A personal library of MIDI snippets gives you instant access to reusable musical elements so you never start from a blank page. Chord progressions, drum fills, and melodic hooks you have already built are all fair game.
- Automate your folder structure. Composer Joel Schwartz automates project file creation and folder syncing using Python scripts, cutting the administrative overhead that fragments creative focus. Even a simple naming convention, applied consistently, delivers the same benefit on a smaller scale.
Pro Tip: Name every track before you record or program anything. “Audio 1” and “MIDI 2” are invisible in a mix. “Kick,” “Sub Bass,” and “Lead Synth” are not. Consistent naming takes 5 seconds and saves 5 minutes every time you return to a session.
3. DAW-Specific Shortcuts for Ableton, FL Studio, Logic Pro, and Pro Tools
Universal shortcuts get you moving. DAW-specific shortcuts get you flying. Each platform has its own power features, and knowing them separates producers who fight their software from those who think through it.
Ableton Live
- Tab: Switches instantly between Session View and Arrangement View. This is one of the most used shortcuts in electronic music production.
- Ctrl/Cmd + L: Loops the selected region. Combine with Tab to audition loops in Session View before committing to Arrangement.
- Ctrl/Cmd + Shift + F: Activates Follow Actions for generative, self-evolving clip sequences.
- Clip launching with the keyboard or a controller like the Ableton Push 3 turns your session into a live performance tool without touching the mouse.
FL Studio
- F5, F6, F7, F8: Open the Playlist, Step Sequencer, Piano Roll, and Mixer, respectively. These four keys are the entire FL Studio workflow in shortcut form.
- Pattern-based production means duplicating and rearranging patterns with Ctrl + D and Ctrl + B (clone pattern), which is faster than any other DAW for beat-making.
Logic Pro
- Smart Controls (B): Opens a simplified, macro-level control panel for any instrument or effect. Ideal for fast sound shaping without opening full plugin windows.
Pro Tools
- Ctrl + Shift + H (Mac): Hides and shows tracks. Clean up your view without deleting anything.
- Session templates in Pro Tools are particularly powerful for post-production and mixing. Professional mix engineers lock in routing and gain staging before touching a single plugin, using templates to ensure every session starts at the same high baseline.
The recommended learning approach: pick three shortcuts per week from your primary DAW and drill them until they are automatic. Six months of that practice rewires your hands and your creative process together. For reference monitoring, tools like iZotope Tonal Balance Control and ADPTR Metric AB slot naturally into any DAW workflow and provide fast, visual mix feedback without disrupting your session flow.
4. Audio Editing Tricks and Automation Shortcuts for Clean, Fast Mixes
Clean audio is the foundation of a great mix, and the fastest path to clean audio is a structured editing workflow. These audio-editing tricks remove bottlenecks that slow down the technical side of production.
- Strip silence automatically. Every DAW has a strip silence or remove silence function. In Logic Pro, it's Ctrl+X. In Pro Tools, it is Ctrl/Cmd + U. Use it on recorded audio before you do anything else. A sequential cleanup workflow that trims silence and applies dialogue isolation can process 60 minutes of raw audio into 40 to 45 minutes of usable content in under 30 minutes.
- Apply fades with intention. Conservative fade lengths of 250ms fade-in and 500 to 750ms fade-out preserve the natural character of a recording. Shorter fades create clicks. Longer fades blur transients. Get this right, and your edits become invisible.
- Automate early. Volume, panning, and send levels should be automated before you reach for a compressor or EQ. Automation that shapes dynamics is faster and more musical than heavy plugin processing.
- Batch export stems. Most DAWs support multi-track export or stem bounce in a single pass. Set it up once in your template, and every project exports in the same format without manual repetition.
- Use AI-assisted cleanup tools. iZotope RX’s dialogue isolation and noise reduction modules handle routine cleanup tasks in minutes. This is not a replacement for good recording practice, but it is a powerful safety net for imperfect takes.
Pro Tip: Avoid over-processing. Excessive noise reduction removes life from recordings. Apply noise reduction conservatively, check the residual signal to hear what you are removing, and stop before the audio sounds thin or artificial. The goal is clean, not sterile.
For a deeper look at audio editing automation, Soundbridge covers the full process from cleanup to export in practical, step-by-step detail.
5. Comparison of Top Music Production Shortcuts and Workflow Hacks
The table below maps the most impactful shortcuts and hacks by category, DAW support, and the specific workflow problem each one solves.
| Shortcut / Hack | Purpose | DAW Support | Key Benefit |
|---|---|---|---|
| Ctrl/Cmd + Z / Shift + Z | Undo and redo edits | Universal | Keeps experimentation risk-free |
| Spacebar (Play/Stop) | Transport control | Universal | Removes mouse dependency from playback |
| Session templates | Skip repetitive setup | Ableton, Logic, Pro Tools, FL Studio | Start creating immediately in every session |
| Color coding + naming | Visual navigation | Universal | Find any track in seconds |
| Strip silence shortcut | Auto-clean recorded audio | Logic, Pro Tools, Ableton | Cuts editing time by up to 50% |
| DAW-specific clip launchers | Live performance and Arrangement | Ableton Live, FL Studio | Turns the session into a live instrument |
| Batch stem export | Multi-format delivery | Universal | One-click export for all formats |
| MIDI snippet library | Instant creative starting points | Universal | Eliminates blank-page paralysis |
| Fade length standards | Artifact-free edits | Universal | Preserves natural sound character |
| Automation before plugins | Dynamic mix shaping | Universal | Faster and more musical than heavy processing |
Use this table as a quick-reference checklist. If you are not using at least six of these in your current workflow, you have concrete room to speed up your sessions.
Key Takeaways
Mastering music production shortcuts requires combining universal keyboard commands, structured session templates, and DAW-specific features into one consistent workflow.
| Point | Details |
|---|---|
| Universal shortcuts first | Master Spacebar, Ctrl+Z, Ctrl+S, and Ctrl+D before any DAW-specific commands. |
| Templates beat hotkeys alone. | Pre-routed buses and color-coded tracks remove setup time that hotkeys cannot address. |
| Learn three shortcuts weekly. | Six months of incremental practice rewires your hands and eliminates creative interruptions. |
| Conservative audio editing wins. | Use fade lengths of 250ms in and 500-750ms out to preserve the natural sound character. |
| Automate before you process | Set volume and panning automation before reaching for EQ or compression every session. |
Why Shortcuts Changed How I Think About Production
When I first started producing seriously, I treated shortcuts as a convenience. Something to pick up eventually. That was a mistake I held onto for longer than I should admit. The Shift happened when I realized that every time I reached for the mouse to hit stop, or clicked through menus to duplicate a clip, I was not just losing seconds. I was losing the thread of the idea I was chasing.
The producers I respect most do not just know their shortcuts. They have internalized them to the point where the technical layer of production becomes invisible. Their hands handle the mechanics while their ears and imagination stay in charge. That is the real goal here, not speed for its own sake, but the creative freedom that comes from removing friction.
The part most articles skip is the mindset shift. You have to be willing to slow down for a few weeks while you drill new habits. It feels counterproductive. It is not. Structured templates and clear production phases are what separate producers who finish tracks from those who have 47 half-finished sessions sitting in a folder. The investment pays back fast and keeps paying.
My personal favorites: the Spacebar, a color-coded template I built over two years, and a MIDI snippet library I add to after every session. Simple, unglamorous, and worth more to my output than any plugin I have ever bought.
— Wake
Take Your Workflow Further With SoundBridge
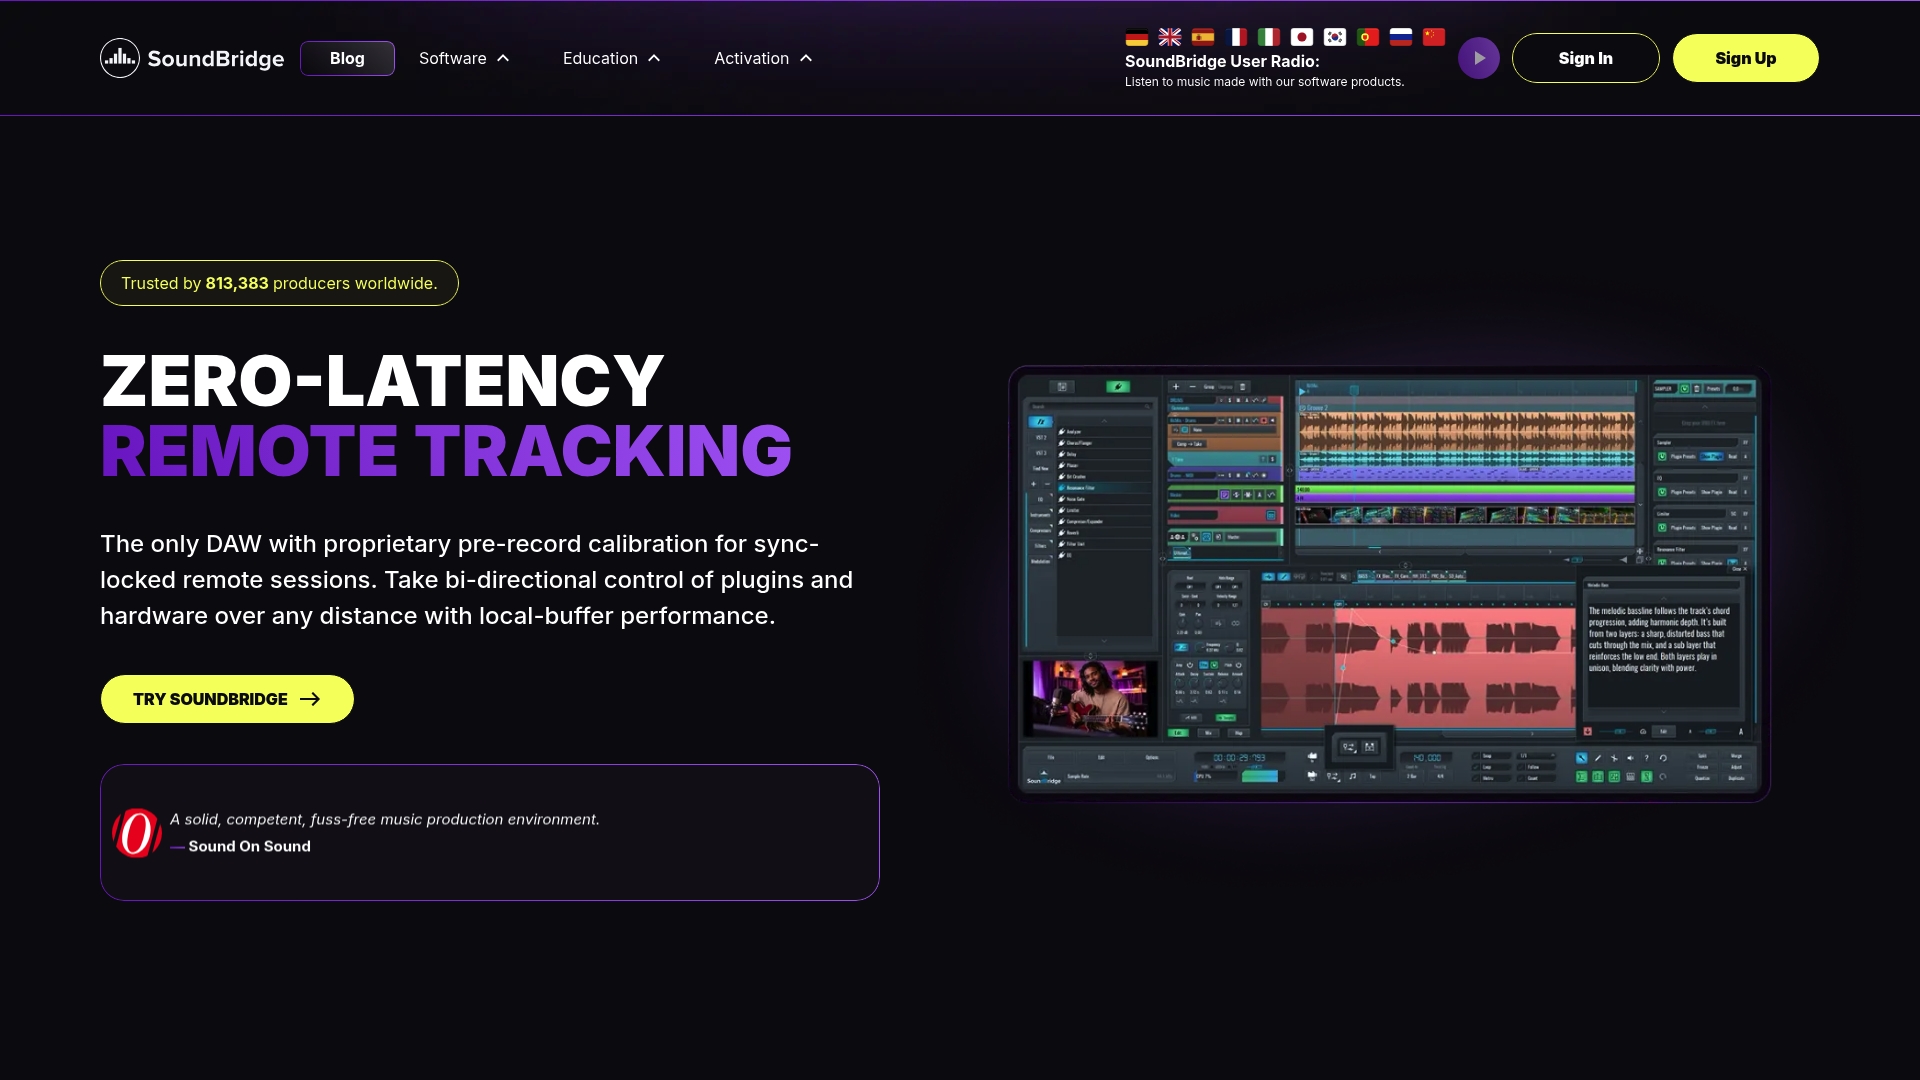
Soundbridge is built for producers who want their tools to get out of the way and let the music happen. The platform supports customizable workflows, pre-built session templates, and zero-latency remote tracking, so your shortcut habits carry over to every project, whether you are working solo or collaborating in real time. With support for 192kHz audio, bi-directional plugin control, and a clean interface that works on both Mac and Windows, Soundbridge gives you the technical foundation to put every shortcut and workflow hack in this article into daily practice. If you are ready to understand what a modern DAW can do for your production speed, start with Soundbridge’s 2026 DAW guide and see exactly where your workflow can go.
FAQ
What are the most important music production shortcuts to learn first?
Start with Spacebar (Play/Stop), Ctrl/Cmd + S (Save), Ctrl/Cmd + Z (Undo), and Ctrl/Cmd + D (Duplicate). These four commands cover most actions in any session and eliminate the most common mouse-dependent interruptions.
Do music production shortcuts work the same in every DAW?
Universal shortcuts like Spacebar and Ctrl/Cmd + Z work across most DAWs, but DAW-specific commands vary significantly. Ableton Live, FL Studio, Logic Pro, and Pro Tools each have unique shortcuts for their core features, so learning your primary DAW’s full shortcut set is worth the time.
How long does it take to get fast with DAW shortcuts?
Learning three shortcuts per week builds measurable workflow speed within six months. The key is drilling each shortcut until it is automatic before adding the next batch.
Are session templates really worth building?
Yes. Pre-structured templates with drum groups, return tracks, and reference slots let you start creating immediately, rather than spending the first 30 minutes of every setup session. Build one solid template per genre and update it as your workflow evolves.
How do I avoid over-processing audio during editing?
Apply noise reduction conservatively and check the residual signal to hear what you are removing. Use fade lengths of 250ms in and 500-750ms out to keep edits natural. Stop processing before the audio sounds thin.
Recommended
MASTER MUSIC PRODUCTION
Expert-led courses designed to take you from fundamentals to finished tracks.

HOUSEFrom bouncy bass and solid kicks, this course teaches you the most modern House music production techniques needed to succeed and stand out.

TRAPQuit sounding like generic Trap and produce something World with hints of the Far East. Create ethnic soundscapes to put your Trap ahead of the curve.

AMBIENTProduce relaxing, sophisticated psy-influenced ambient. Psychedelic and relaxing to listen to, create meditative soundscapes to put your listeners in Zen.