Revive Your Mix With a Multiband Harmonic Enhancer
Last Edited: Dec 8, 2023
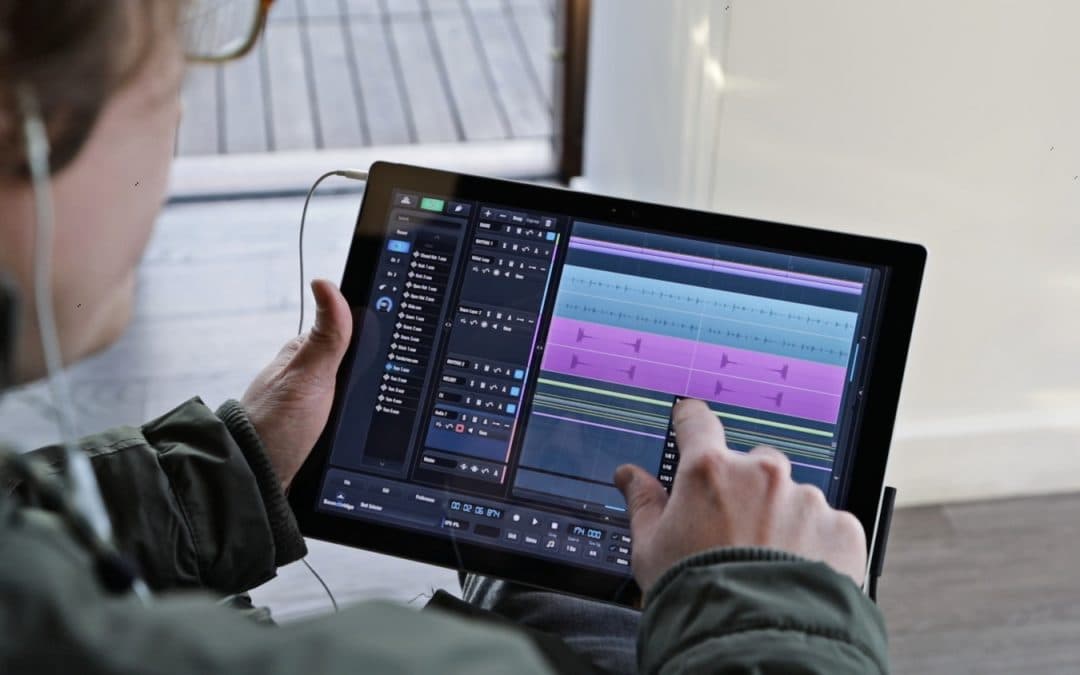
Harmonic enhancers generate new harmonic content. This differs from equalizers, which can cut or boost frequencies already present in the source material. They can make the sound clearer and brighter than it originally was. Different manufacturers use different operation principles. For instance, the Aphex Aural Exciter pioneered this processing and uses a combination of high-pass filtering and harmonic generation through distortion and compression. In recent years, we have seen many software plugins dedicated to this task. This will be the subject of our following tutorial. We will show you how to process elements of your mix, such as basslines, drum groups, and even the master bus with harmonic distortion. Let's get started! As usual, we have prepared a short sequence in our SoundBridge: DAW. It contains all the essential elements of a full mix. We have chosen Spectre by Waves Factory for the multiband harmonic exciter effect. There are, of course, more alternatives out there. Let's have a quick listen to the unprocessed sequence.

~Full Mix - Unprocessed
We will begin by adding a new instance of the Spectre plugin on our bass lead channel.

The Spectre is a processor that combines the best features of a harmonic enhancer coupled with a parametric EQ. I process the difference between the input signal and the EQ signal, introducing harmonic content only to the part of the spectrum that you want. T A variety of saturation algorithms are based on classic recording hardware. Let's have a closer look at the interface and its parameters. In the top part, we can see a parametric EQ section divided into five bands. E ch band can be switched on or off by clicking on the filter icon on the top. You can place any band point anywhere over the spectrum if you drag and drop any band point. Below the bands, we have classic EQ controls for frequency, gain, and Q.
Besides that, just below the Q, you will notice the "Solid" written by default. If you click on it, you will see a drop-down menu to choose from eleven different saturation algorithms. If you click on the part below the saturation algorithms, you can choose between different EQ modes (Stereo, Left, Right, Mid/Side) available for each band. There is also a master section where you can control the input volume, output volume, and mix. At the bottom, the "Quality" parameter has three modes: Standard, Good, and Best. They determine the oversampling ratio between Normal (no oversampling), Medium (4x oversampling), and Best (16x oversampling). The Presets menu offers exciting and valuable presets to get you started. M de lets you choose between subtle, medium, and aggressive settings. T essentially works like a drive parameter for the saturation. Finally, we have De-Emphasis. This feature subtracts from the final signal of the boost in EQ that Spectre has applied on the first stage, leaving only the saturation of each band. I can be enabled or disabled. Now, let's move to some practical audio examples. As you can see in the picture below, on our bass channel's Spectre, we have boosted low, low-mid, and a few mid frequencies using the Diode saturation algorithm.

Let's have a listen to the unprocessed and processed versions.
~Bass Lead - Unprocessed
~Bass Lead - Processed With Spectre
Moving forward, we could use the Spectre to process our drums. As you can see in the picture below, we have added Specter on the drum group channel, but this time with a bit more drastic settings. The main boost happens in the middle frequencies. The saturation algorithm we have chosen is Tape since we want a warmer sound for our drums. Besides that, we boosted the high frequencies to around 10kHz.

Let's listen to how our drum group sounds unprocessed and then processed with Spectre.
~Drum Group - Unprocessed
~Drum Group - Processed With Spectre
Master Bus Harmonic Processing
Finally, we will process our master bus. In this case, we have used Spectre more subtly. As you can see in the picture below, we have used a high-shelf filter for the high frequencies and boosted them a few dB. We have switched this band to Side mode. This will give us more presence of high frequencies in the stereo field. Again, let's hear the unprocessed and processed version.

~Full Mix - Unprocessed
~Full Mix - Processed With Spectre
MASTER MUSIC PRODUCTION
Expert-led courses designed to take you from fundamentals to finished tracks.

HOUSEFrom bouncy bass and solid kicks, this course teaches you the most modern House music production techniques needed to succeed and stand out.

TRAPQuit sounding like generic Trap and produce something World with hints of the Far East. Create ethnic soundscapes to put your Trap ahead of the curve.

AMBIENTProduce relaxing, sophisticated psy-influenced ambient. Psychedelic and relaxing to listen to, create meditative soundscapes to put your listeners in Zen.