

Composers: Six DAW Steps for a Frame Perfect Score to Picture Workflow
Last Edited: Sep 7, 2026
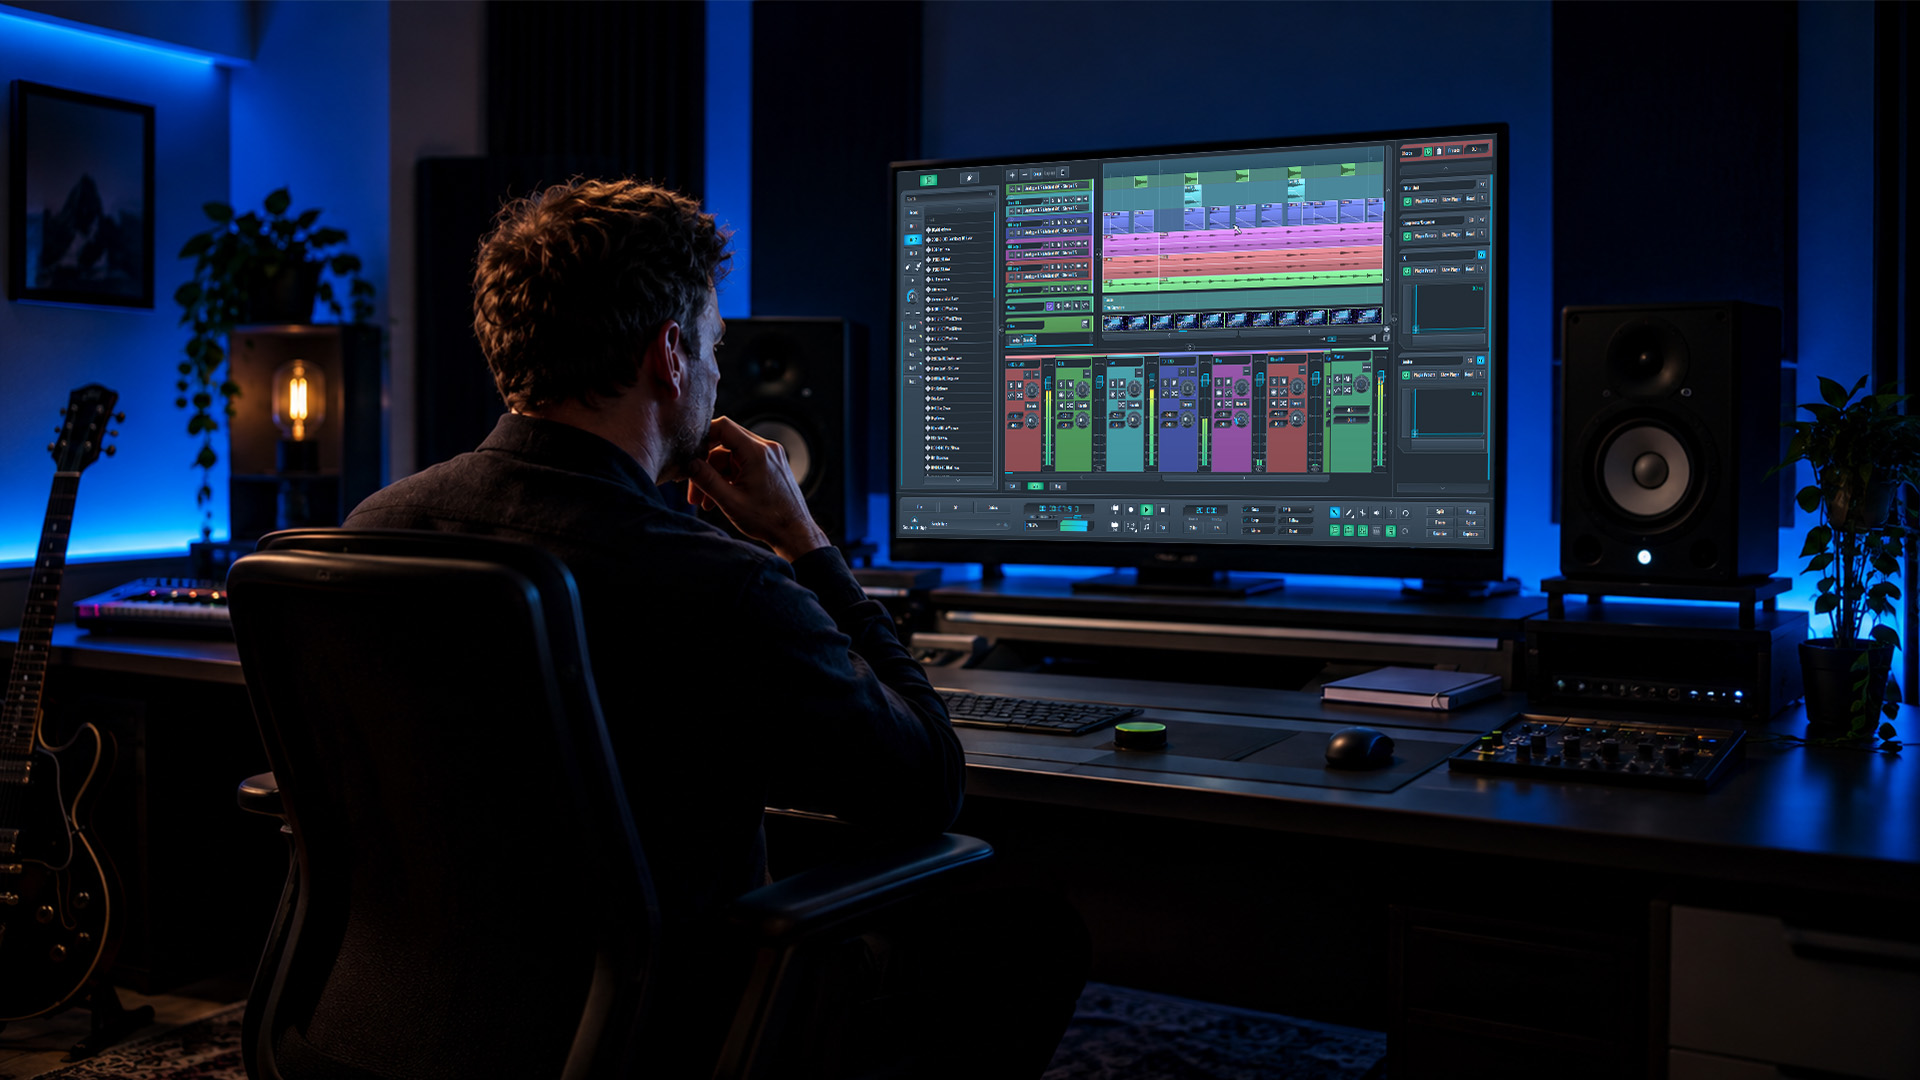
Scoring to picture breaks down into six moves: run a spotting session, lock timecode and frame rate, build a DAW tempo map, mock up your cues, follow a strict revision protocol, and deliver zero-aligned stems. Get those six steps right, in order, and you’ll never chase a frame-offset bug at 2 AM before a delivery deadline. Get one wrong, and everything downstream drifts.
TL;DR:
- Confirm the exact frame rate in writing before starting to avoid drift and ensure synchronization across the entire scoring process.
- Log precise timecode in and out points, emotional intent, and reference cues during spotting sessions to create a reliable cue sheet for all stages.
- Use tempo-to-frame sync calculations to set a BPM that places downbeats on clean frame boundaries, adjusting slightly or adding bar changes as needed.
- Export zero-aligned stems at 48kHz or 192kHz with logical groupings and filenames that include cue numbers and timecodes, avoiding baked-in fades.
- Utilize a DAW like SoundBridge with native video support, embedded timecode, and session templates to streamline workflow and facilitate remote collaboration.
What Happens in a Spotting Session and Why the Cue Sheet Matters
A spotting session is when the film is watched together, one scene at a time, and someone decides exactly where the music starts and stops, and what job it does emotionally. Skip this step or rush it, and you’ll spend the next three weeks guessing what the director actually wants.
The room usually includes the director, the composer, the editor, and often a music editor or producer who tracks the paperwork. Each person brings a different read on the scene, and that friction is useful. The director owns story intent. The editor knows where the cut might still shift. You, as composer, are listening for where music can breathe and where it needs to disappear.
During the session, log four things for every cue:
- Timecode in and out points, to the frame
- The emotional intent (tension building, release, false calm, whatever the scene needs)
- Any temp music references already cut into the picture
- A cue number that will follow that piece of music through the entire pipeline
That log becomes your cue sheet, and it needs to be usable by more than just you. Mixers reference it during the final dub. Performing rights organizations use it to track royalties. If your cue sheet is sloppy, that confusion follows the project all the way to the mix stage. Spotting sessions establish the creative map from which the entire score is built, so treat the paperwork with the same seriousness as the music itself.
Pro Tip: Bring a laptop with timecode-linked notes software into the spotting session instead of a notepad. Matching your notes to exact frame numbers in real time saves you from re-watching the whole cut later to figure out what “that tense part in the middle” actually meant.
How Do You Align Timecode and Frame Rate Before You Write a Note?
Before you write a single bar, get the frame rate confirmed in writing. Not verbally, not assumed. Written. A half-percent difference between 23.976fps and 24fps sounds trivial until your hits land three frames late by the end of a five-minute cue.
Here’s the setup sequence that avoids drift:
- Set your project start to 01:00:00:00. This is the near-universal convention in post-production, and it keeps your session compatible with editorial and mix timelines.
- Confirm the exact frame rate with the editor before importing anything. Ask specifically whether the project is set to 23.976, 24, 25, or 29.97 fps, since these are often confused, and the wrong one will throw off every tempo calculation you make later.
- Import video with embedded SMPTE timecode, not just a burned-in visual counter. Embedded TC lets your DAW auto-align the clip to your session timeline. A visible timecode window burned into the picture is useful for reference, but it won’t automatically sync anything.
- Version every session file. Name them with the cut version and date (
CueA_v3_editorial_020226.sesx), and keep the old versions. When the editor sends a new cut, and they will, you need to re-sync quickly without wondering which version of your score matches which version of the picture.
Pro Tip: Ask the editor to confirm frame rate in the same email where they send the picture. A one-line reply saves you hours of hunting for a mystery three-frame offset two weeks later.
Tempo Mapping, Streamers, and Punches: Putting Beats on Frames
Turning picture events into musical time starts with a tempo-to-frame test, not a guess. Run your target BPM through a Tempo-to-Frame Sync Calculator to see whether that tempo places your downbeats on clean frame boundaries at your project’s frame rate, or whether it drifts. Small tempo shifts, even one or two BPM, can move a hit from landing dead-on to sitting a frame and a half late by the second half of a cue.
When a hit needs to land within roughly two frames (about 41 milliseconds) to read as synchronous, you have two real options: adjust the tempo slightly, or insert a single bar or meter change to shift the hit onto a downbeat without forcing an awkward musical accent off the beat. Composers who work fast tend to favor the bar-change approach because it preserves the tempo feel of the surrounding music, rather than subtly speeding up or dragging an entire cue.
For synchronization during recording or live conducting, streamers and punches still earn their place in a modern DAW workflow:
- Streamers are vertical lines that sweep across the screen, giving a conductor or performer a two-second warning before a hit.
- Punches mark the exact frame where the hit occurs, a flash frame or visual pop timed to the picture.
- Set these up as dedicated video tracks or FX layers in your DAW so they display in sync during playback. Many composers keep a saved punches-and-streamers template to avoid rebuilding this setup for every new cue.
Building Mock-Ups That Get Approved Fast
A mock-up lives or dies on the brief behind it. Structure every brief around four elements: time-coded reference tracks, target instrumentation, the emotional arc of the scene, and any non-negotiable hit points. Vague direction like “make it feel epic” leads to vague mock-ups and endless rounds of revision.
A few habits cut revision cycles dramatically:
- Build a mini-suite before diving into individual cues. Two or three minutes of thematic material lets the director react to your musical voice for the project before you’ve invested hours into a specific scene.
- Deliver time-coded review mixes, not just audio files, so feedback references exact moments instead of vague timestamps like “the part in the middle.”
- Set a documented revision protocol upfront. Agree on how many revision rounds each cue gets, what turnaround time looks like, and what qualifies as a genuinely new cue versus a tweak to an existing one.
Detailed, time-coded briefs with reference tracks and clear hit points consistently produce faster approvals and fewer rounds of back-and-forth. Vague direction is the single biggest time sink in the entire scoring process, and it’s entirely preventable at the brief stage.
Deliverables: File Formats, Stem Export, and Final QA
Final delivery has almost no room for creative interpretation. Standard industry deliverables are 48kHz / 24-bit WAV files, exported as stems that are zero-aligned, meaning each file starts exactly at the cue’s timecode in-point with no fades trimmed onto the head or tail.
Before you send anything to the mix stage, check these:
- Stem groups organized logically (strings, brass, percussion, synths, etc.) rather than one giant stereo bounce
- Filenames that include the cue number and timecode (
M14_01_02_15_30.wav) so the mixer can identify files without opening each one - No fades baked into the stems. The mixer needs raw, zero-aligned audio to build the final blend
- Hits checked against picture at a tolerance of roughly two frames or tighter
That two-frame window isn’t arbitrary. It’s close to the threshold where a listener starts perceiving a hit as “off” rather than synchronous, and tempo maps built from locked picture are what keep you inside it consistently rather than by luck.
How SoundBridge Handles a Score-to-Picture Session
SoundBridge was built with film composers in mind from the start, not retrofitted after the fact. Native video support means you drop in a locked cut and start working immediately, and embedded timecode handling reads SMPTE data directly so your session snaps to the editorial timeline without manual guesswork.
A typical session inside SoundBridge follows the same six-step logic you’ve just read, condensed into a fast checklist:
- Import picture and confirm frame rate against what the editor specified in writing
- Set your tempo map and test hit points against the frame rate
- Add streamer and punch tracks for any live recording or conductor sync
- Mock up cues and share time-coded review mixes with the director
- Export stems at 48kHz/24-bit, zero-aligned, ready for the mix stage
Remote collaboration with studio-accurate sync also means a director or editor can sit in on your session from anywhere, watching picture and hearing cues in real time. That’s a meaningful shift from emailing back and forth about bounces and hoping everyone’s timecode reference matches.
Pro Tip: Save a blank session template with your frame rate, tempo track, and streamer/punch layout pre-built. Starting each new project from that template, rather than from scratch, cuts your setup time to minutes.
What I’ve Learned Scoring to Picture: The Habits That Actually Save You
The composers who stay sane on tight deadlines share a few habits. They version every session obsessively, they build a mini-suite before touching individual cues, and they’ll sketch against a provisional work picture with burned-in timecode even before lock, as long as everyone knows it’s provisional and positions will shift.
The most common mistake I see is composers accepting a verbal frame-rate confirmation and then paying for it three weeks later with a mysterious three-frame drift. The fix is embarrassingly simple. Get it in writing, every time, before you build your tempo map.
If you take one rule from this entire workflow, make it this: never start scoring until frame rate is confirmed in writing. Everything else compounds from that single decision.
— Wake
Where to Go Deeper on Score-to-Picture Technique
A few resources are worth bookmarking as you build out your own workflow. For spotting session structure and what belongs in a cue sheet, PacktPub’s breakdown clearly covers the fundamentals.
For tempo mapping and frame-offset troubleshooting, the Tools for Film guide to picture lock synchronization walks through calculator-based tempo testing in detail. On deliverable specs, Berklee Online’s film scoring mix course page lays out the 48kHz/24-bit stem standard that most mix stages expect.
- Spotting session structure and cue sheet basics: PacktPub
- Tempo-to-frame calculators and sync troubleshooting: Tools for Film
- Deliverable format standards: Berklee Online
Score Faster and Stay in Sync With SoundBridge
If frame-offset bugs and messy stem handoffs have cost you a deadline before, SoundBridge fixes the root cause: a DAW built around video from the ground up, not one where video support feels bolted on. Native video import, embedded timecode reading, and remote collaboration with studio-accurate sync mean directors and editors can watch your cues develop in real time instead of waiting on file exports.

For composers juggling revision rounds under deadline pressure, that real-time visibility alone reduces miscommunication that would otherwise cost an extra round or two. Session templates keep your frame rate, tempo map, and streamer/punch setup consistent from project to project, so you’re not rebuilding your technical foundation every time a new job lands. High-fidelity export up to 192kHz means your zero-aligned stems arrive at the mix stage exactly as clean as the mixer needs them.
Curious what a purpose-built scoring environment actually looks like in practice? Check out what a modern DAW offers film composers and see how SoundBridge’s session tools map onto the exact workflow you just read.
Sources
- Music and Picture Lock: How to Sync Score to Your Edit Without Losing Your Mind (Tools for Film)
- How to set up a film scoring session in your DAW (Soundfly)
- Mixing the film score (Berklee Online course page)
Recommended
MASTER MUSIC PRODUCTION
Expert-led courses designed to take you from fundamentals to finished tracks.

HOUSEFrom bouncy bass and solid kicks, this course teaches you the most modern House music production techniques needed to succeed and stand out.

TRAPQuit sounding like generic Trap and produce something World with hints of the Far East. Create ethnic soundscapes to put your Trap ahead of the curve.

AMBIENTProduce relaxing, sophisticated psy-influenced ambient. Psychedelic and relaxing to listen to, create meditative soundscapes to put your listeners in Zen.