

Techniques for a Clean and Professional Mix
Last Edited: Jul 7, 2026
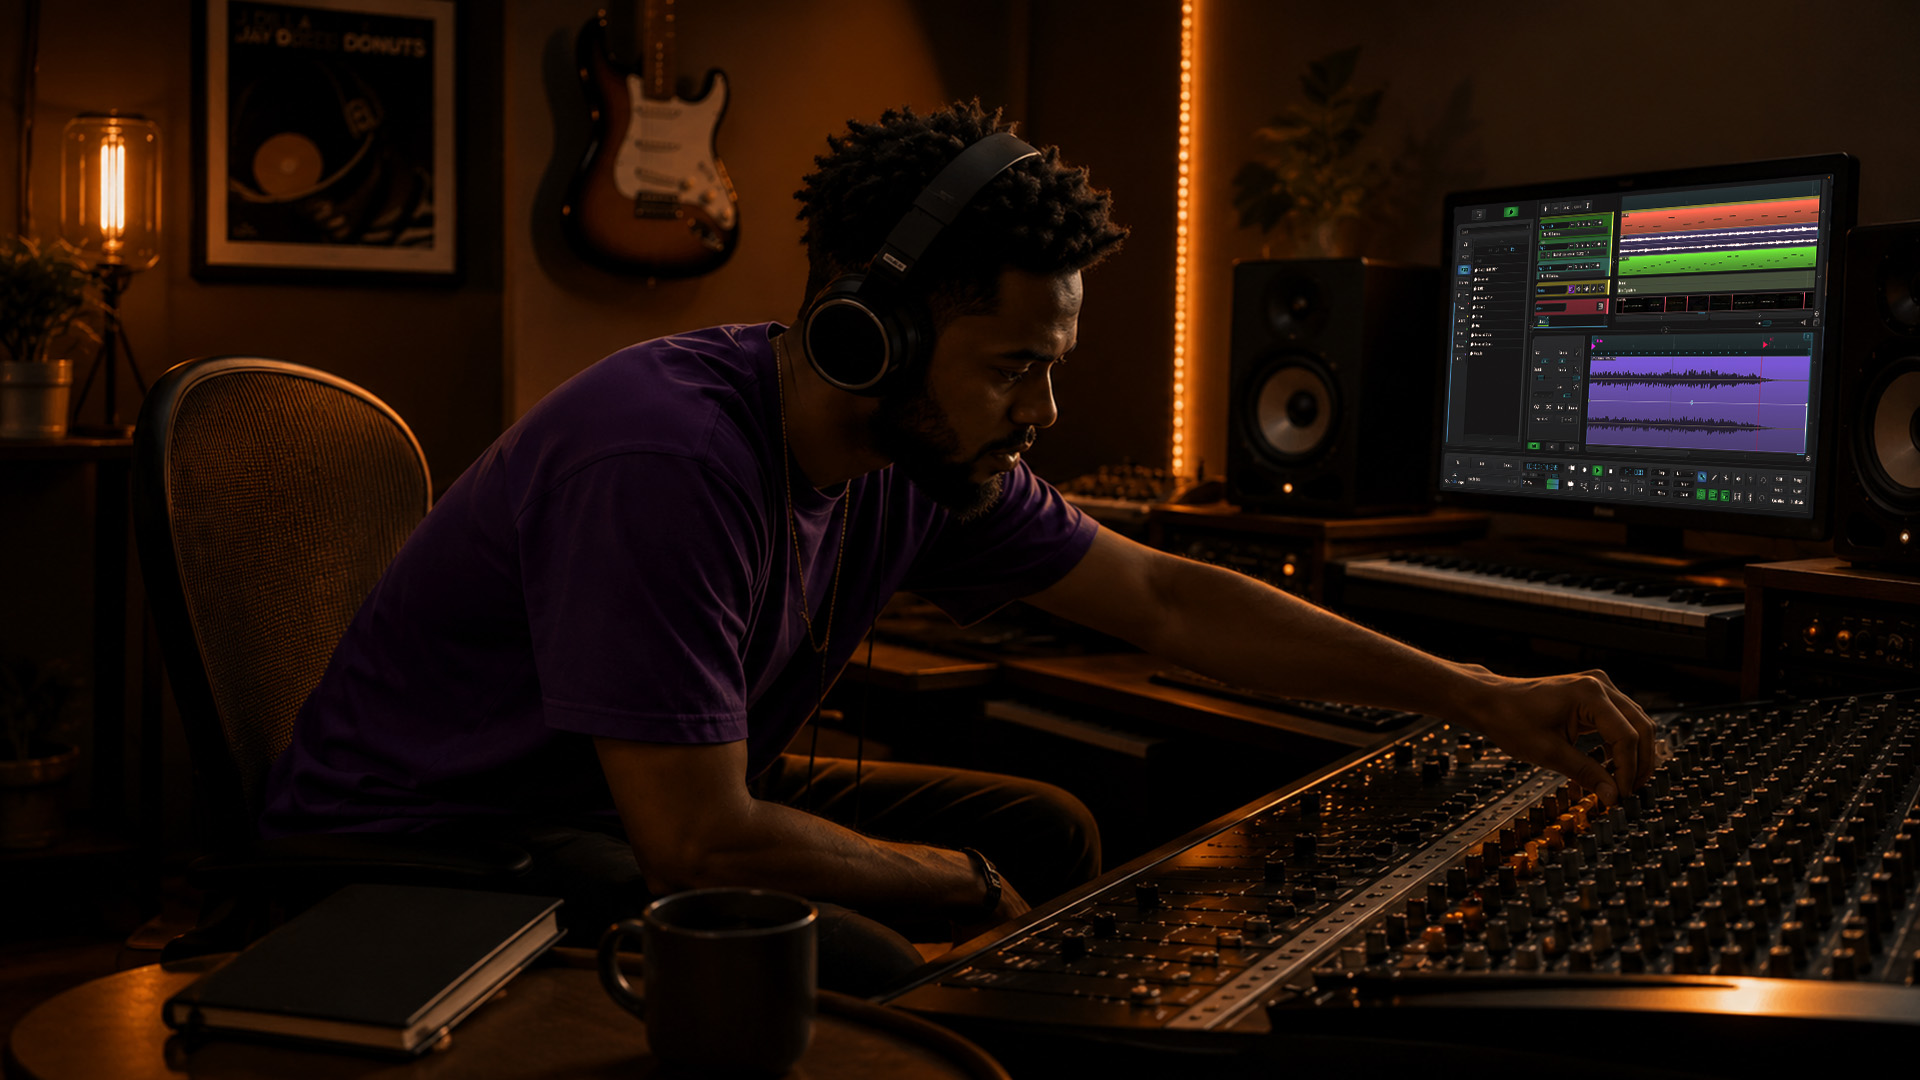
Clean mix techniques are the methods audio engineers use to achieve clarity, separation, and professional polish in a finished mix by managing frequency overlap, dynamics, and spatial positioning. The industry-standard approach starts with gain staging, high-pass filtering around 80–100Hz, and subtractive EQ in the 200–400Hz range before any creative processing begins. Producers who skip these foundational steps end up fighting mud and masking at every stage. The good news: once you internalize these methods, clean mixes stop feeling like accidents and start feeling inevitable.
1. Gain staging: the foundation of every clean mix
Gain staging maintains headroom and keeps plugin behavior predictable throughout your signal chain. Without it, you get clipping-induced harshness that no amount of downstream EQ can fix. Set your individual tracks to peak at -18 dBFS before any processing. That single habit removes a class of problems before they start.
2. High-pass filtering non-bass elements
Every track that does not carry intentional low-end energy needs a high-pass filter. Guitars, vocals, synth pads, and room mics all accumulate sub-bass rumble that muddies the mix without adding anything audible. High-pass filtering around 80–100Hz on speech and vocals is standard practice for a reason. Apply it to non-bass instruments and watch your low end open up immediately.
Pro Tip: Set your high-pass filter while listening to the full mix, not in solo. The cutoff point that sounds right in isolation often removes too much body when you hear it in context.
3. Subtractive EQ Cuts in the Low-Mid Range
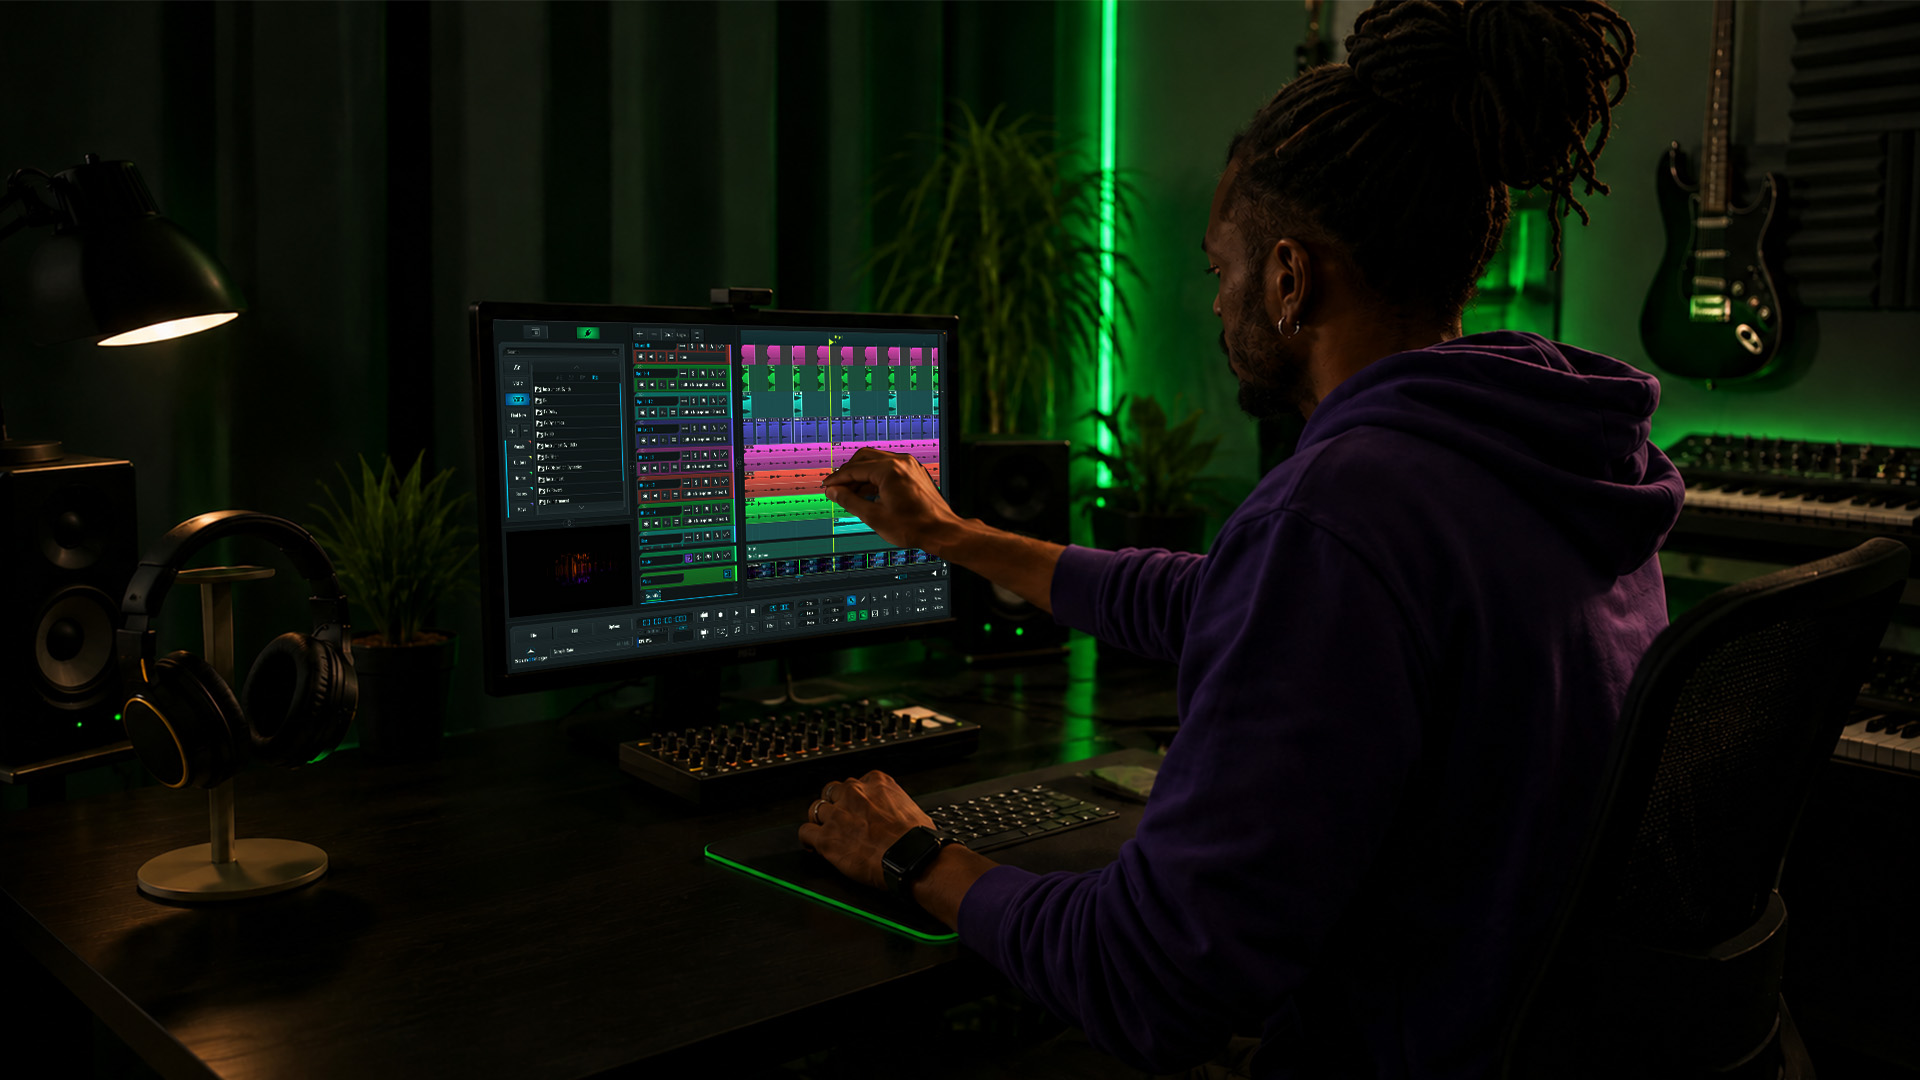
The 200–500Hz zone is where most mixes get cloudy. Kick drums, bass guitars, acoustic guitars, and piano all compete in this range. Subtractive EQ cuts of 2–4dB in this zone on rhythm instruments reduce muddiness without stripping tone. Cuts are almost always more effective than boosts here. Boosting in a crowded range adds more of what is already causing the problem.
4. Carving a Vocal Pocket in Your Instrumentals
Vocals sit in the 1kHz–3kHz range, which is also where guitars, keys, and synths tend to peak in energy. The fix is a 1–2dB wide EQ dip in that range on your instrumental bus. This creates space for the vocal to sit naturally without you needing to push its level higher. The result is a vocal that feels present and forward without sounding loud or harsh.
5. Resolving Frequency Masking Step by Step
Frequency masking happens when two instruments share the same frequency range at similar volumes, causing one to disappear. The correct sequence is: balance levels first, then apply subtractive EQ, then adjust stereo placement, and finally use dynamic tools if the conflict is intermittent. This stepwise approach prevents over-processing by addressing the simplest fix before reaching for the most complex one. Most masking problems resolve at the level or panning stage before EQ is even needed.
Pro Tip: Loop the two conflicting tracks together and sweep a narrow EQ band slowly through the problem range. The frequency where the mix sounds most congested is your cut point.
6. Panning and Stereo Placement as Separation Tools
Panning is free separation. Two instruments sharing the same frequency range become far less problematic when they occupy different positions in the stereo field. Place competing mid-range elements at opposite sides, even subtly, and the masking drops significantly. This technique requires zero processing power and adds width to your mix.
7. Sidechain Compression for Low-End Conflicts
Bass and kick drum are the most common low-end collision in any mix. Sidechain compression, where the kick triggers a gain reduction on the bass, solves this without static EQ cuts that thin out the bass permanently. The bass ducks briefly on each kick hit, then returns to full level. You get punch from the kick and body from the bass, with neither masking the other.
8. Mix in Context, Never in Solo
Mixing in solo leads to cluttered final mixes. When you EQ a snare in isolation, you optimize it for how it sounds alone, not how it fits with the kick, the bass, and the room. Every EQ and compression decision should be made while the full mix plays. Tracks that sound thin in solo often sit perfectly in context. Tracks that sound great in solo often disappear or clash when everything plays together.
9. Dynamic EQ and Automation for Sustained Clarity
Static EQ cuts work for consistent problems. Dynamic EQ handles the ones that come and go. A guitar that only gets muddy during the chorus, or a vocal that only gets harsh on certain vowels, needs a processor that responds to the signal rather than always cutting. Pair dynamic EQ with volume automation to catch level inconsistencies that compression misses. Audio editing automation is one of the most underused tools for maintaining clarity across a full song.
10. Mix Bus Sculpting With Broad, Gentle EQ Curves
The mix bus is not the place for surgical EQ. Broad EQ dips of 1–1.5dB on wide curves are more transparent and effective than narrow cuts for cleaning up the master bus. Target the 200–400Hz range for mud, the 2–4kHz range for harshness, and add gentle air above 10kHz if the mix needs it. Small moves at this stage affect everything simultaneously, so restraint is the rule. One or two dB of broad sculpting can make a mix feel more cohesive without touching a single individual track.
Pro Tip: Bypass your mix bus EQ and listen to the raw mix for 30 seconds before you start sculpting. Your ears recalibrate, and you hear the actual problems instead of the ones you expect.
How to Identify and Resolve Frequency Masking Effectively
Frequency masking is the most common reason a mix sounds cluttered even when every individual track sounds good. It occurs when two sounds share the same frequency range at similar volumes, causing the quieter one to become inaudible. The 200–500Hz zone and the 1kHz–3kHz midrange are the most common collision points in modern music production.
The practical resolution follows a clear order. Balance levels before touching EQ. A level difference of 3–6dB between two competing instruments often resolves the masking without any EQ at all. If the problem persists, apply targeted subtractive cuts rather than boosting the masked element. Boosting the quieter instrument raises the overall congestion in that range.
Stereo placement is the next tool. Instruments panned to opposite sides of the field mask each other far less than instruments sitting at center. After panning, if the conflict only appears at certain moments in the song, a dynamic EQ or sidechain compressor is the right solution. These tools respond only when the conflict actually occurs, leaving the sound untouched the rest of the time.
Listening strategy matters as much as technique. Loop the two conflicting tracks together and listen for 30 seconds before touching anything. Your ear will identify the frequency range causing the problem faster than any analyzer will. Patience at this stage saves you from over-processing.
The Role of Mix Bus Sculpting and Gentle EQ Curves
Surgical EQ and sculptural EQ serve different purposes. Surgical EQ uses narrow Q values to cut or boost specific frequencies with precision, typically on individual tracks. Sculptural EQ uses wide, gentle curves to shape the overall character of a bus or the full mix. On the mix bus, sculptural moves are almost always the right choice.
Broad, gentle EQ moves on the master bus are more transparent than narrow cuts and preserve the natural relationship between instruments. A 1–2dB dip centered at 300Hz with a wide Q removes mud without making the mix sound thin. A similar dip at 3kHz reduces harshness without pulling the presence out of vocals and guitars. These moves translate well across playback systems because they affect the overall tonal balance rather than carving out specific frequencies.
The key discipline is restraint. Mix bus EQ affects every element simultaneously. A 3dB boost at 10kHz that sounds exciting on headphones can make the mix brittle on laptop speakers. Check your mix bus EQ decisions on at least three different playback systems before committing.
| Frequency range | Problem addressed | Suggested move |
|---|---|---|
| 200–400Hz | Mud and boxiness | 1–2dB wide cut |
| 2–4kHz | Harshness and fatigue | 1dB wide cut |
| 10kHz and above | Air and openness | 1dB gentle shelf boost |
Tips for Maintaining Clarity While Using Reverb and Time-Based Effects
Reverb is the single biggest source of mix muddiness that producers overlook. The fix is filtering the reverb send itself. Filtering reverb sends below 600Hz and above 6kHz keeps the ambiance clean and prevents it from masking the dry signal. This approach, sometimes called the Abbey Road Reverb trick, is a trusted method used in professional studios for decades.
Practical steps for clean reverb use:
- High-pass the reverb return at 600Hz to remove low-end wash
- Low-pass the reverb return at 6kHz to reduce harsh high-frequency smear
- Keep the dry/wet ratio conservative on lead vocals and primary instruments
- Use shorter pre-delay (20–40ms) to separate the dry signal from the reverb tail
- Place reverb on a send channel rather than directly on the track so you can EQ the return independently
Pro Tip: Automate the reverb send level so it increases slightly during sustained notes and drops back during busy passages. This keeps the mix clear during dense sections without losing the sense of space.
For deeper context on how modern EQ and compression approaches shape professional mixes in contemporary music production, the broader media and entertainment industry continues to refine these methods as listening formats evolve.
Key Takeaways
Clean mixes result from disciplined gain staging, selective subtractive EQ, and spatial separation applied before any creative processing, with mix bus sculpting and reverb control delivering the final polish.
| Point | Details |
|---|---|
| Gain staging first | Set tracks to peak at around -18 dBFS before any processing to prevent clipping and plugin distortion. |
| Subtractive EQ over boosts | Cut 2–4dB in the 200–500Hz range on rhythm instruments to reduce mud without losing tone. |
| Vocal pocket carving | Apply a 1–2dB wide dip at 1kHz–3kHz on the instrumental bus to let vocals sit naturally. |
| Sculptural mix bus EQ | Use broad, gentle curves of 1–2dB on the master bus rather than narrow surgical cuts. |
| Filter your reverb sends | High-pass reverb returns at 600Hz and low-pass at 6kHz to prevent ambiance from masking dry signals. |
What I’ve Learned About Mixing Clean After Years in the Room
The biggest shift in my mixing came when I stopped treating the mix as a collection of individual tracks and started hearing it as a single sound. Most producers spend 80% of their time in solo mode, polishing each element until it sounds great on its own. Then they play everything together and wonder why it sounds cluttered.
The arrangement is the mix. If two instruments are fighting in the same frequency range, the first question is not “which EQ do I reach for?” It is “does this arrangement actually need both of these sounds playing at the same time?” Source quality and arrangement discipline are the real foundations of a clean mix. No processing trick fixes a bad arrangement.
The other trap I see constantly is over-processing. Producers add compression. They think they should add EQ because something feels missing, and layer reverb because the mix sounds dry. Every plugin you add is a potential source of phase issues, frequency buildup, and noise. The cleanest mixes I have heard use fewer processors, not more. Restraint is a skill, and it takes longer to develop than any technical technique.
My practical advice: spend the first 20 minutes of every session just listening to the raw tracks in context. No processing. No EQ. Just levels and panning. You will be surprised how far a well-recorded, well-arranged session gets you before you touch a single plugin.
— Wake
SoundBridge and the Tools That Make Clean Mixing Faster
Achieving a clean, professional mix requires a DAW that gets out of your way and lets you focus on the decisions that matter. SoundBridge is built for exactly that workflow, with high-fidelity audio processing at up to 192kHz sample rates, bi-directional plugin control, and a customizable interface that keeps your gain staging, EQ, and dynamics tools exactly where you need them.

Whether you are working on critical frequency ranges or building a full mix from scratch, SoundBridge gives you the processing power and workflow flexibility to apply every technique in this article without fighting your tools. The platform is available on Mac and Windows with both free and paid tiers. Start with the 2026 DAW guide to see how SoundBridge fits into your production setup.
FAQ
What are clean mix techniques?
Clean mix techniques are methods that control frequency overlap, dynamics, and spatial positioning to achieve clarity and separation in a finished mix. They include gain staging, high-pass filtering, subtractive EQ, sidechain compression, and mix bus sculpting.
What is the best EQ approach for a clean mix?
Subtractive cuts of 2–4dB in the 200–500Hz range on rhythm instruments reduce mud more effectively than boosting other frequencies. On the mix bus, broad curves of 1–2dB are more transparent than narrow surgical cuts.
How do I stop reverb from muddying my mix?
Filter your reverb send by high-passing below 600Hz and low-passing above 6kHz. This removes the low-end wash and high-frequency smear that cause reverb to mask dry signals.
Why should I mix in context instead of solo?
Mixing in context produces better decisions because EQ and compression choices made in solo are optimized for isolation, not for how the track fits with everything else playing simultaneously.
How does gain staging improve mix quality?
Proper gain staging keeps tracks peaking around -18dBFS, which maintains headroom and prevents clipping-induced harshness that downstream processing cannot fix.
Recommended
MASTER MUSIC PRODUCTION
Expert-led courses designed to take you from fundamentals to finished tracks.

HOUSEFrom bouncy bass and solid kicks, this course teaches you the most modern House music production techniques needed to succeed and stand out.

TRAPQuit sounding like generic Trap and produce something World with hints of the Far East. Create ethnic soundscapes to put your Trap ahead of the curve.

AMBIENTProduce relaxing, sophisticated psy-influenced ambient. Psychedelic and relaxing to listen to, create meditative soundscapes to put your listeners in Zen.