

Avoid Sync Drift: Exporting DAW Video in 48 kHz/24-bit for Post Pros
Last Edited: Sep 20, 2026
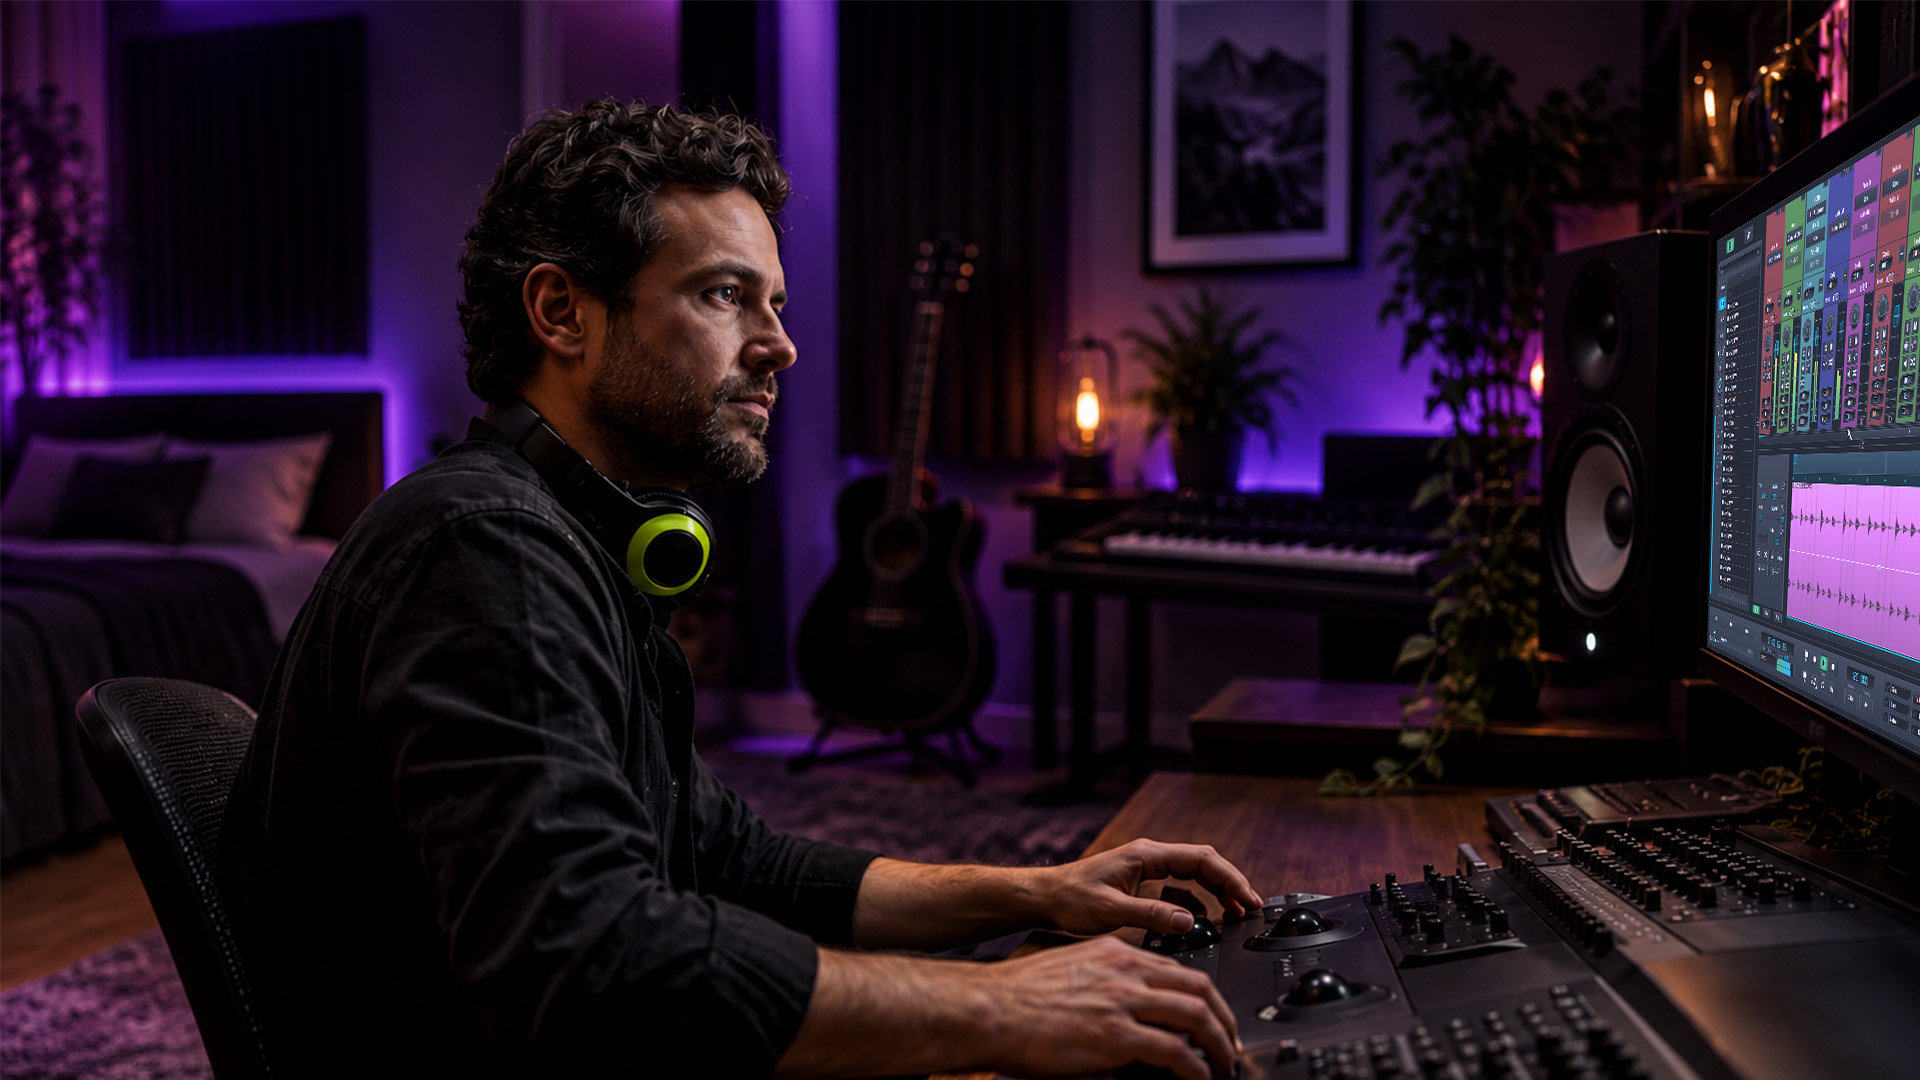
Export a video file directly from your DAW when it supports native video rendering, using 48 kHz/24-bit audio matched to your source frame rate. If your DAW lacks that option, export a 48 kHz/24-bit WAV and relink it in your video editor. Use offline rendering by default; switch to real-time only when external hardware or unstable plugins are in the signal chain.
TL;DR:
- Matching the DAW’s frame rate to the source video’s frame rate is crucial to prevent sync drift during export, especially for common rates like 23.976 or 29.97 fps.
- Exporting at 48 kHz and 24-bit is the standard for picture-related delivery, while 44.1 kHz and 16-bit may cause issues or limit headroom depending on project needs.
- Offline rendering is typically faster, but real-time export is essential when using hardware or plugins prone to glitches to avoid corrupt files.
- Verifying the exported file in a standalone player and checking for clip issues or drift ensures proper sync before delivery or import into an editing suite.
- Native video support in a DAW simplifies the workflow, reduces relink errors, and minimizes the risk of sync issues when exporting sound and picture together.
Step-By-Step Checklist For Video Export From a DAW
Getting a clean handoff comes down to sequence. Skip a step, and you’ll be re-exporting at midnight while a client waits on a picture lock.
- Match the frame rate. Confirm your DAW’s project frame rate mirrors the source video (23.976, 24, 25, 29.97, or 30 fps). A mismatch here is the single biggest cause of drift later.
- Set your export range with padding. Select the exact in/out points or markers, then add 0.5 to 2 seconds of tail so fades and reverb decay don’t get chopped by the receiving timeline.
- Pick your export source. Decide between the master bus (one composite mix) or individual stems, depending on whether the editor needs a finished mix or separate control.
- Lock sample rate and bit depth. For video work, that’s 48 kHz and 24-bit, as iZotope’s guide to sample rate and bit depth confirms as the standard for picture-based delivery.
- Choose your render mode. Offline is faster for most sessions; real-time is safer with outboard gear or CPU-hungry plugins in the chain.
- Render and verify immediately. Open the file in a standalone player before it ever touches an NLE timeline.
This loop, as Violet Recording lays out for general DAW exports, stays consistent whether you’re bouncing a two-track mix or rendering a full video file with embedded audio.
Which Export Settings Actually Matter For Video Projects
Not every setting on the export dialog carries equal weight. Some choices are cosmetic. Others determine whether your file plays back correctly on the first try.
Sample rate: 48 kHz is the standard for anything touching picture, while 44.1 kHz remains fine for music-only projects with no video component. Mixing the two mid-project is where a lot of sync headaches start.
Bit depth: 24-bit is the right call for any mix headed to further processing, color grading, or a mix stage. Reserve 16-bit strictly for cases where the delivery spec demands it, since dropping bit depth early throws away headroom you can’t get back.
Here’s a fact worth sitting with: iZotope notes that matching your export rate to the project’s native rate, rather than converting at export time, avoids the resampling artifacts that quietly degrade a mix nobody notices until it’s on a big screen.
A few more settings that separate a smooth handoff from a support ticket:
- File format: WAV or AIFF for anything archival or heading into another editing pass, since both stay uncompressed.
- In-file video encode: Only export MP4 or MOV with embedded audio if your DAW genuinely supports native video rendering. Faking it by renaming an audio file breaks the workflow.
- Channel mapping: Label stems clearly (dialogue, music, effects, VO) rather than generic “Track 1, Track 2” names that mean nothing three weeks later.
- Container choice for delivery: For immersive or theatrical jobs, DaVinci Resolve Studio accepts ADM/IAB and IMF packages, which is exactly why stems, not a single stereo bounce, are the preferred deliverable for those formats.
How DAW Export Menus Map To The Same Basic Job
Every DAW names things a little differently, but the underlying job is identical: pick a range, pick a source, set your format, render, verify. Once you know the pattern, switching between platforms no longer feels like relearning software from scratch.
Here’s how the common labels translate:
- Export, Bounce, or Render all mean “generate a new file from the current selection or project.” Violet Recording’s breakdown treats these as interchangeable across most major DAWs.
- Export Audio/Video or Export Mixdown is where you’ll find the actual dialog with format, sample rate, and range controls.
- Export to Video File is a feature specific to video-capable DAWs. Harrison’s Mixbus, for instance, combines timeline video with master-bus audio in a single render pass, skipping the relink step entirely.
- Render New Video File is Cubase’s version of the same idea, documented in Steinberg’s own export dialog reference.
- Master vs. individual tracks determines whether you get one finished file or a folder of stems, so check bus routing before you commit, since a track mistakenly routed around the master bus won’t show up in the bounce at all.
- Loop or region selection lets you export only the picture-locked section rather than the entire timeline, saving render time on long projects.
Some advanced DAWs also generate chapter markers automatically by syncing tracklist timestamps to the video timeline, a small feature that saves real time on longer programs. Learning your DAW’s core feature set pays off here, since export dialogs usually mirror the rest of the software’s logic.
How Do You Verify a Video Export Actually Worked?
Never trust an export until you’ve heard it play back outside the DAW that made it. That single habit catches more problems than any setting you could tweak in advance.
- Listen in a standalone player first, then again once it’s dropped into your target NLE. Sync issues often only surface on the second check.
- Watch for clipped tails. If a fade cuts off early, you didn’t pad your export range enough. Add the buffer and render again.
- Chase drift back to sample rate. If audio slips out of sync over a long file, check for a mismatch between your DAW’s timebase and the receiving software’s timeline, since frame-based conversions instead of sample-accurate timing are a common silent culprit.
- Missing tracks usually mean routing, not bugs. Double-check that every track you expected is actually assigned to the bus you exported from.
- Use versioned filenames (“Scene04_mix_v3_48k24bit.wav”) and test-import the file immediately, before you move on to the next scene.
Pro Tip: Offline rendering is faster for nearly every project, but flip to real-time the moment you’re routing through outboard hardware or a plugin that’s ever glitched during a fast bounce. A five-minute real-time render beats a corrupted offline file discovered after the client has already reviewed the footage.
For event and wedding videographers relinking DAW audio to picture, Visualize Media’s audio tips for wedding films cover verification habits that translate directly to this workflow.
Why Native Video Support in a DAW Speeds Up Post Handoffs
Relinking audio in an NLE works, but it’s an extra step, and extra steps are where sync errors sneak in. A DAW that renders picture and sound together removes that risk entirely, because there’s no second import to go wrong.
Some DAWs build this directly into their workflow: integrated video tracks with talkback, project-accurate sync, and support for high sample rates mean a composer or sound designer can preview cues against picture without ever leaving the timeline. For film scoring and sound design work, native video support turns a multi-step handoff into a single render.
When your project stays inside one environment from scoring to final bounce, you skip the relink, skip the frame-rate guesswork, and skip the standalone-player double-check that catches problems introduced by a mismatched import. That’s the real value of native video support in a DAW: fewer places for a sync error to hide.
What Most Export Advice Gets Wrong
Most export tutorials treat every setting as equally important, which buries the two decisions that actually matter: sample-rate matching and range padding with a tail buffer. Everything else — codec choice, filename conventions, channel labeling — is cleanup work that prevents annoyance, not sync failure.
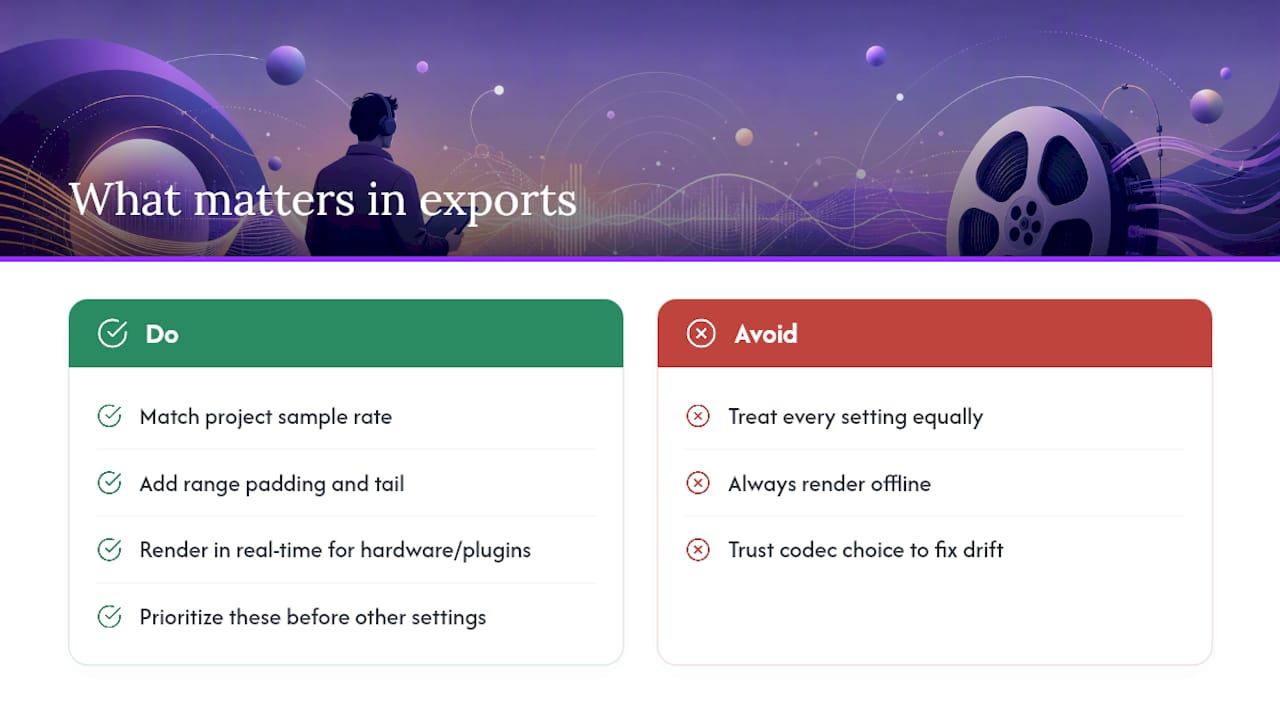
The bigger blind spot is render mode. Plenty of guides tell you to always render offline for speed, full stop. That’s fine advice for a music-only bounce, but it ignores what happens the moment outboard hardware or an unstable plugin enters the chain, at which point offline rendering can silently produce a broken file. Professional workflows treat real-time as a deliberate choice for specific sessions, not a fallback for when offline fails.
If you take one thing from this checklist, prioritize the frame-rate match and the tail padding before you touch anything else. Every other setting is recoverable after the fact. A file that drifts out of sync or clips its last fade usually isn’t.
— Wake
Where SoundBridge Fits Into Your Export Workflow
SoundBridge is built for exactly the handoff this article walks through: native video tracks, talkback, and studio-accurate sync mean you’re rendering picture and sound together, rather than exporting audio and hoping the relink holds. High-fidelity processing up to 192kHz gives you headroom well beyond the 48 kHz/24-bit standard, so nothing gets lost between your session and the finishing suite.

If you’re scoring for picture, mixing dialogue against video, or just tired of double-checking sync after every relink, see what a DAW built around video actually looks like and try it on your next project.
Sources
- Digital audio basics: sample rate and bit depth — iZotope
- How to export a song from your DAW — Violet Recording
- Harrison Mixbus 10 review — Sound On Sound
- DaVinci Resolve – Studio | Blackmagic Design
Recommended
MASTER MUSIC PRODUCTION
Expert-led courses designed to take you from fundamentals to finished tracks.

HOUSEFrom bouncy bass and solid kicks, this course teaches you the most modern House music production techniques needed to succeed and stand out.

TRAPQuit sounding like generic Trap and produce something World with hints of the Far East. Create ethnic soundscapes to put your Trap ahead of the curve.

AMBIENTProduce relaxing, sophisticated psy-influenced ambient. Psychedelic and relaxing to listen to, create meditative soundscapes to put your listeners in Zen.