

Why Use a Home Recording Studio in 2026
Last Edited: May 27, 2026
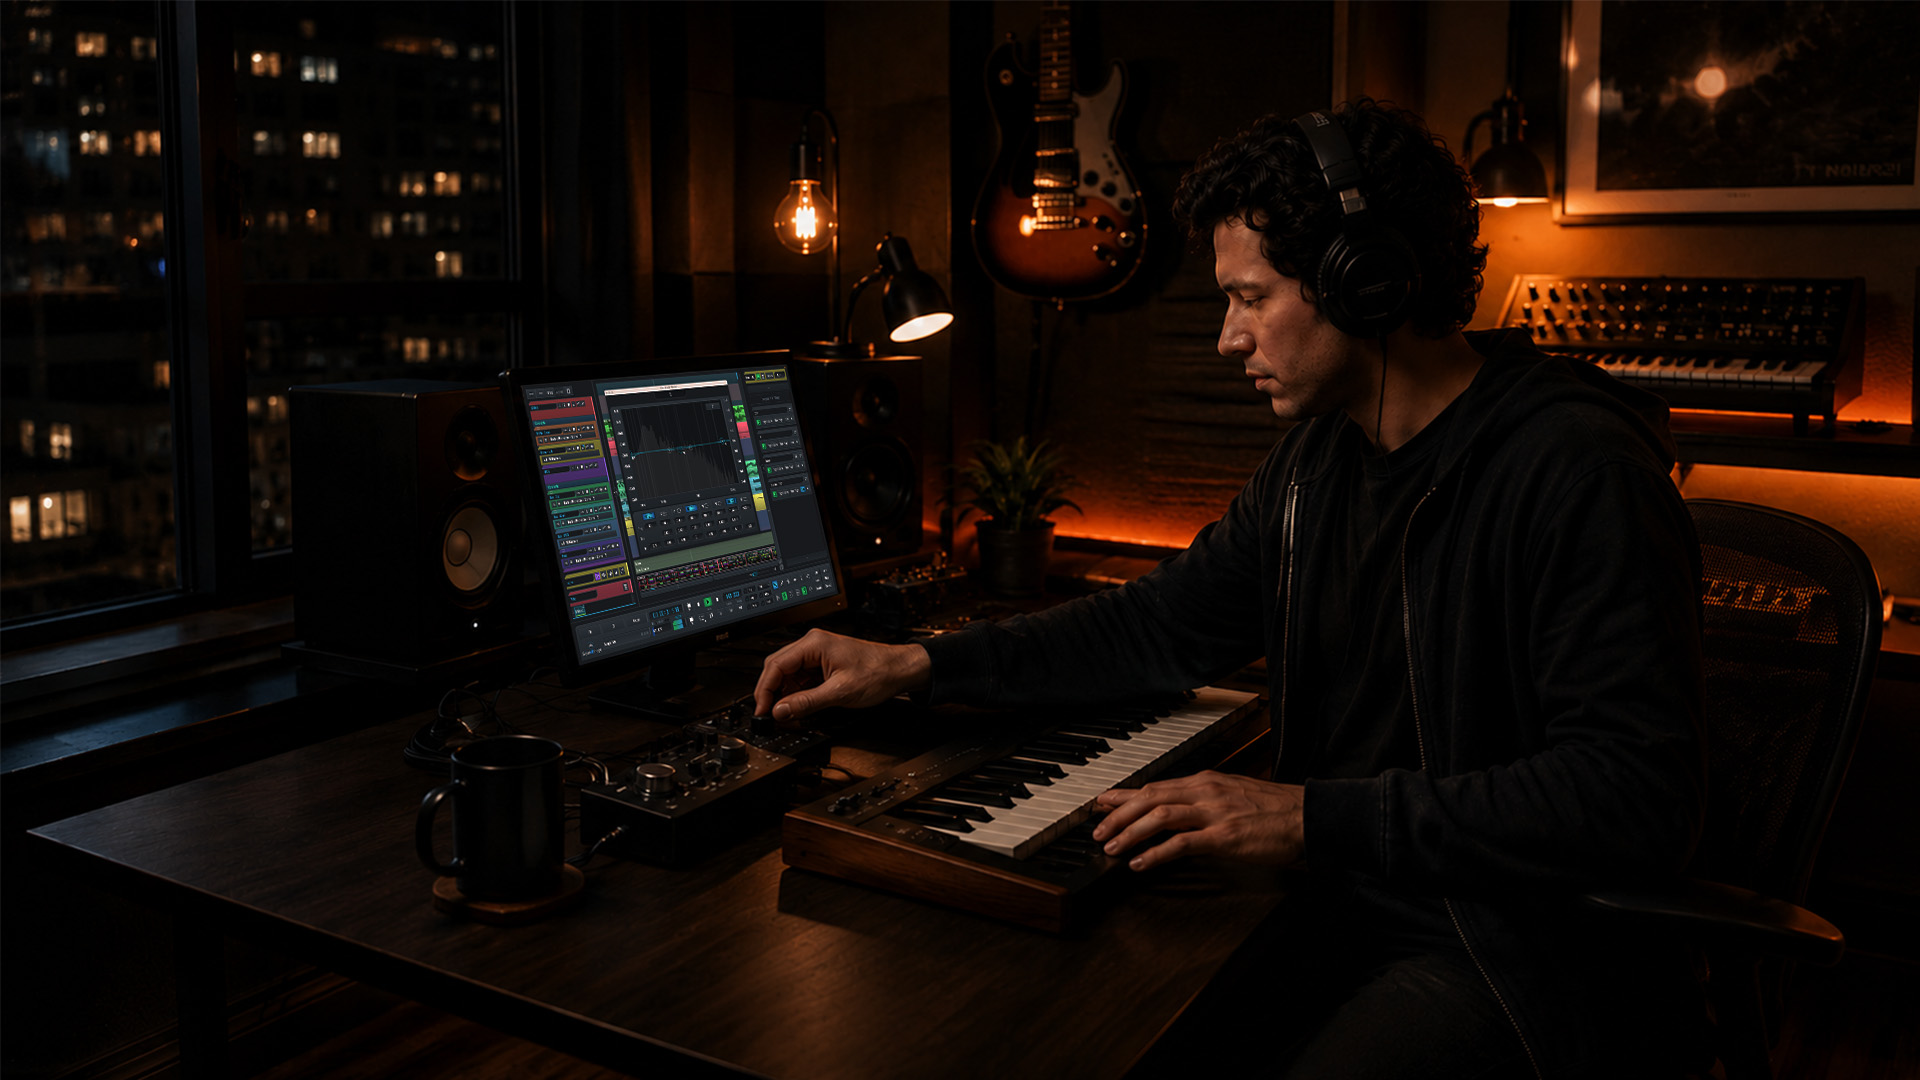
Most musicians assume the gap between bedroom recordings and professional releases comes down to gear. Better microphone, better tracks. That logic sounds reasonable until you hear a crisp, radio-ready vocal recorded on a $100 mic in a treated closet, and then compare it to a muddy mess captured on a $1,500 condenser in an untreated room. The real question of why use home recording studio setups has a deeper answer than most people expect. It comes down to your space, your workflow, and your creative freedom.
Key Takeaways
| Point | Details |
|---|---|
| Room acoustics beat gear price | A treated room improves recording quality more than any microphone upgrade can. |
| Home studios pay for themselves. | The one-time setup cost typically delivers full ROI within 6 to 9 months for regular recorders. |
| Digital tools closed the gap. | Modern DAWs and affordable audio interfaces offer capabilities comparable to those of pro studios for the most popular genres. |
| Workflow shapes creativity | A frictionless, repeatable setup keeps your focus on music, not on technical problems. |
| Start with treatment, not toys. | Basic acoustic panels and bass traps deliver about 80% of the results of professional treatment for under $200. |
Why Use Home Recording Studio Setups
The benefits of home studios go well beyond saving money on studio time. When you build your own recording space, you take full ownership of the creative process. You decide when to record, how long to experiment, and when to stop. That kind of flexibility is something no hourly rental can give you.
Here is what you actually gain:
- Cost control. Professional studio rentals run anywhere from $75 to $200 per hour. A thoughtfully built home setup pays for itself. For frequent recorders, the ROI arrives in 6 to 9 months after the initial investment.
- Creative freedom. You can track a vocal at 2 a.m. after inspiration hits, scratch a guitar idea before it disappears, and revisit a session the next morning without booking a slot.
- Skill development. Recording in the same space consistently means you learn its quirks, its strengths, and its weaknesses. That knowledge compounds over time. Daily recording in the same room accelerates skill growth in ways that rotating through rental studios simply cannot.
- Production ownership. You shape the sound from tracking to mixing to mastering, which means you understand each layer of your music deeply.
- Low-friction output. When your setup is ready and familiar, you spend more time making music and less time troubleshooting. Good workflow impacts creativity more than gear specifications alone.
Pro Tip: Before spending any money on new equipment, spend one hour recording in your current space and listening back critically. You will quickly identify whether the problem is your gear or your room.
The advantages of home recording extend to content creators, too. Podcasters, voiceover artists, and video producers all benefit from a dedicated, repeatable recording environment. You can match your audio from session to session without chasing room tone across different rental spaces.
Room Acoustics Matter More Than Your Gear
This is the insight that changes everything for most beginners. A $100 microphone in a properly treated room outperforms a $1,000 microphone placed in an untreated space. That is not a creative opinion. It is acoustic physics.
Here is why. Sound bounces off hard, parallel surfaces, and those reflections end up in your recording alongside your intended signal. The result is a smeared, washy vocal with poor clarity. No amount of EQ or compression fixes a room that is fighting against you. Room reflections significantly degrade vocal clarity, and those problems carry over into your mix.
The good news is that the fix does not require major renovation.
- Bass traps placed in room corners absorb low-frequency buildup, which is the primary cause of muddy mixes.
- Absorption panels at first-reflection points (the walls directly to your left, right, and above your listening position) reduce mid- and high-frequency smearing.
- Diffusers scatter sound rather than absorb it, preserving some of the room's natural energy while controlling flutter echo.
- Bookshelves with irregular items, thick curtains, and carpets all contribute to diffusion and absorption without costing a dollar.
Basic DIY acoustic treatment, such as foam panels and corner bass traps, can deliver roughly 80% of the results of professional treatment for under $200. That is one of the best return-on-investment decisions you can make as a home producer.
One critical distinction beginners often miss is that acoustic treatment and soundproofing are not the same thing. Treatment controls sound behavior inside your room. Soundproofing prevents sound from traveling between rooms. Most home studio builders need treatment first. Soundproofing is a construction project. Treatment is an afternoon project with some panels and corner bass traps.
Pro Tip: Record a hand clap in your untreated room and listen for the "tail" that follows it. That ring or flutter is exactly what ends up in your vocal recordings. Treat the room until that tail disappears.
Building an Effective Home Recording Setup
Getting the right gear in the right order is a skill in itself. Beginners often overspend on microphones and underspend on the components that shape workflow and reliability. Here is a practical order of priorities for setting up your space effectively.
- Choose your audio interface first. This is the hardware that converts your microphone signal into digital audio that your computer can process. A solid entry-level interface determines your latency, your headroom, and your preamp quality. Understanding how audio interfaces shape sound quality before buying saves you from common beginner mistakes.
- Select a DAW that fits how you think. Your digital audio workstation is where everything comes together. Recording, editing, arranging, mixing, and mastering all happen here. An intuitive DAW removes friction and keeps your creative momentum alive. Knowing what a DAW actually does helps you choose one that fits your workflow rather than fighting it.
- Pick a microphone suited to your source. A large-diaphragm condenser works well for vocals and acoustic instruments. A dynamic mic handles loud sources and suits rooms with less treatment. Match the mic to your application, not to your ego.
- Invest in monitoring you can trust. Studio monitor speakers or a reliable pair of closed-back headphones let you make accurate mix decisions. Consumer headphones color the sound in ways that mislead your ears during mixing.
- Treat your room before your final setup. Once your gear is chosen and placed, commit to acoustic treatment before recording anything you intend to keep.
- Build repeatable gain staging habits. Set your interface input gain so that your signal peaks at around -18 dBFS during normal operation. That headroom keeps your recordings clean and gives you flexibility in mixing.
A home studio designed as a frictionless creative system minimizes technical distractions and prioritizes consistent, repeatable results. When your session is ready to go in two minutes rather than twenty, you record more and second-guess less.
Pro Tip: Label every cable, patch point, and plugin setting in your template session. When you return to a project after two weeks, you want to pick up exactly where you left off without restarting your signal chain from scratch.
Home Studio vs. Professional Studio
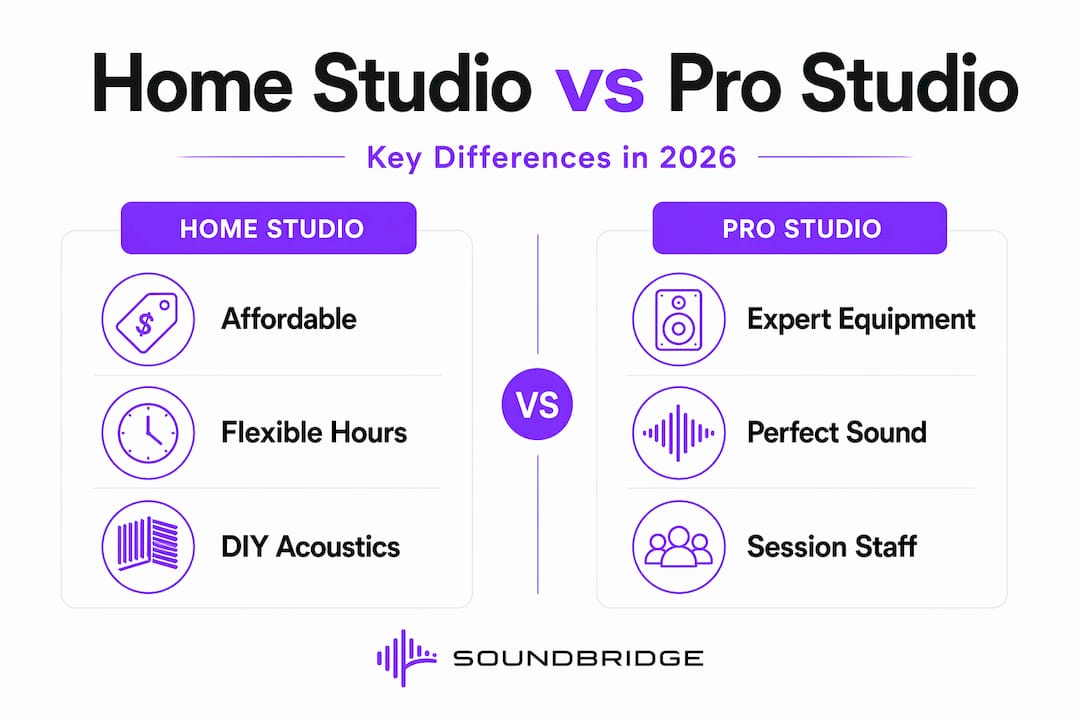
Knowing when a home studio serves you and when a professional studio makes more sense is part of thinking strategically about your career. This comparison helps you make that call clearly.
| Factor | Home studio | Professional studio |
|---|---|---|
| Upfront cost | One-time build investment (varies by gear) | $75 to $200 per hour rental |
| Acoustic environment | Treated room with DIY or budget panels | Purpose-built, tuned listening rooms |
| Gear access | Your chosen setup, expandable over time | High-end consoles, outboard, vintage mics |
| Scheduling | Available 24/7, fully on your terms | Booked in advance, time-limited |
| Best use cases | Demos, tracking vocals, mixing, podcasting, and content creation | Full-band live tracking, orchestral sessions, mastering |
| Skill building | Faster due to daily familiarity with your space | Limited by session time and cost pressure |
| Collaboration | Remote via DAW and online tools | In-person, real-time group sessions |
Advancements in DAWs and affordable interfaces have largely closed the gear gap for streaming-dominant genres. Hip-hop, electronic music, singer-songwriter records, and podcast content can all reach professional-release quality in a well-built home studio. The gear gap between home and pro studios is now minimal for most modern popular music.
Where professional studios still hold an edge is in acoustic design and specialized equipment. If you need to record a live drum kit, a string quartet, or a full band playing simultaneously, a professional space with proper isolation and room design makes a real difference. For everything else, your home studio is a legitimate production environment. Think of it as a career step, not a compromise.
My Take: Master Your Environment Before Chasing Gear
I have seen the same pattern repeat itself constantly. A musician builds a home setup, gets frustrated that recordings sound muddy or thin, and immediately assumes they need a better microphone or a more expensive preamp. They upgrade. The recordings still sound muddy. Another upgrade follows.
What I have learned is that the room is almost always the answer. Not better gear. Spending an afternoon with a pack of acoustic foam and some basic corner traps will transform your recordings in a way that no single piece of hardware can. Your ears will not believe the difference until you hear it yourself.
The other thing I have come to believe deeply is that consistency builds skill faster than anything else. Recording in the same treated space every day means you stop being surprised by your room and start using it as a tool. You know where your low end builds up. You know which frequencies your room flatters. That knowledge shapes better decisions at every stage of production.
Your home studio is not a lesser version of a professional studio. It is a different kind of creative partner. One that is available on your schedule, tuned to your taste, and built to grow with you. That is worth more than any hourly rental.
— Wake
Take Your Home Studio Further With SoundBridge

Building a home studio is just the beginning. Once your space is treated and your signal chain is dialed in, the next step is making the most of every recording session with tools that match your ambition. SoundBridge is a professional DAW platform built for musicians and producers at every level, offering zero-latency tracking, high-fidelity audio processing up to 192kHz, and real-time remote collaboration. Whether you are just learning essential DAW features for music production or ready to push your sound with advanced vocal processing, SoundBridge has the tools to move your home recordings from bedroom demos to release-ready tracks. Available free on Mac and Windows.
FAQ
Why use a home recording studio instead of renting?
A home studio delivers full creative control on your schedule, with a one-time investment that pays off within 6 to 9 months for regular recorders. Hourly studio rentals add up fast and limit how much time you can afford to experiment.
Does room acoustics really matter more than microphone quality?
Yes. A $100 microphone in a properly treated room consistently outperforms a $1,000 microphone in an untreated space because room reflections are recorded alongside your signal and cannot be fully removed in post.
How much does basic acoustic treatment cost?
DIY acoustic treatment using foam panels and bass traps typically costs under $200 and delivers around 80% of the results you would get from a professionally treated room.
What gear does a beginner home studio actually need?
Start with an audio interface, a DAW, one microphone suited to your source, and a reliable pair of closed-back headphones or monitor speakers. Acoustic treatment should follow before any other gear upgrades.
Can a home studio produce professional-quality music?
Yes, for most modern genres. Advances in DAWs and affordable interfaces have significantly closed the gap, and streaming-dominant music, including hip-hop, electronic, and singer-songwriter genres, regularly reaches release quality from home setups.
Recommended
MASTER MUSIC PRODUCTION
Expert-led courses designed to take you from fundamentals to finished tracks.

HOUSEFrom bouncy bass and solid kicks, this course teaches you the most modern House music production techniques needed to succeed and stand out.

TRAPQuit sounding like generic Trap and produce something World with hints of the Far East. Create ethnic soundscapes to put your Trap ahead of the curve.

AMBIENTProduce relaxing, sophisticated psy-influenced ambient. Psychedelic and relaxing to listen to, create meditative soundscapes to put your listeners in Zen.