Learn How to Craft a Unique Sound Effect
Last Edited: Nov 30, 2023
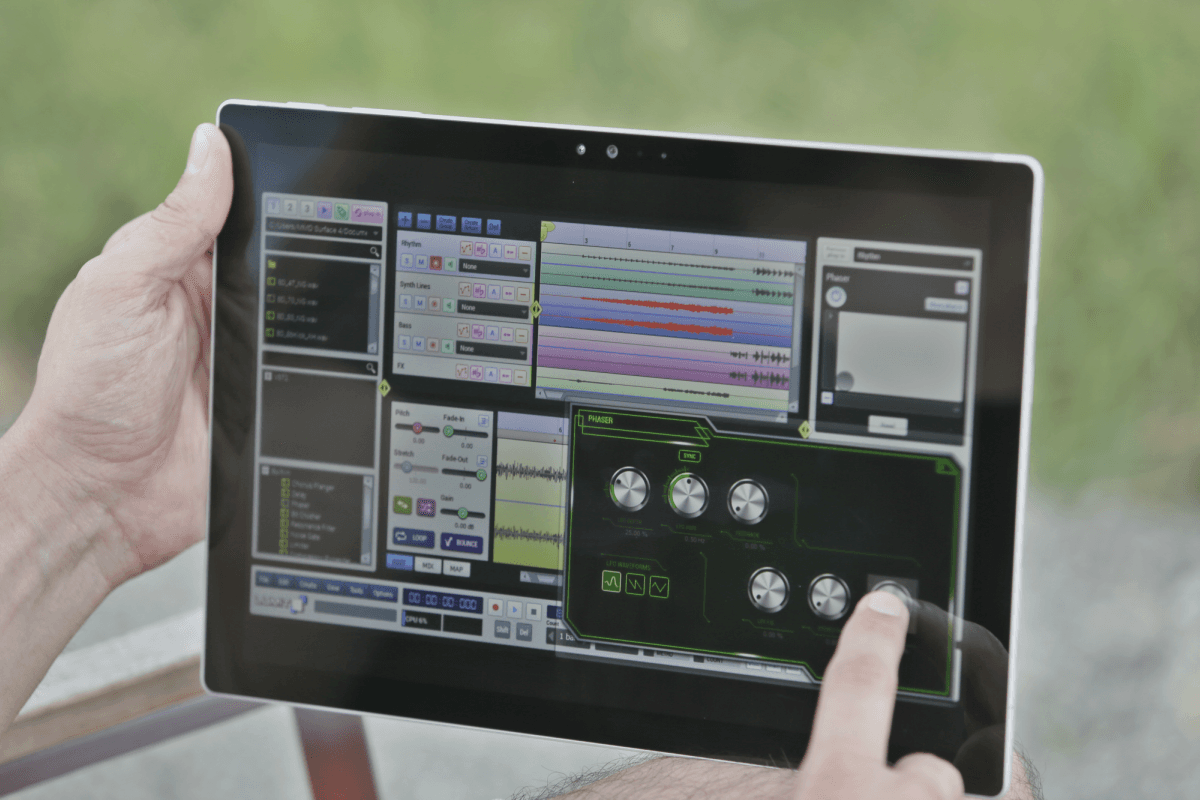
Today, I will show you how I made this unmistakable sound effect in Lumit!
It is composed of 7 different elements from a variety of sources. This, I believe, helps identify the sound. Pulling from the same libraries and synths repeatedly is bound to get too familiar and not as memorable. With this being said, if there is a particular extensive synth or sampler that you are very fluent in, it may be all you need.
Element 1 - The Male Vocal Sample
I started this design with a male vocal sample from Loopmasters called DVF2_105_B_BT_Fullnobass.

The first thing I did with this sample was crop the portion I liked. I just wanted the softer background vocals after the guy sings the hook. I only used one little breath of it and shaped it with a fade in and fade out. I dropped a band-pass filter on it, which automated the resonant band's position and gain. That is followed by a delay and some reverb on pretty drastic settings (over 50% wet, long feedback, long-tail). I used this resulting sound as the primary impulse of the design and based the rest of the elements around it.

Element 2 - The Female Vocal Sample
I used another sample from Loopmasters, a female vocal called KW_127_Fm_Neon_Adlib3, for this element.

The editing process of this sample was pretty much the same as for the male vocal sample, except I reversed the sample before cropping the portion I liked and adding fades. After positioning the element how I wanted in the sequencer, I dropped a high-pass filter, a delay, and a bit crusher on it. Then, I duplicated the track and panned the copies hard left and right. On the duplicate, I slightly modified the effects settings. This task helps give a realistic width to the sound. I cropped, pitch-shifted, and arranged a few snippets of my new samples a second or so after the initial sound. This created that cool digitized robotic fadeaway you hear in my affected sample.

Element 3 - The Sub Drop
The sub-bass drop is a simple FM8 patch comprising two sine oscillators an octave apart with detuning. I also added a second "voice" in the master tab and some further detuning. Once this synth sound was ready, I drew in a note, and a downward pitch bend a second or two after the start of the it. This provided that booming decay you hear as the sound effect fades out.


Element 4 - The Pad
The synth pad you hear is another FM8 patch with two sine oscillators. This time, the oscillators are on the same octave but are tuned more and hard-panned. It has some very slow, shallow pitch modulation in a triangular contour. The entire output goes into a reverb with about a 2-second decay.

Element 5 - The Kick
This kick is a simple 808 sample from the Battery 4 Factory Library with the decay shortened and some band-pass filtering to get it out of the sub's way. I placed it right at the start of the sounds I laid out already to act as a transient.

ELEMENT 6 - The Reverse Cymbal Swell
The cymbal sound is from the Battery 4 Factory Library as well. I tuned it, reversed it, added fades in the Battery editor, enveloped the pitch to ascend for a second after it was triggered, and sent it to a delay with much feedback and pan modulation.

Element 7 - The Modulated Synth
This element is perhaps the most exciting of them all. It is another FM8 patch comprising two sine oscillators an octave apart. But this time, one frequency modulates the other at full depth. Also, the envelope has full sustain, and the attack is a quick sweep. I created some deep, slightly delayed amplitude modulation with the rate automated. This causes the "speeding up then slowing down" effect you hear as the sound decays. In addition, I automated the feedback level of the carrier oscillator as the sound decayed. This is why you hear that brassy timbre enter a little later in the sound. Lastly, I dropped a somewhat dry but large reverb onto the output.


Master Processing
Once I had my elements designed and arranged how I wanted. I used Lumit's freezing tool to render the master to a new audio track twice. On one of the bounces, I went heavy on effects. I compressed it with Solid Bus, and high-pass filtered it (because you don't want to overlap low frequencies). I also put a fully wide stereo imager from Waves and a thoroughly wet reverb onto the chain. This affected copy sounded nice with the original (to which I added some pre-gain), but it needed to be inverted because of some phase issues. Once this issue was settled, I could process the combined output with Ozone 6. I used their EQ, imaging, and maximizer to make the final blend. Once you have a sound like this design, I recommend bouncing several variations at different pitches and speeds. You'd be surprised at how versatile one sound can be when it is this unique.

MASTER MUSIC PRODUCTION
Expert-led courses designed to take you from fundamentals to finished tracks.

HOUSEFrom bouncy bass and solid kicks, this course teaches you the most modern House music production techniques needed to succeed and stand out.

TRAPQuit sounding like generic Trap and produce something World with hints of the Far East. Create ethnic soundscapes to put your Trap ahead of the curve.

AMBIENTProduce relaxing, sophisticated psy-influenced ambient. Psychedelic and relaxing to listen to, create meditative soundscapes to put your listeners in Zen.