How to Create a Dynamic Hi-Hat Sequence
Last Edited: Dec 3, 2023
Hi-Hat is an inevitable part of almost any drum section, either of live drums or software drum machines. When it comes to drum samples, using one hi-hat with the same dynamic characteristics could result in a dull and lifeless sequence. We can learn a lot by listening to how a live drummer plays his hi-hat sequence and striving to mimic those changes in velocity, groove, and many other aspects to create something interesting. This tutorial will show you how to create a dynamic hi-hat sequence.
As usual, we have prepared a short sequence in our SoundBridge: DAW with most of the elements of the whole mix but without the hi-hat. Let's listen to it.

To initiate the hi-hat sequence, we will choose a mono-sounding hi-hat sample and make a simple 16th-beat pattern with a slight variation in velocity.

The new hits will be placed where the mono hi-hat velocity is lower than the previous hi-hat sequence. Doing this will create a groove and add more movement to the series.

Dominant Hi-Hat Sample
We'll use a dominant hi-hat sample placed on every 1/8 beat for the third layer of our hi-hat sequence. This hi-hat should ideally have a longer decay than the others.

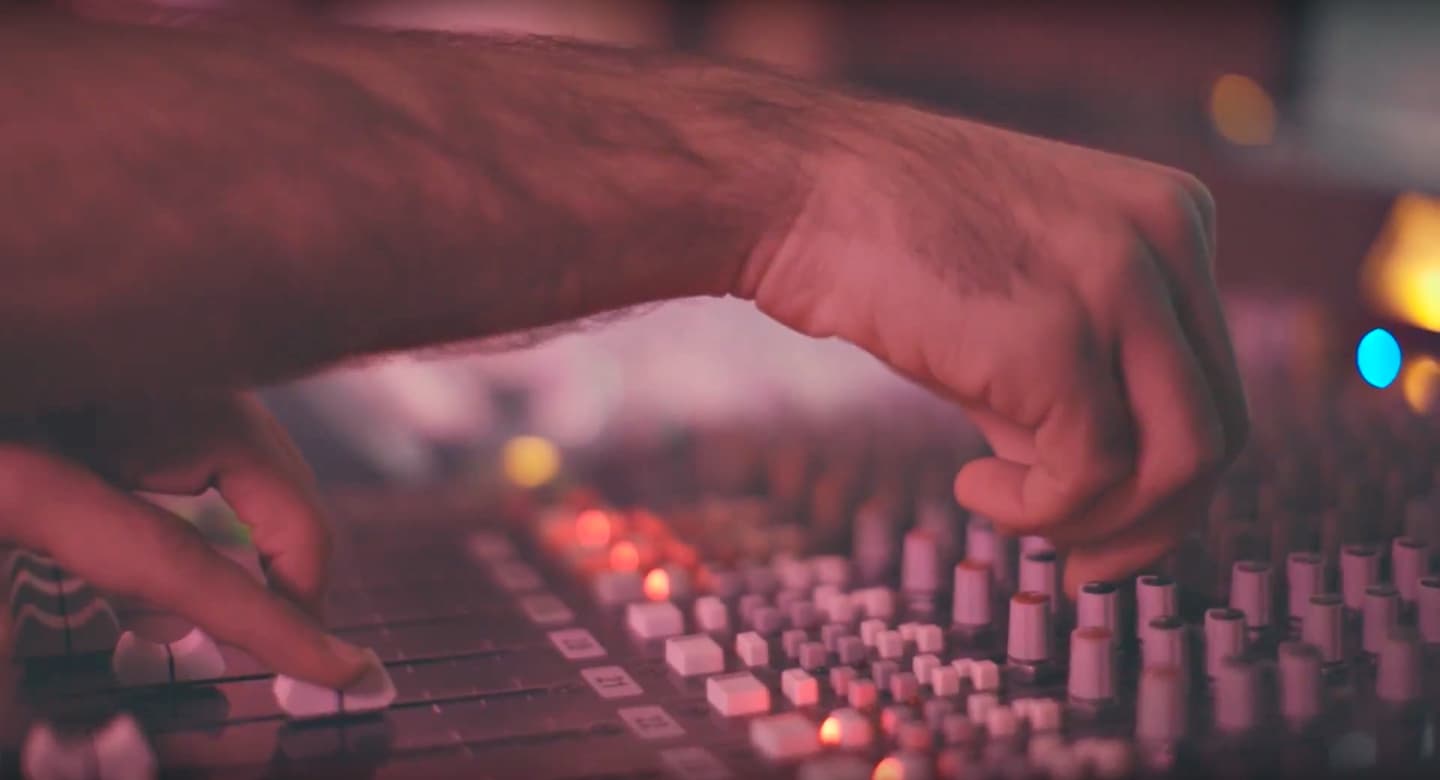
To continue improving our hi-hat sequence, we can add all the channels to a new group and process them with some room reverb and compression. As you can see in the image below, we chose the SP2016 Reverb by Eventide and the API2500 compressor by Waves Audio, but this is purely a matter of taste, so feel free to select the effects you like.

Finally, let's hear how our hi-hat sequence sounds in the context of the whole mix.
If you liked this article, here are some more on hi-hats:
MASTER MUSIC PRODUCTION
Expert-led courses designed to take you from fundamentals to finished tracks.

HOUSEFrom bouncy bass and solid kicks, this course teaches you the most modern House music production techniques needed to succeed and stand out.

TRAPQuit sounding like generic Trap and produce something World with hints of the Far East. Create ethnic soundscapes to put your Trap ahead of the curve.

AMBIENTProduce relaxing, sophisticated psy-influenced ambient. Psychedelic and relaxing to listen to, create meditative soundscapes to put your listeners in Zen.