Add Movement to Your Synth Leads
Last Edited: Dec 1, 2023
In the EDM genre, you will likely strive to make the essential elements of your mix prominent and significant. Typically, beginners add as many identical layers of their leads as possible to make them sound more prominent. There are other ways. Instead of stacking layer after layer of similar material, we'll show you how to get more significant leads by adding rhythmical movement in the following tutorial.
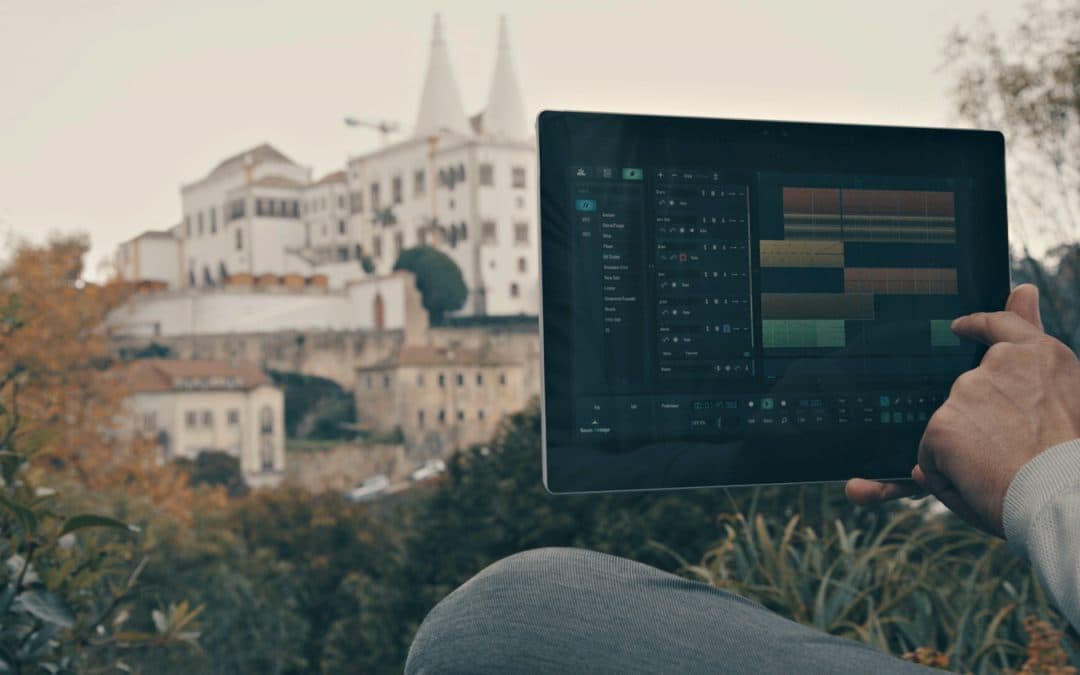
As usual, we have prepared a short sequence in our SoundBridge: DAW. It contains most of the elements of the whole mix. Let's take a listen to it.

We will start by creating our synth lead and writing a simple melody. In this case, we've done it using Spire by Reveal Sound.

As stated previously, rather than stacking identical layers, let's duplicate the main pattern and play the same notes but with a faster rhythm. This will give our synth lead some movement and allow it to breathe. To accomplish this, we will add another instance of Spire and select a different sound. Additionally, instead of using eighth notes in the main pattern, we will use sixteenth notes in the new one. Let's hear how that sounds.

It's important to emphasize that volume balance is crucial when layering and stacking leads. Your leads will fight and cancel each other out if you don't balance them well. Define the main layer and the supporting ones and set appropriate levels.
Finally, let's hear how our synth lead sounds in the context of the whole mix.
If you liked this article on synth layering and processing, here are some more on the same subject:
MASTER MUSIC PRODUCTION
Expert-led courses designed to take you from fundamentals to finished tracks.

HOUSEFrom bouncy bass and solid kicks, this course teaches you the most modern House music production techniques needed to succeed and stand out.

TRAPQuit sounding like generic Trap and produce something World with hints of the Far East. Create ethnic soundscapes to put your Trap ahead of the curve.

AMBIENTProduce relaxing, sophisticated psy-influenced ambient. Psychedelic and relaxing to listen to, create meditative soundscapes to put your listeners in Zen.