Real DAW Workflow Examples for Efficient Music Production
Last Edited: May 15, 2026
Disorganized sessions are the silent killer of creativity. You open a project from three weeks ago and find tracks named "Audio 01," "Audio 02," and a mystery bus labeled "FX??" Sound familiar? Most producers lose anywhere from 20 to 40 minutes per session just navigating the chaos they created themselves. The fix isn't expensive gear or a new plugin subscription. It's workflow. Defined, repeatable, adaptable workflow systems that keep your creativity flowing and your sessions ready to share at any moment. This guide breaks down seven real DAW workflow examples and shows you how to put them to work immediately.
Key Takeaways
| Point | Details |
|---|---|
| Session organization matters | Apply standardized naming and note conventions for clarity and speed across every project. |
| Clean as you go | Maintain tidy sessions by editing out unused takes and committing comps early. |
| Process with intent | Use benchmark levels and thoughtfully built effect chains for consistent mixes. |
| Prep for collaboration | Print effects, consolidate tracks, and communicate decisions clearly for smooth remote sessions. |
| Adapt workflows | Customize your DAW workflow to fit the creative needs of each project and evolve as you grow. |
Establishing Your Session: Naming, Notes, and File Management
Every great session starts before you press record. How you name, organize, and document your project determines whether you'll move fast or wade through confusion for hours. The good news? A few smart habits eliminate most of that pain.
Expert habits include standardized naming such as "artist_project_date_v1`, detailed session notes for key decisions, printing effects to audio tracks for compatibility, cleaning as you go with fades and comps, and making decisive choices like printing comps and deleting unused takes. These aren't optional luxuries for big studios. They're the foundation every serious engineer builds on.
Here's what a solid session organization checklist looks like in practice:
- Naming convention: Use
artist_projectname_YYYYMMDD_v1from the very first save. No exceptions. - Track color coding: Assign colors by category. Drums are blue, bass is orange, synths are green. You'll find tracks instantly.
- Session notes document: Keep a simple text file or in-DAW notes section. Log the key decisions: tempo, tuning reference, mix bus chain, plugin settings you changed mid-session.
- Folder structure: Separate raw recordings, edited audio, rendered stems, and final exports into clearly labeled subfolders.
- Consolidate on open: Every time you reopen a project, spend two minutes deleting unused regions and consolidating your audio files folder.
For more inspiration on creative techniques and music production news that keeps you ahead of trends, building these organizational habits pays double dividends. You move faster solo, and you become a dream collaborator for any remote engineer or artist.
Pro Tip: Set up a blank session template with your naming conventions, track colors, and routing already in place. Every new project starts organized by default, saving you 10 minutes before a single note is played.
Audio Editing Workflow: Cleaning, Comping, and Versioning
Once your session is set up right, the real sculpting begins. Audio editing is where raw performances become polished gold, but it's also where sessions balloon out of control if you're not disciplined. A clean editing workflow keeps your creative momentum intact.
Follow these steps to stay sharp:
- Apply fades immediately. Every region gets a short fade-in and fade-out as you place it. This prevents clicks and keeps your editing professional from the start.
- Build your comps in a dedicated playlist or lane. Listen through every take and flag the best moments. Don't edit yet—just mark. Then assemble the comp from flagged regions only.
- Print the comp to a fresh audio track. Once your comp sounds right, render it to a new track. Label it
[TrackName]_COMP_FINAL. This is your working track as we advance. - Archive or delete unused takes. Move raw takes to an "Archive" folder or delete them entirely. Decisive editing prevents session overload and keeps your attention on what actually matters.
- Save an incremental version. Before any destructive edits, save as
_v2,_v3, and so on. Never overwrite your previous version.
“Decisive editing is not about losing options. It’s about protecting your focus. The more clutter you remove, the more clearly you hear what’s left.” This mindset separates fast, professional engineers from producers who spend hours second-guessing archived takes.
Explore unique sound-effect techniques to add texture during editing, or experiment with a distortion-effect workflow to give your comped tracks character before mixing begins.
Pro Tip: Create a backup duplicate of your session file before any destructive processing. One extra Cmd+S or Ctrl+S now saves hours of regret later.
Processing and Effect Chains: Efficient Mix Workflow Examples
A repeatable signal processing workflow is what separates producers who get consistent, professional mixes from those who start from scratch every session. Building your chains in a logical order makes every mix decision faster and more intentional.
The signal flow that works every time follows this path: Gain staging first, then EQ, then compression, then creative effects. Starting with proper gain staging means your EQ and compressor respond predictably. Skipping it means you're fighting your own plugins.
Here are two practical effect chain examples:
Lead vocal chain:
- High-pass filter (HPF) at 80Hz to remove room rumble
- Gentle EQ notch around 400Hz to reduce muddiness
- Air boost around 10kHz to add presence and clarity
- Compressor at 3:1 ratio for consistent dynamic control
- De-esser after compression to manage sibilance
- Subtle plate reverb on a send for depth
Drum bus chain:
- HPF to clean low-end rumble from overheads
- Parallel compression using a parallel processing send for punch without over-squashing
- Bus compressor at 4:1 with a slow attack to let the transients breathe
- Tape saturation to glue the kit together
- Limiter at the end to catch peaks
Knowing your critical frequency ranges transforms how you EQ every element. And adding creative delay effects to synths, guitars, or even vocals can fill out the mix without muddying it.
For mixing benchmarks, target peaks around -6dBFS, RMS near -18dB, and an integrated LUFS reading between -14 and -11 for streaming platforms. Leave -6dB of headroom on your mix bus before mastering. These aren't arbitrary numbers. They are industry-accepted targets that ensure your music translates across every listening environment, from headphones to club systems.
Automate your effects for dynamic arrangements. A reverb pre-delay that shortens in the chorus creates energy. A filter that opens up during a drop signals movement. These micro-automations are what make mixes feel alive.
Remote Collaboration Workflows: Preparing and Sharing DAW Sessions
Sending a session to another engineer or artist without proper preparation is a recipe for plugin mismatch headaches, missing audio files, and frustrated collaborators. Remote collaboration demands a structured handoff process.
Printing effects to audio tracks for compatibility is one of the most important habits you can build. If your collaborator doesn't own your reverb plugin, your mix will sound completely different on their end. Printing solves this instantly.
| Step | Action | Purpose |
|---|---|---|
| 1. Session audit | Review all tracks for unused regions and plugins | Reduces file size and confusion |
| 2. Print effects | Render effects-processed tracks to new audio files | Ensures compatibility across DAWs |
| 3. Consolidate audio | Collect all audio files into one session folder | Prevents missing file errors |
| 4. Add session notes | Document tempo, key, plugin versions, and key decisions | Gives context to collaborators |
| 5. Export stems | Render individual track stems with consistent naming | Allows flexible re-mixing |
| 6. Compress and share | Package into a ZIP or use a cloud sharing service | Fast, organized delivery |
Key tools and formats to use when sharing sessions:
- Cloud storage: Google Drive, Dropbox, or WeTransfer for large session folders
- Stem exports: 24-bit WAV at your session's native sample rate
- Session notes: Plain text or PDF attached to the session folder
- Plugin list: Include a text document listing every plugin used, with version numbers
- Reference track: Include the reference song you've been mixing against
For teams working in real time, zero-latency remote recording with studio-accurate synchronization changes the game. You get the feel of tracking together in the same room, regardless of location. Pair that with sending polished reverb-treated stems for creative handoffs, and your remote sessions run as smoothly as in-person ones.
Comparing DAW Workflows Side-By-Side
You've seen each workflow in detail. Now let's look at all four major workflow types together so you can match each one to the right production situation.
| Workflow type | Best for | Speed | Collaboration-ready | Flexibility |
|---|---|---|---|---|
| Session organization | All projects, solo and team | High | High | High |
| Audio editing and comping | Tracking sessions with multiple takes | Medium | Medium | High |
| Signal processing chains | Mixing and mastering stages | Medium | Medium | Medium |
| Remote collaboration prep | Handoffs, remote teams, co-writes | Low (upfront) | Very high | High |
A statistic worth internalizing: streaming mix targets of -14 to -11 LUFS integrated mean. Every mix you send off needs to hit these numbers before it reaches a mastering engineer. Build that into your mix workflow template so you never forget.
Thinking about using arpeggiator workflow ideas in your arrangement? Adding melodic automation to a well-organized session is seamless when your tracks are already labeled, colored, and routed correctly. That's the compounding value of good workflow habits.
The smartest approach is a hybrid model. Use strict session organization and editing discipline on every project. Apply repeatable processing chains to your mix stage. And prepare for remote handoffs whenever collaboration is possible, even if it hasn't been planned yet. Flexibility beats rigid adherence every time.
Why Perfect DAW Workflows Don't Exist — and What Actually Works
Here's the uncomfortable truth most workflow guides won't tell you: there is no perfect DAW workflow. Every template you download, every "pro engineer's session setup" you emulate, every rigid system you force yourself to follow will eventually break against the reality of a creative session. And that's completely fine.
The producers and engineers who move fastest aren't the ones with the most organized templates. They're the ones who've built flexible systems that adapt to each project. A solo beat-making session requires different habits than a full-band remote-tracking session. A film scoring workflow looks nothing like a pop single session. Treating every project with the same rigid structure is its own form of inefficiency.
What actually works is iteration. You start with a baseline system, the kind outlined in this article, and you refine it continuously. Every time a session frustrates you, you solve that friction point and bake the solution into your template. Over months, your workflow becomes a personalized, evolving system that reflects how you actually think and create.
“Refine your workflow, but let the music lead the way.” Structure should serve your creativity, not compete with it.
The other trap is over-organizing. Some producers spend more time color-coding and labeling than actually making music. If your organization system takes longer than your creative process, you've lost the plot. Aim for "good enough" structure that keeps sessions navigable, not museum-worthy. A well-labeled session that launched three finished tracks beats a pristine template that paralyzes you with perfection.
Stay tuned to advanced DAW insights that reflect how real workflows evolve in real studios. The best producers are always learning, adjusting, and finding new ways to balance creative freedom with professional discipline.
Enhance Your Workflow With SoundBridge Tools
Ready to put these workflows into practice with a DAW built for exactly this kind of thinking?
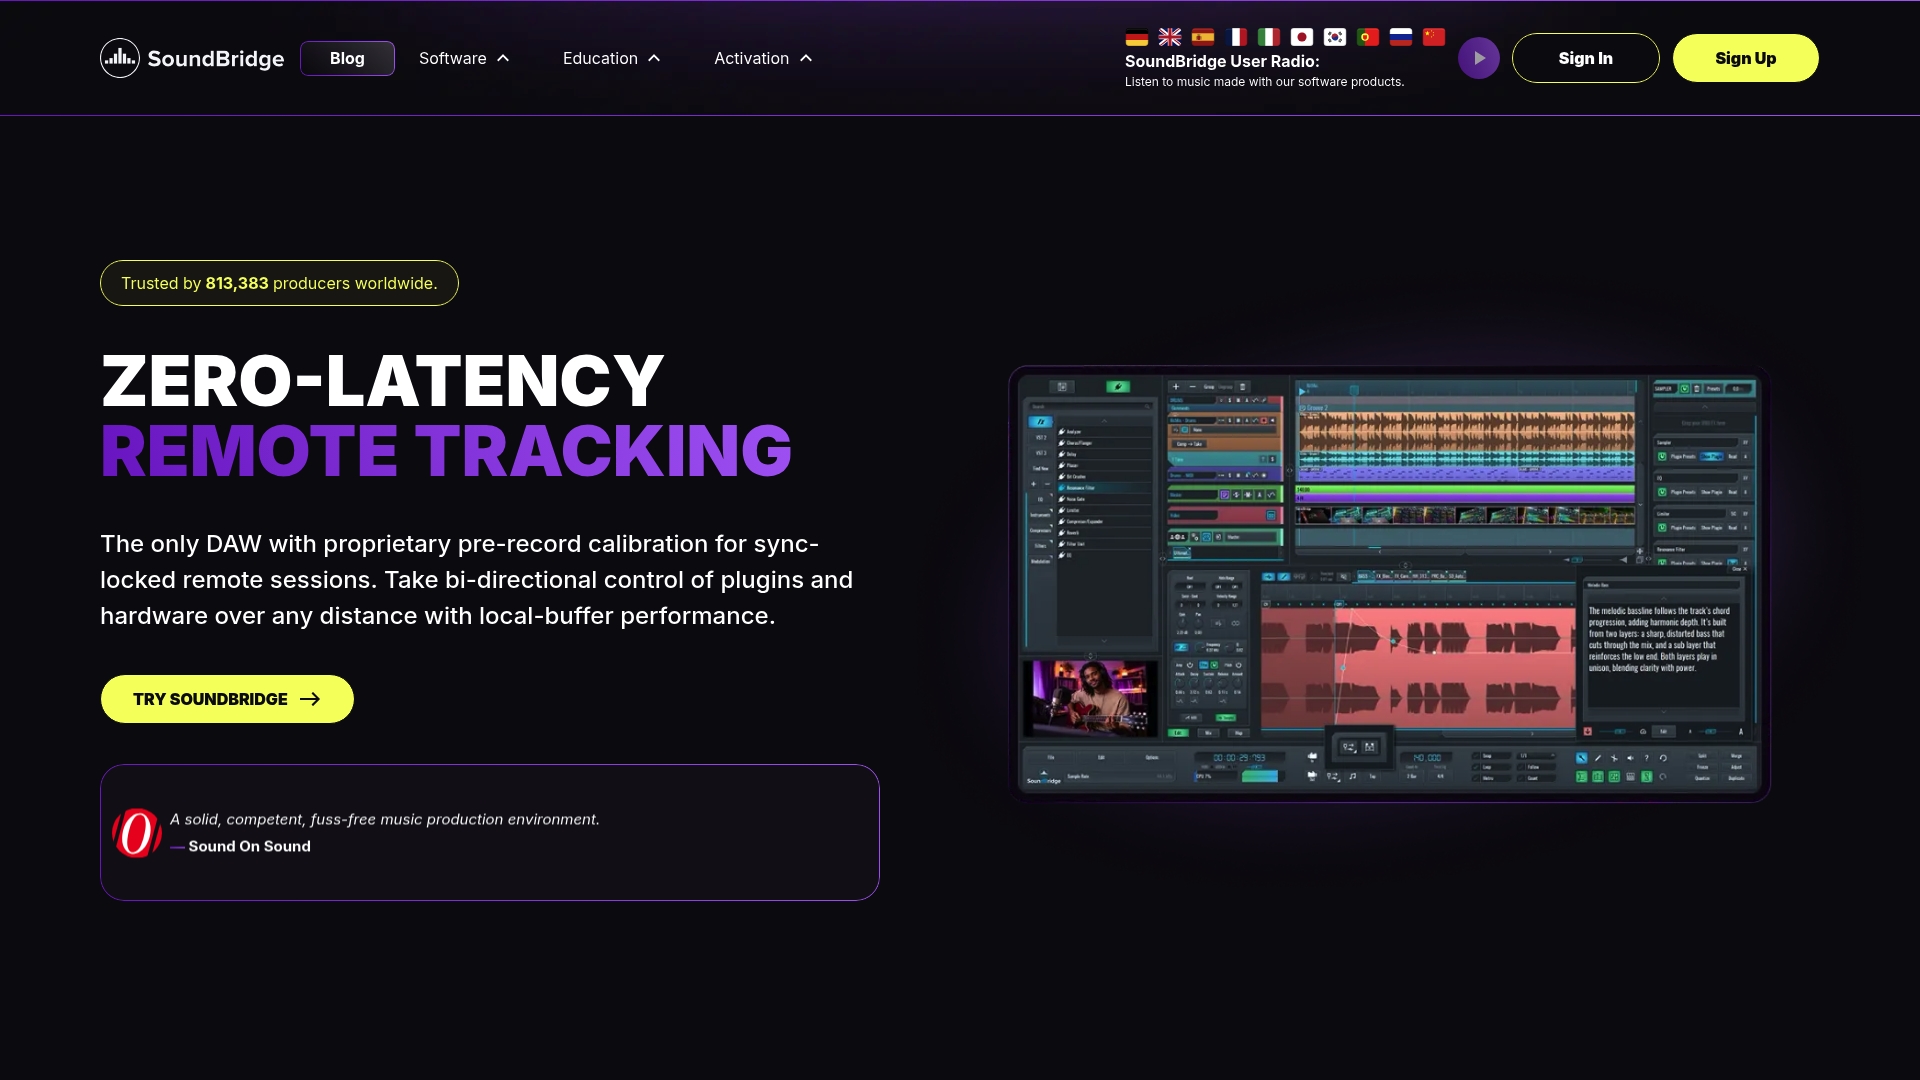
SoundBridge is designed to match how modern producers and engineers actually work. From zero-latency remote tracking to customizable session templates and high-fidelity audio processing up to 192kHz, the SoundBridge DAW gives you the tools to execute every workflow covered in this article without fighting your software. Explore parallel processing techniques directly in your sessions and master equalization with precision tools built for professional results. Whether you're producing solo beats or tracking remote sessions with artists across the globe, SoundBridge keeps your workflow clean, fast, and collaboration-ready.
Frequently Asked Questions
What are the most important DAW workflow habits?
Standardized naming, session notes, cleaning as you go, and decisively printing comps are the core habits that separate fast, professional engineers from those stuck in session chaos.
How do you prepare a DAW session for remote collaboration?
Print all effects to audio tracks, consolidate your file folder, and include clear session notes so your collaborator has everything they need without back-and-forth.
What mixing levels should I target in a DAW project?
Target peaks at -6dBFS, RMS near -18dB, and integrated LUFS between -14 and -11 to ensure your mix sounds great across streaming platforms and has headroom for mastering.
Should I delete unused audio takes immediately?
Yes. Print and save your best comp, then archive or delete the raw takes to keep your session light, focused, and easy to navigate for you and any collaborators.
Recommended
MAÎTRISEZ LA PROD
Des cours d’experts pour passer des bases aux titres finis.

HOUSEDu bass bouncy aux kicks solides, ce cours enseigne les techniques House modernes pour réussir et se démarquer.

TRAPArrêtez de sonner Trap générique et faites une prod World avec des touches d’Extrême-Orient. Créez des ambiances ethniques pour mettre votre Trap en avant.

AMBIENTProduisez de l’ambient relax, sophistiqué, à influence psy. Psyché et relax à écouter, créez des soundscapes méditatifs pour mettre vos auditeurs en Zen.